
Growing Garlic in Bags: Unlock the secrets to a bountiful harvest, even without a sprawling garden! Have you ever dreamt of snipping fresh garlic from your own backyard, adding that pungent, flavorful kick to your favorite dishes? But maybe you’re thinking, “I don’t have the space!” Well, fear not, fellow food lover, because this DIY guide is about to change your gardening game.
Garlic, a culinary staple for centuries, boasts a rich history stretching back to ancient civilizations. From flavoring dishes in ancient Egypt to warding off evil spirits in folklore, garlic has always held a special place in human culture. But beyond its historical significance, garlic is simply delicious and incredibly versatile. And now, you can easily grow your own, no matter how limited your space may be.
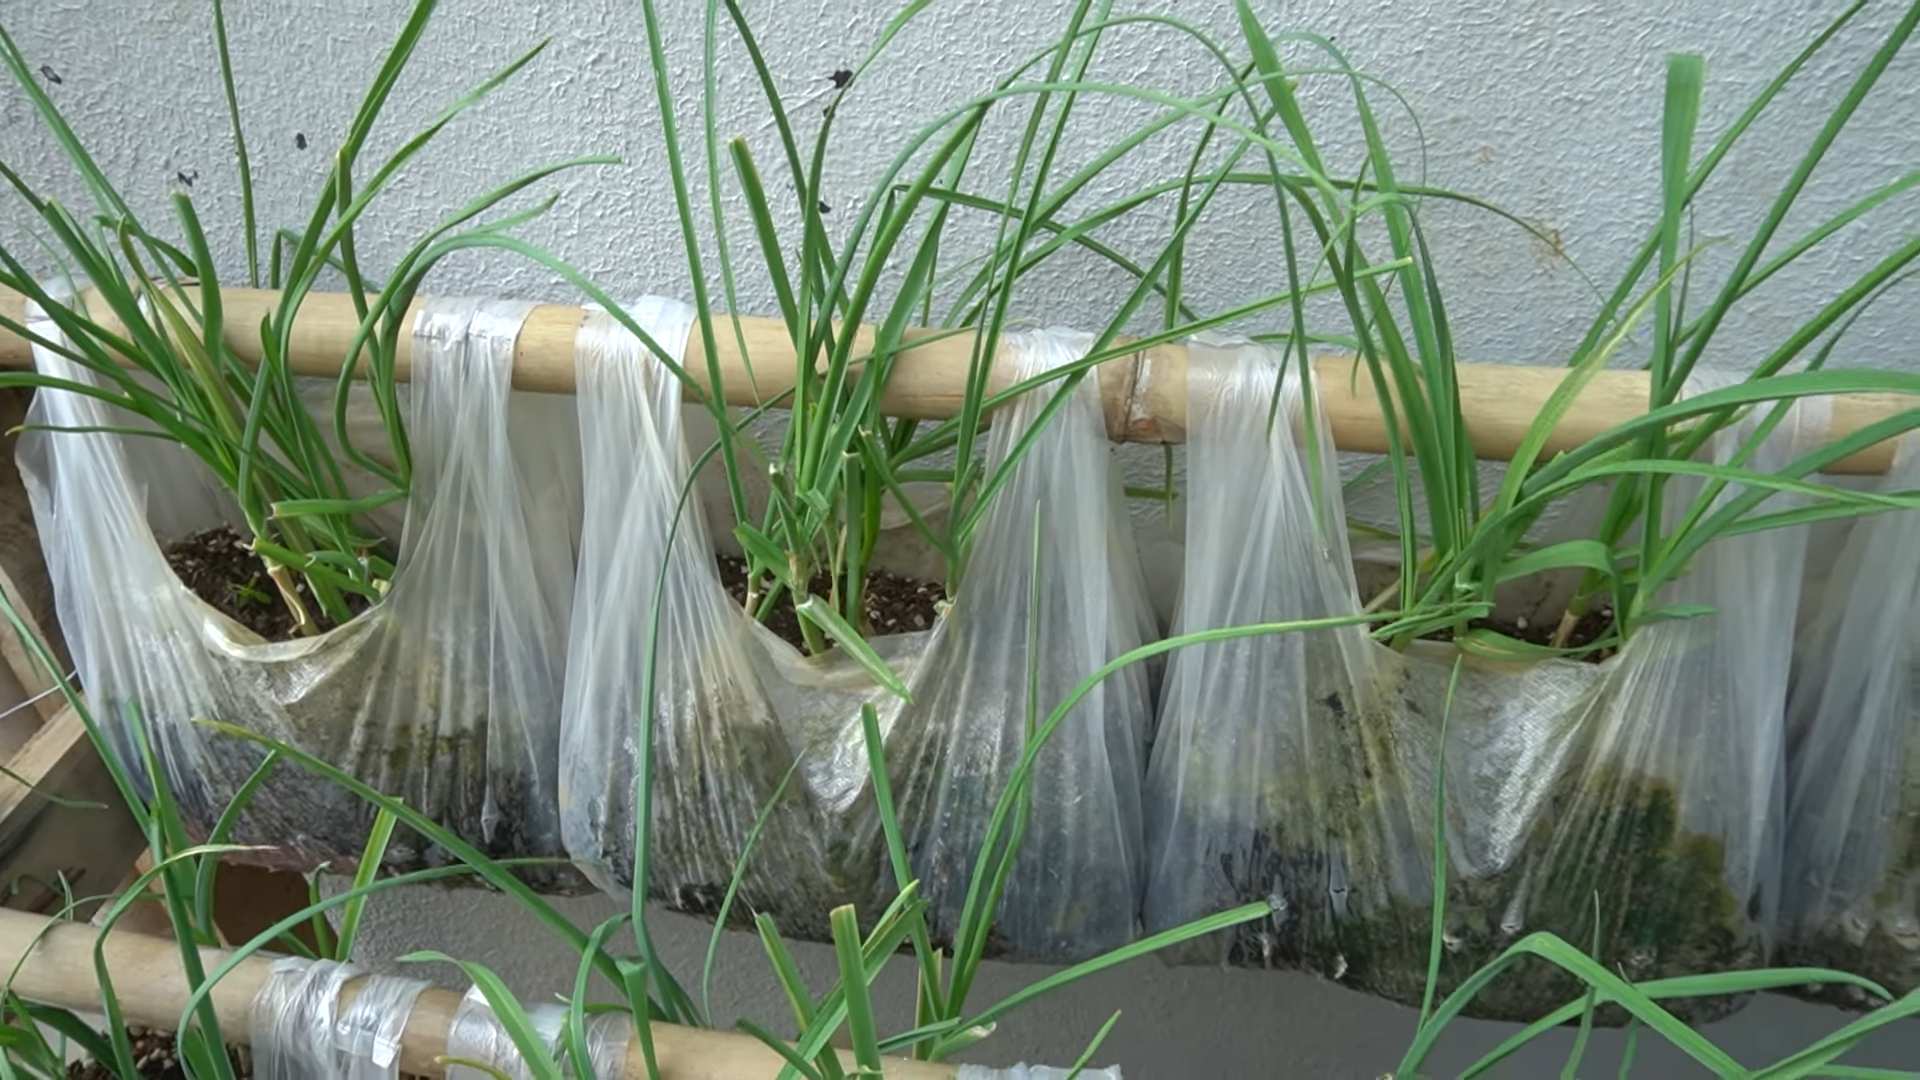
That’s where the magic of container gardening comes in! Growing Garlic in Bags is a fantastic solution for apartment dwellers, balcony gardeners, or anyone looking to maximize their yield in a small area. This DIY trick not only saves space but also offers better control over soil conditions and drainage, leading to healthier, more robust garlic bulbs. I’m going to show you how easy it is to get started, so you can enjoy the satisfaction of harvesting your own homegrown garlic. Let’s get our hands dirty!
Growing Garlic in Bags: A Beginner’s Guide to Bountiful Bulbs!
Hey there, fellow gardening enthusiasts! I’m so excited to share my experience with growing garlic in bags. It’s a fantastic way to cultivate this flavorful ingredient, especially if you’re short on garden space or dealing with less-than-ideal soil. Trust me, once you taste homegrown garlic, you’ll never want to go back to the store-bought stuff!
Why Grow Garlic in Bags?
Before we dive into the how-to, let’s quickly touch on why growing garlic in bags is such a great idea:
* Space-Saving: Perfect for balconies, patios, or small yards. You don’t need a huge garden plot!
* Soil Control: You can create the perfect soil mix for your garlic, ensuring it gets the nutrients it needs.
* Mobility: Easily move your garlic plants to chase the sun or protect them from harsh weather.
* Pest Control: Bags can help deter some soil-borne pests and diseases.
* Easy Harvesting: Harvesting is a breeze! Just tip the bag over and gently pull out your bulbs.
What You’ll Need
Alright, let’s gather our supplies. Here’s what you’ll need to get started:
* Garlic Cloves: Choose organic, disease-free garlic bulbs from a reputable source. Softneck varieties are generally better suited for warmer climates, while hardneck varieties thrive in colder regions. I personally love using ‘Music’ (hardneck) and ‘California Early’ (softneck).
* Grow Bags: I recommend using fabric grow bags that are at least 10 gallons in size. Fabric bags allow for good drainage and aeration, which are crucial for healthy garlic growth. You can also use plastic pots, but make sure they have drainage holes.
* Potting Mix: A well-draining potting mix is essential. I like to create my own mix using equal parts:
* Compost (for nutrients)
* Peat moss or coco coir (for moisture retention)
* Perlite or vermiculite (for drainage)
* Fertilizer: Garlic is a heavy feeder, so you’ll need a good fertilizer. I recommend using an organic fertilizer that’s high in phosphorus and potassium. Bone meal and wood ash are excellent choices.
* Watering Can or Hose: For watering your garlic plants.
* Trowel or Small Shovel: For planting the cloves.
* Optional:
* Mulch (straw, wood chips, or shredded leaves) to help retain moisture and suppress weeds.
* Garlic fertilizer spikes for easy feeding.
Step-by-Step Guide to Planting Garlic in Bags
Okay, let’s get our hands dirty! Here’s how to plant your garlic cloves in bags:
1. Prepare the Grow Bags:
* First, unfold your grow bags and place them in a sunny location where they’ll receive at least 6-8 hours of sunlight per day.
* Next, fill the bags with your prepared potting mix, leaving about 2-3 inches of space at the top.
* Thoroughly water the potting mix until it’s evenly moist but not soggy.
2. Prepare the Garlic Cloves:
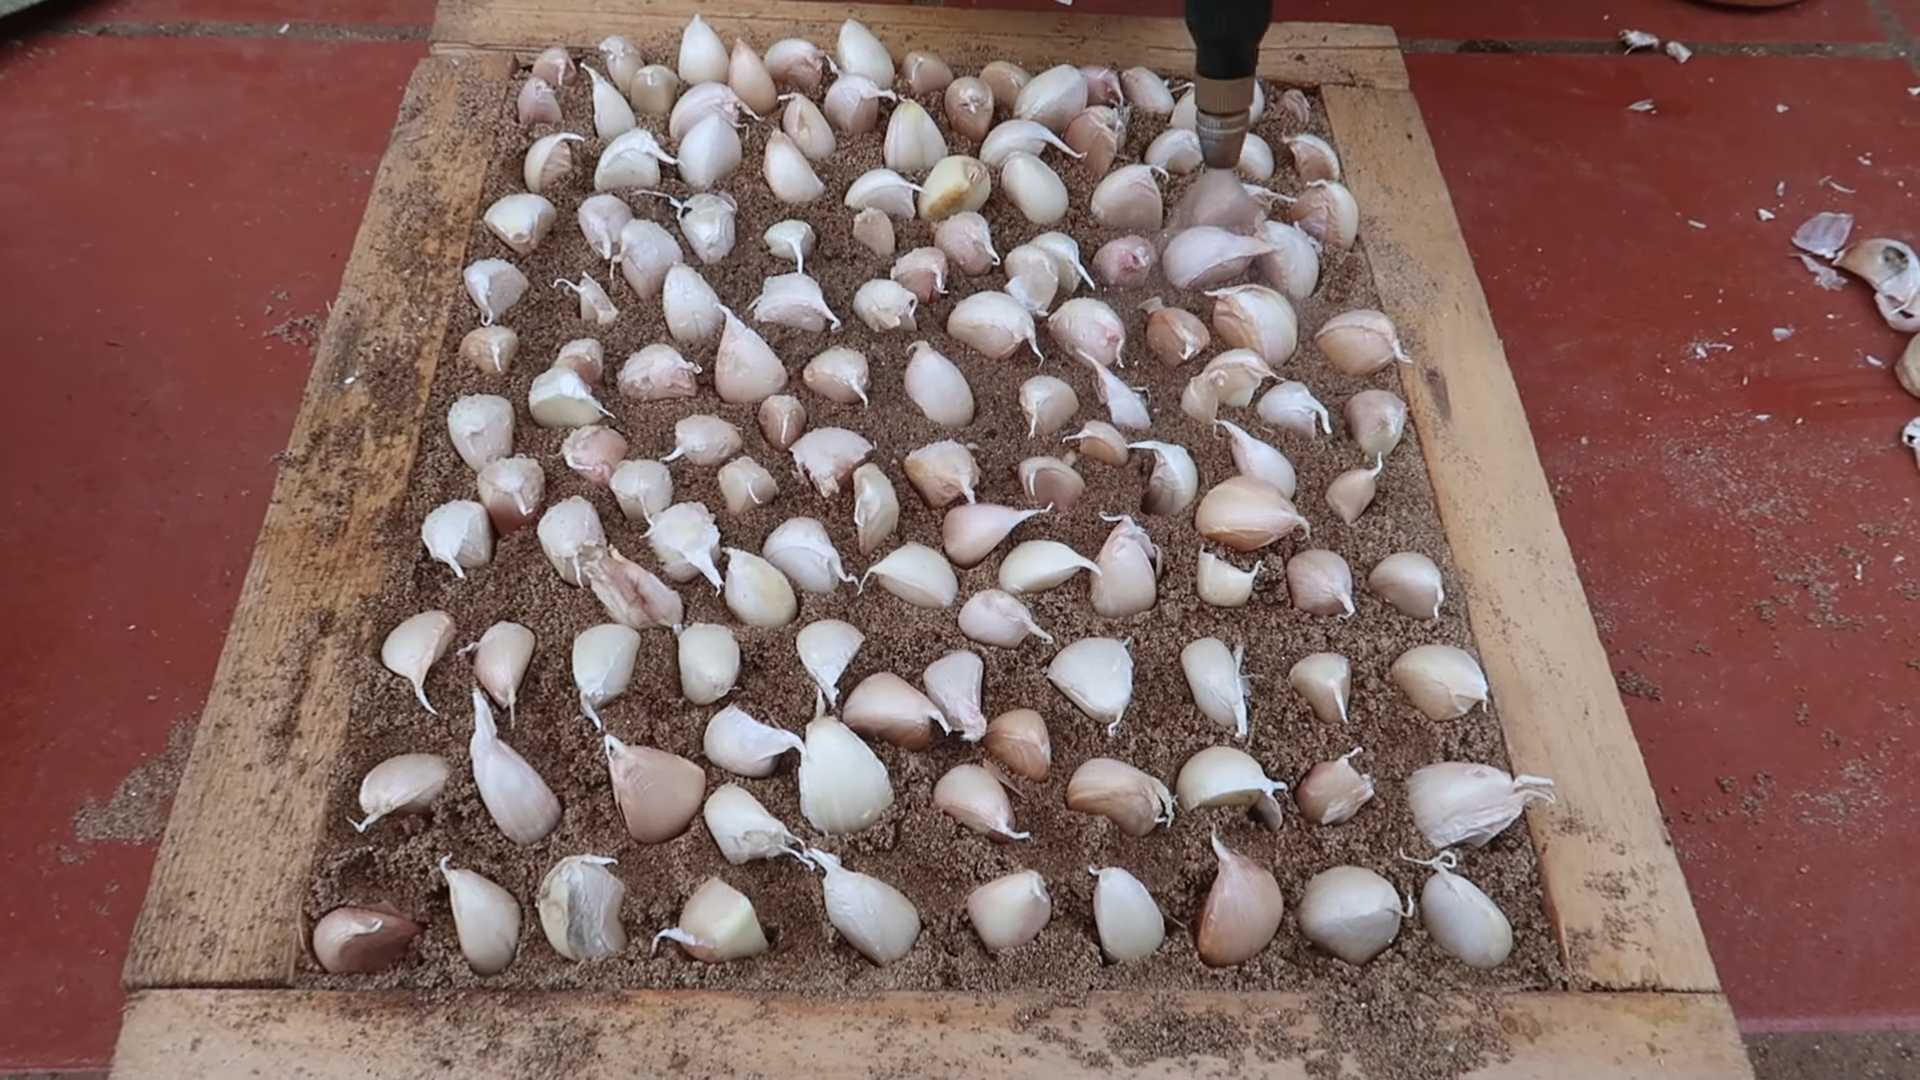
* Gently separate the cloves from the garlic bulb, being careful not to damage them.
* Select the largest, healthiest cloves for planting. Smaller cloves will still grow, but they’ll produce smaller bulbs.
* Leave the papery skin on the cloves intact. This protects them from drying out and helps prevent disease.
3. Plant the Cloves:
* Using your trowel or small shovel, create holes in the potting mix that are about 2-3 inches deep and 6 inches apart.
* Place each clove in a hole, pointy side up. This is important because the leaves will emerge from the pointy end.
* Cover the cloves with potting mix and gently pat the soil down.
4. Water and Mulch:
* Water the newly planted cloves thoroughly.
* Apply a layer of mulch around the plants to help retain moisture, suppress weeds, and regulate soil temperature. Straw, wood chips, or shredded leaves work well.
Caring for Your Garlic Plants
Now that your garlic is planted, it’s time to provide the care it needs to thrive.
1. Watering:
* Garlic needs consistent moisture, especially during the growing season. Water deeply whenever the top inch of soil feels dry to the touch.
* Avoid overwatering, as this can lead to root rot. Make sure your grow bags have good drainage.
* Reduce watering frequency as the plants mature and the bulbs begin to form.
2. Fertilizing:
* Garlic is a heavy feeder, so regular fertilization is essential.
* Apply a balanced organic fertilizer every 2-3 weeks during the growing season.
* When the plants start to bulb (usually in late spring or early summer), switch to a fertilizer that’s higher in phosphorus and potassium to promote bulb development. Bone meal and wood ash are excellent choices.
* I also like to use garlic fertilizer spikes for easy feeding. Just insert them into the soil near the plants.
3. Sunlight:
* Garlic needs at least 6-8 hours of sunlight per day. Place your grow bags in a sunny location.
* If you live in a particularly hot climate, you may need to provide some afternoon shade to prevent the plants from getting scorched.
4. Weed Control:
* Keep your grow bags free of weeds, as they can compete with the garlic for nutrients and water.
* Mulching helps suppress weeds, but you may still need to hand-pull any that pop up.
5. Pest and Disease Control:
* Garlic is generally resistant to pests and diseases, but it can be susceptible to certain problems, such as onion maggots and white rot.
* Inspect your plants regularly for signs of pests or diseases.
* If you notice any problems, take action immediately. Organic pest control methods, such as neem oil and insecticidal soap, can be effective.
* Ensure good air circulation around the plants to prevent fungal diseases.
Harvesting Your Garlic
The moment we’ve all been waiting for – harvesting! Here’s how to know when your garlic is ready to harvest:
1. Timing:
* Garlic is typically ready to harvest in late spring or early summer, about 8-9 months after planting.
* The exact timing will depend on the variety of garlic you’re growing and your local climate.
2. Signs of Maturity:
* The leaves will start to turn yellow and brown, beginning at the bottom of the plant.
* The tops will start to fall over.
* The bulbs will be plump and well-formed.
3. Harvesting:
* Gently loosen the soil around the bulbs with a trowel or small shovel.
* Carefully pull the bulbs out of the soil, being careful not to damage them.
* Brush off any excess soil.
Curing and Storing Your Garlic
Proper curing and storage are essential for preserving your garlic and extending its shelf life.
1. Curing:
* Tie the garlic plants together in bundles of 5-10 bulbs.
* Hang the bundles in a cool, dry, well-ventilated place for 2-4 weeks.
* The garlic is cured when the necks are dry and papery and the outer skins are tight and dry.
2. Storing:
* Once the garlic is cured, cut off the roots and trim the stems to about 1-2 inches.
* Store the garlic in a cool, dry, well-ventilated place, such as a pantry or basement.
* Do not store garlic in the refrigerator, as this can cause it to sprout.
* Properly cured and stored garlic can last for several months.
Troubleshooting
Even with the best care, you might encounter some challenges along the way. Here are a few common problems and how to address them:
* Yellowing Leaves: This could be a sign of nutrient deficiency, overwatering, or disease. Check your soil drainage, adjust your watering schedule, and fertilize as needed.
* Small Bulbs: This could be due to poor soil, insufficient sunlight, or overcrowding. Make sure your garlic is planted in well-draining soil, receives plenty of sunlight, and has enough space to grow.
* Pests and Diseases: Inspect your plants regularly for signs of pests or diseases. Take action immediately if you notice any problems. Organic pest control methods, such as neem oil
Conclusion
So, there you have it! Growing garlic in bags is not just a gardening trend; it’s a game-changer for anyone with limited space, challenging soil, or simply a desire for a more controlled growing environment. We’ve walked you through the process, highlighting the ease and accessibility of this method. But why is it truly a must-try?
Firstly, the convenience is unparalleled. Forget about tilling large garden beds or battling rocky soil. A simple bag, some quality potting mix, and a sunny spot are all you need to embark on your garlic-growing adventure. This makes it perfect for apartment dwellers, balcony gardeners, or anyone who wants to enjoy fresh, homegrown garlic without the commitment of a traditional garden.
Secondly, the control you gain over the growing environment is significant. You can easily move your garlic bags to chase the sun, protect them from harsh weather, or even bring them indoors during unexpected frosts. This level of control translates to healthier plants and a more bountiful harvest.
Thirdly, the satisfaction of harvesting your own, organically grown garlic is simply unmatched. Imagine the aroma filling your kitchen as you chop freshly harvested cloves, knowing that you nurtured them from tiny bulbs to flavorful culinary treasures.
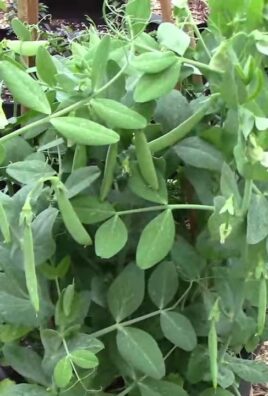
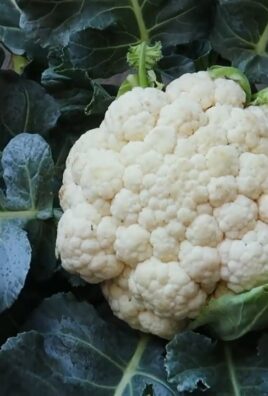
But the fun doesn’t stop there! Feel free to experiment with different varieties of garlic to discover your favorites. Try growing softneck garlic for braiding or hardneck garlic for its delicious scapes. You can also add companion plants like marigolds or nasturtiums to your bags to deter pests and attract beneficial insects. Consider using different types of potting mix to see which yields the best results in your specific climate. Perhaps a mix with added compost or worm castings will give your garlic an extra boost.
Don’t be afraid to get creative with your bag selection, too. While standard grow bags are ideal, you can also repurpose old burlap sacks or even sturdy plastic containers with drainage holes. The key is to ensure good drainage and ample space for the garlic bulbs to develop.
We are confident that once you experience the ease and rewards of growing garlic in bags, you’ll be hooked. It’s a simple, effective, and incredibly satisfying way to enjoy fresh, homegrown garlic year after year.
Now, it’s your turn! We encourage you to give this DIY trick a try. Plant your garlic, nurture it with care, and watch it thrive. And most importantly, share your experience with us! We’d love to hear about your successes, your challenges, and any variations you discover along the way. Share your photos, tips, and stories in the comments below. Let’s build a community of bag-growing garlic enthusiasts! Let us know what kind of DIY garlic growing you are doing.
Frequently Asked Questions (FAQ)
Q: What kind of bag should I use for growing garlic?
A: The best type of bag to use is a fabric grow bag, as they allow for good drainage and aeration. Look for bags that are at least 10-12 inches in diameter and depth to provide enough space for the garlic bulbs to develop. You can also use repurposed burlap sacks or sturdy plastic containers, but ensure they have adequate drainage holes. Avoid using thin plastic bags, as they can easily tear and don’t provide good aeration. The size of the bag will depend on how many garlic cloves you want to plant in each bag. A good rule of thumb is to allow at least 6 inches of space between each clove.
Q: What kind of soil should I use?
A: Garlic thrives in well-draining, fertile soil. A good quality potting mix is ideal for growing garlic in bags. You can also amend your potting mix with compost or worm castings to provide extra nutrients. Avoid using garden soil, as it can be too heavy and may contain pests or diseases. The pH of the soil should be between 6.0 and 7.0 for optimal garlic growth. You can test the pH of your soil using a soil testing kit, which can be found at most garden centers.
Q: When is the best time to plant garlic in bags?
A: The best time to plant garlic is in the fall, about 4-6 weeks before the ground freezes. This allows the garlic to establish roots before winter. In warmer climates, you can plant garlic in late fall or early winter. The key is to plant the garlic when the soil temperature is consistently below 60°F (15°C). This will encourage root growth and prevent premature sprouting.
Q: How often should I water my garlic plants in bags?
A: Water your garlic plants regularly, especially during dry periods. The soil should be kept consistently moist, but not waterlogged. Overwatering can lead to bulb rot. Check the soil moisture by sticking your finger into the soil about an inch deep. If the soil feels dry, it’s time to water. During the winter months, you may need to water less frequently, as the soil will retain moisture for longer.
Q: How much sunlight do garlic plants need?
A: Garlic plants need at least 6 hours of sunlight per day. Choose a sunny location for your garlic bags. If you live in a particularly hot climate, you may need to provide some afternoon shade to prevent the plants from overheating. If you are growing garlic indoors, you will need to supplement with grow lights to provide adequate light.
Q: Do I need to fertilize my garlic plants in bags?
A: Yes, garlic plants benefit from regular fertilization. Use a balanced fertilizer, such as a 10-10-10, or a fertilizer specifically formulated for vegetables. Fertilize your garlic plants in the spring, when they begin to actively grow. You can also side-dress your plants with compost or worm castings throughout the growing season. Avoid over-fertilizing, as this can lead to excessive foliage growth and smaller bulbs.
Q: How do I know when my garlic is ready to harvest?
A: Garlic is typically ready to harvest in the summer, about 8-9 months after planting. The leaves will begin to turn yellow and brown, and the stems will start to fall over. To check if the bulbs are ready, carefully dig up a few plants and examine the bulbs. The bulbs should be large and well-formed, with papery skins. If the bulbs are still small or the skins are thin, wait a few more weeks before harvesting.
Q: How do I cure garlic after harvesting?
A: Curing garlic is essential for long-term storage. After harvesting, gently brush off any excess soil from the bulbs. Do not wash the garlic, as this can promote rot. Tie the garlic plants in bundles of 6-8 bulbs and hang them in a cool, dry, and well-ventilated place for 2-3 weeks. The garlic is cured when the necks are dry and the outer skins are papery. After curing, you can trim the roots and stems and store the garlic in a cool, dry place.
Q: Can I grow different varieties of garlic in bags?
A: Absolutely! Experimenting with different varieties is part of the fun. Softneck garlic is well-suited for warmer climates and is known for its braiding ability. Hardneck garlic is more cold-hardy and produces delicious scapes (the flower stalks). Research different varieties to find those that are best suited to your climate and your taste preferences.
Q: What are garlic scapes and what do I do with them?
A: Garlic scapes are the curly flower stalks that grow from hardneck garlic varieties. They are a delicious and versatile ingredient that can be used in a variety of dishes. Harvest the scapes when they are still young and tender, before they start to straighten out. You can use them in pesto, stir-fries, soups, or simply sauté them with olive oil and garlic.
Q: How do I prevent pests and diseases from affecting my garlic plants in bags?
A: Growing garlic in bags can help to minimize pest and disease problems, as you have more control over the growing environment. However, it’s still important to take precautions. Use disease-free garlic cloves for planting. Ensure good drainage to prevent bulb rot. Monitor your plants regularly for signs of pests or diseases. If you notice any problems, treat them promptly with an appropriate organic pesticide or fungicide. Companion planting with marigolds or nasturtiums can also help to deter pests.
Q: Can I reuse the soil in my garlic bags?
A: It’s generally not recommended to reuse the soil in your garlic bags for growing garlic again, as it may harbor pests or diseases. However, you can reuse the soil for other plants, such as vegetables or flowers, after amending it with compost or other organic matter.
Q: What if I don’t have a sunny spot? Can I still grow garlic in bags?
A: While garlic thrives in full sun, you can still grow it in a partially shaded location, but expect a smaller harvest. If you don’t have a sunny outdoor space, consider using grow lights to supplement the natural light. Place the grow lights about 6-12 inches above the plants and provide them with 12-14 hours of light per day.
Q: Can I grow garlic indoors year-round using this method?
A: Yes, you can grow garlic indoors year-round using this method, provided you have adequate light and temperature control. Use grow lights to supplement the natural light and maintain a consistent
Leave a Comment