
Soil Free Bucket Potatoes: Imagine harvesting a bounty of delicious, homegrown potatoes without ever getting your hands dirty in a traditional garden bed! Sounds too good to be true? It’s not! For centuries, innovative gardeners have sought ways to maximize yields and minimize effort. While the exact origins of bucket gardening are debated, the spirit of resourcefulness and ingenuity that drives it is as old as agriculture itself. From ancient civilizations utilizing vertical farming techniques to modern urban dwellers seeking sustainable food sources, the desire to grow our own food in limited spaces has always been a driving force.
Today, more and more people are embracing the joys of home gardening, but not everyone has access to sprawling acres of land. That’s where this amazing DIY trick comes in. Growing Soil Free Bucket Potatoes is the perfect solution for apartment dwellers, balcony gardeners, or anyone looking for a low-maintenance, high-yield potato growing method. I’m going to show you how to bypass the need for extensive digging, weeding, and soil preparation. This method is not only incredibly easy, but it also allows you to control the growing environment, resulting in healthier, more abundant potatoes. Get ready to unlock the secrets to a potato harvest that will have your friends and neighbors green with envy!
Growing Potatoes in a Bucket: A Soil-Free Adventure!
Hey there, fellow gardening enthusiasts! Ever dreamed of harvesting a mountain of potatoes from your tiny balcony or patio? Well, get ready to ditch the traditional garden bed because today, I’m going to walk you through a super fun and surprisingly easy method: growing potatoes in a bucket, completely soil-free! That’s right, we’re going hydroponic with our spuds!
This method is perfect for urban gardeners, beginners, or anyone who wants to try something a little different. Plus, it’s incredibly rewarding to watch those little seed potatoes transform into a bountiful harvest right before your eyes. So, grab your supplies, and let’s get started!
What You’ll Need
Before we dive in, let’s gather our supplies. Don’t worry, you probably have most of these lying around already!
* A Large Bucket: I recommend a 5-gallon bucket or larger. The bigger, the better, as it gives your potatoes more room to grow. Make sure it’s food-grade plastic if possible.
* Seed Potatoes: These are potatoes specifically grown for planting. You can find them at your local garden center or online. Choose a variety you love to eat!
* Hydroponic Nutrients: We’ll need a balanced nutrient solution formulated for hydroponics. You can find these at hydroponic supply stores or online retailers. Look for something specifically designed for vegetables or fruiting plants.
* Perlite: This is a lightweight, porous volcanic glass that provides excellent aeration and drainage. It’s a key component of our soil-free growing medium.
* Coco Coir: Made from coconut husks, coco coir is another excellent growing medium that retains moisture and provides support for the roots. You can find it in compressed bricks that you’ll need to rehydrate.
* Water: Clean, dechlorinated water is essential for our hydroponic system.
* pH Meter and Adjuster: Maintaining the correct pH level is crucial for nutrient absorption. A pH meter will help you monitor the pH, and pH up/down solutions will allow you to adjust it as needed.
* Air Pump and Air Stone: These will oxygenate the nutrient solution, preventing root rot and promoting healthy growth.
* Drill (Optional): If your bucket doesn’t have drainage holes, you’ll need to drill a few.
* Measuring Cups and Spoons: For accurately measuring nutrients.
* Gloves: To protect your hands.
Preparing Your Seed Potatoes
Before planting, we need to prepare our seed potatoes. This process, called “chitting,” encourages them to sprout before planting, giving them a head start.
1. Inspect Your Seed Potatoes: Look for healthy, firm potatoes with “eyes” (small buds) starting to form.
2. Cut Large Potatoes (Optional): If your seed potatoes are large, you can cut them into smaller pieces, ensuring each piece has at least 2-3 eyes. Let the cut pieces air dry for a day or two to prevent rotting. I usually don’t cut mine unless they are very large.
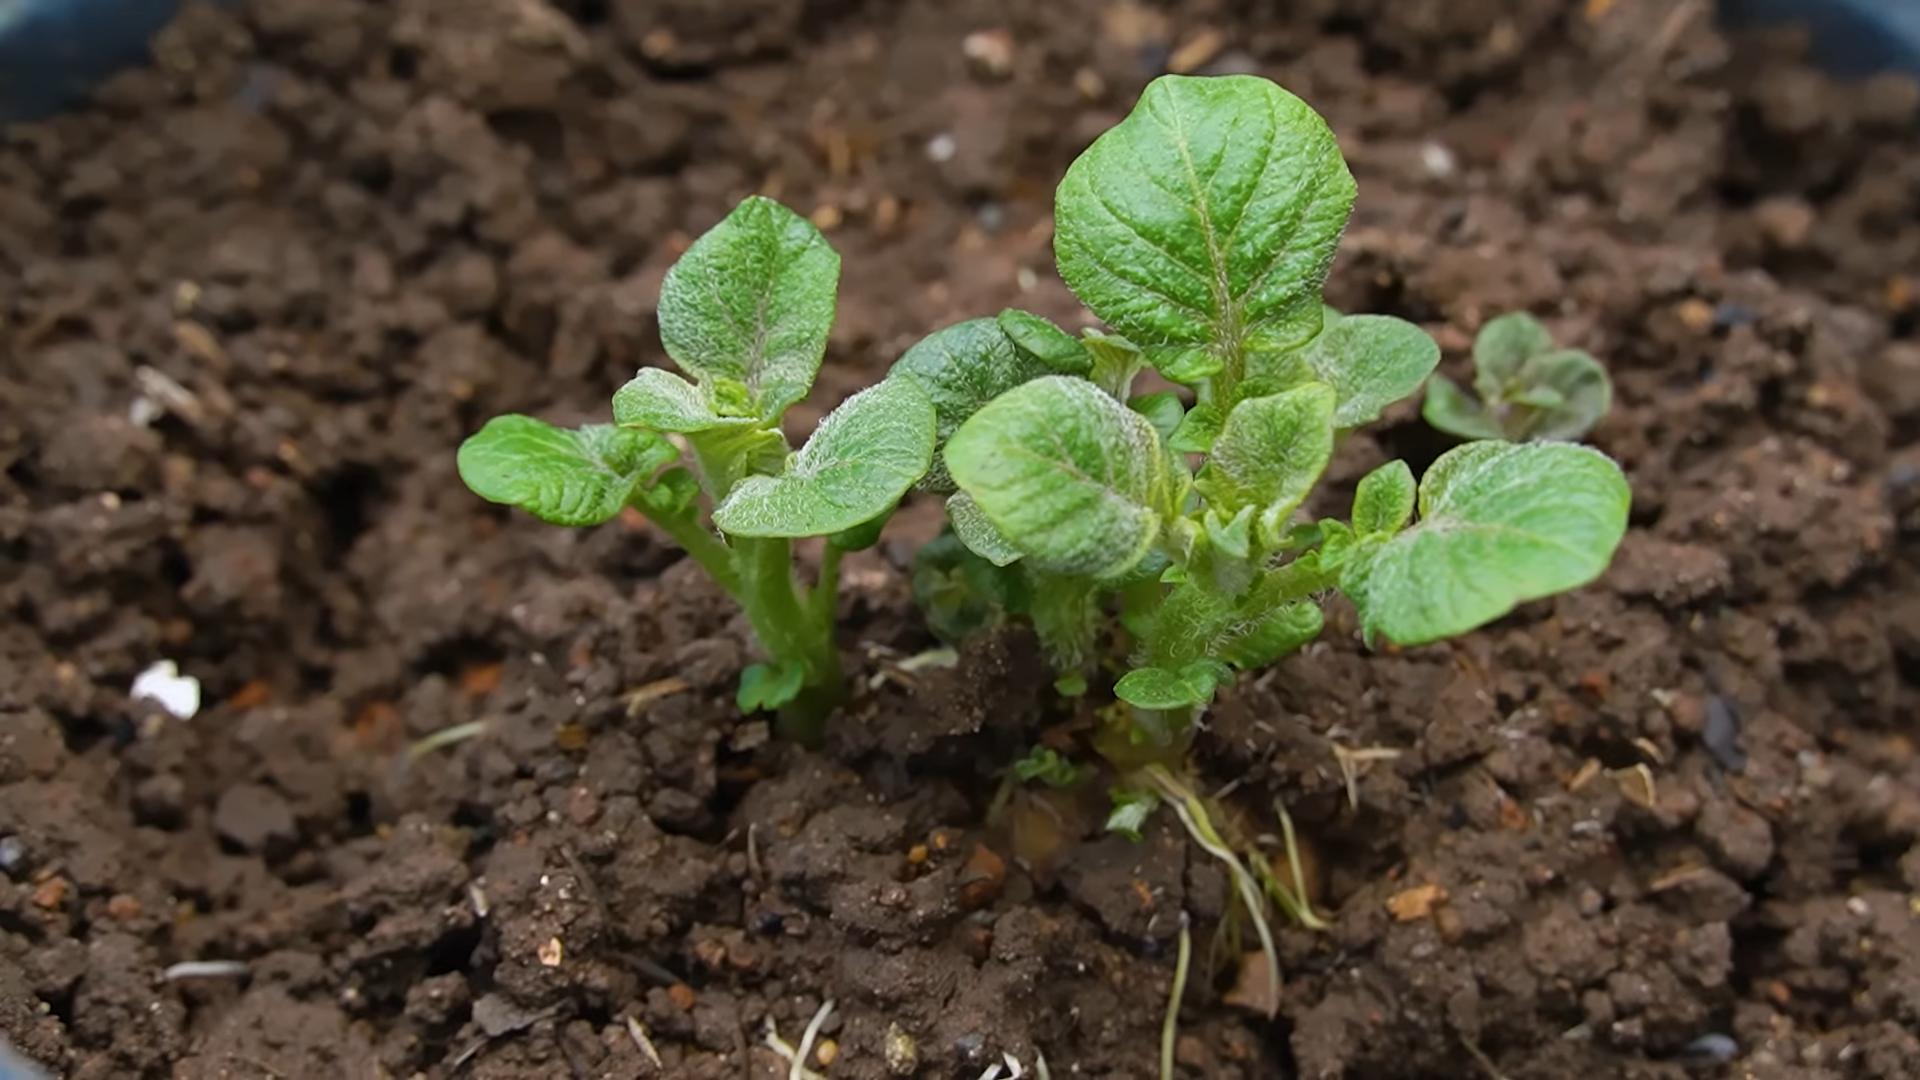
3. Chitting: Place the seed potatoes in a cool, bright location (but not direct sunlight) for about 1-2 weeks. You can use an egg carton or a shallow tray. The eyes will start to sprout, forming small, green shoots. This is exactly what we want!
Setting Up Your Hydroponic Bucket
Now for the fun part! Let’s get our bucket ready for planting.
1. Drill Drainage Holes (If Needed): If your bucket doesn’t have drainage holes, drill 4-5 holes in the bottom. This is important to prevent waterlogging.
2. Prepare the Coco Coir: If you’re using compressed coco coir, rehydrate it according to the package instructions. This usually involves soaking it in water until it expands.
3. Mix the Growing Medium: In a large container, mix equal parts perlite and coco coir. This will be our soil-free growing medium. I usually go for a 50/50 mix, but you can adjust it slightly based on your preference.
4. Add the Air Stone: Place the air stone at the bottom of the bucket. This will oxygenate the nutrient solution.
5. Layer the Growing Medium: Add a layer of the perlite/coco coir mixture to the bottom of the bucket, about 4-6 inches deep.
Planting Your Seed Potatoes
Time to get those potatoes in the bucket!
1. Place the Seed Potatoes: Place the chitted seed potatoes on top of the growing medium, with the sprouts facing upwards. Space them evenly around the bucket. If you only have one or two seed potatoes, place them in the center.
2. Cover with Growing Medium: Gently cover the seed potatoes with another layer of the perlite/coco coir mixture, leaving the tips of the sprouts exposed.
3. Prepare the Nutrient Solution: Mix the hydroponic nutrients according to the package instructions. Use clean, dechlorinated water.
4. Adjust the pH: Use your pH meter to check the pH of the nutrient solution. The ideal pH for potatoes is between 5.5 and 6.5. Adjust the pH using pH up or pH down solutions as needed.
5. Add Nutrient Solution: Carefully pour the nutrient solution into the bucket, making sure to submerge the air stone. The solution level should be just below the surface of the growing medium.
Caring for Your Potato Plants
Now that your potatoes are planted, it’s time to provide them with the care they need to thrive.
1. Light: Potatoes need plenty of sunlight, at least 6-8 hours per day. Place your bucket in a sunny location. If you don’t have enough natural light, you can supplement with grow lights.
2. Watering: Monitor the nutrient solution level regularly and add more as needed. The growing medium should be consistently moist but not waterlogged.
3. Nutrients: Continue to add nutrients to the solution according to the package instructions. As the plants grow, you may need to increase the nutrient concentration.
4. pH Monitoring: Check the pH of the nutrient solution regularly and adjust as needed.
5. Air Pump: Ensure the air pump is running continuously to oxygenate the nutrient solution.
6. Hilling (Sort Of): As the potato plants grow taller, you’ll need to “hill” them. This involves adding more of the perlite/coco coir mixture to the bucket, burying the lower part of the stems. This encourages the plants to produce more potatoes along the buried stems. I usually do this in 2-3 stages as the plants grow.
7. Pest Control: Keep an eye out for pests like aphids or potato beetles. Treat any infestations promptly with organic pest control methods.
Harvesting Your Potatoes
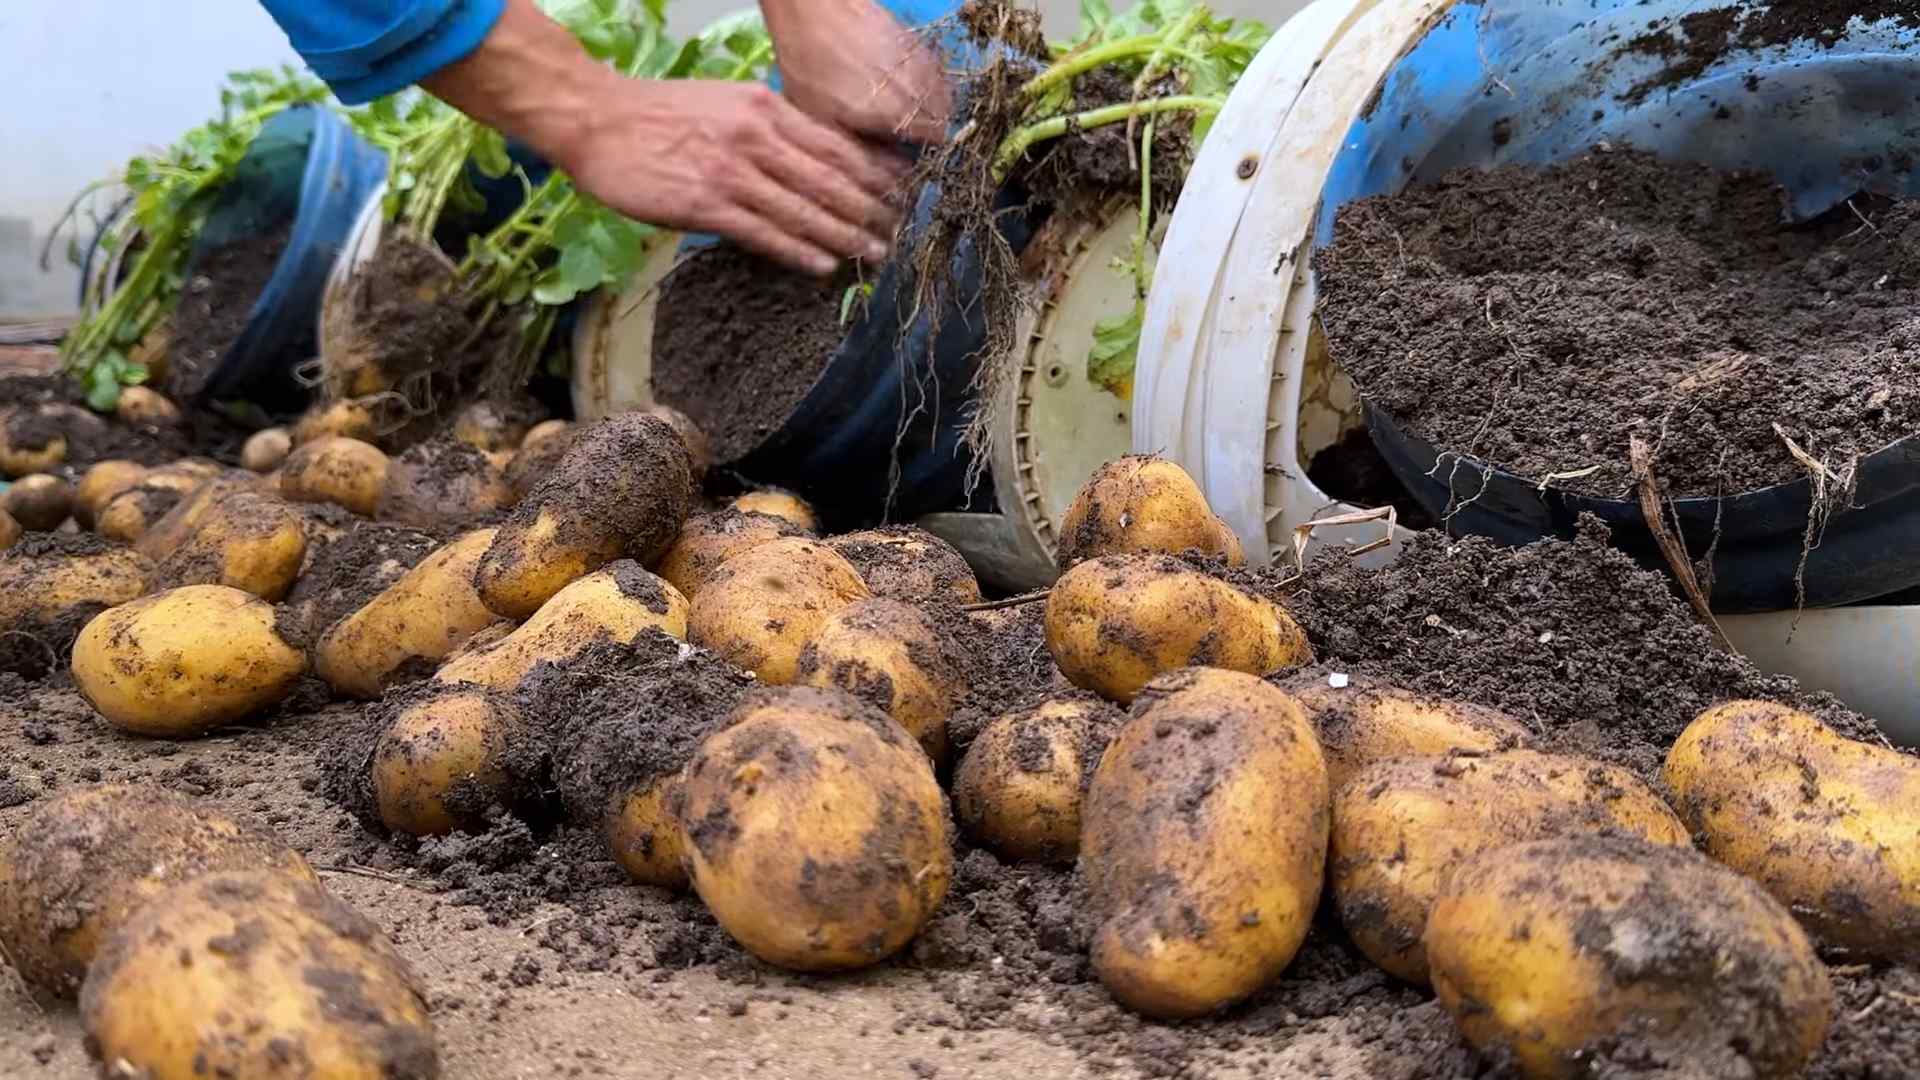
The moment we’ve all been waiting for! Harvesting your homegrown potatoes is incredibly satisfying.
1. Timing: Potatoes are typically ready to harvest about 70-90 days after planting, depending on the variety. The foliage will start to turn yellow and die back when the potatoes are mature.
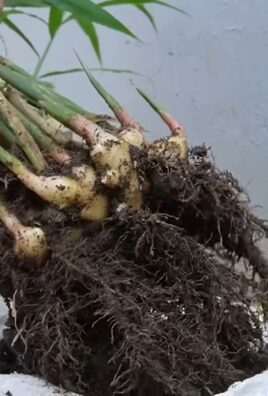
2. Harvesting: Carefully tip the bucket over and gently remove the potatoes from the growing medium. You can also reach into the bucket and harvest the larger potatoes while leaving the smaller ones to continue growing.
3. Curing: After harvesting, cure the potatoes by spreading them out in a cool, dark, and well-ventilated place for about a week. This will help them develop a thicker skin and improve their storage life.
Troubleshooting Tips
Even with the best planning, things can sometimes go wrong. Here are a few common problems and how to fix them:
* Yellowing Leaves: This could be a sign of nutrient deficiency. Make sure you’re using a balanced nutrient solution and adjusting the pH correctly.
* Root Rot: This is caused by lack of oxygen in the nutrient solution. Ensure your air pump is working properly and that the air stone is submerged.
* Pests: Treat any pest infestations promptly with organic pest control methods.
* Slow Growth: This could be due to insufficient light or nutrients. Make sure your plants are getting enough sunlight and that you’re providing them with the correct nutrients.
Why This Method Rocks!
I absolutely love growing potatoes in a bucket using this soil-free method, and here’s why:
* Space-Saving: Perfect for small spaces like balconies, patios, or even indoors.
* Easy to Manage: No weeding, tilling, or heavy digging required!
* Higher Yields: You can often get a higher yield of potatoes per plant compared to traditional gardening methods.
* Clean and Mess-Free: No soil means less mess!
* Fun and Educational: It’s a great way to learn about hydroponics and plant
Conclusion
So, there you have it! Growing potatoes in buckets, completely soil-free, might sound unconventional, but the results speak for themselves. This method offers a cleaner, more controlled environment, minimizing pests and diseases that often plague traditional potato patches. The ease of harvesting alone makes this soil-free bucket potatoes technique a game-changer. Imagine simply tipping over a bucket and collecting your bounty of perfectly formed potatoes, without the back-breaking work of digging through heavy soil.
But the benefits extend beyond convenience. The controlled environment allows you to fine-tune the growing conditions, leading to potentially higher yields and larger, healthier potatoes. Plus, it’s a fantastic option for those with limited space, such as apartment dwellers or anyone with a small balcony or patio. No garden? No problem! Your potato dreams can still come true.
Don’t be afraid to experiment with different potato varieties. Russets, Yukon Golds, and red potatoes all thrive in this soil-free setup. You can also adjust the nutrient solution to cater to the specific needs of your chosen variety. Consider adding a small amount of Epsom salts to the water every few weeks to provide extra magnesium, which potatoes love. Another variation is to use different inert growing mediums. While perlite and vermiculite are popular, you could also try coco coir or even LECA (lightweight expanded clay aggregate) for a slightly different texture and drainage.
The key to success with this method is consistent monitoring and maintenance. Regularly check the moisture levels of the growing medium and adjust the watering schedule as needed. Keep an eye out for any signs of nutrient deficiencies and adjust the nutrient solution accordingly. Remember, patience is key. It takes time for potatoes to develop, so don’t get discouraged if you don’t see results immediately.
We wholeheartedly encourage you to give this soil-free bucket potato growing method a try. It’s a rewarding and surprisingly simple way to enjoy fresh, homegrown potatoes, regardless of your gardening experience or available space. Once you taste the difference between store-bought and homegrown, you’ll never look back.
And most importantly, we want to hear about your experience! Share your successes, your challenges, and any variations you try in the comments below. Let’s build a community of soil-free potato growers and learn from each other. What potato variety did you choose? What nutrient solution worked best for you? What tips and tricks did you discover along the way? Your insights could help other aspiring gardeners achieve their potato-growing goals. So, grab a bucket, gather your supplies, and get ready to experience the joy of harvesting your own delicious, soil-free bucket potatoes!
Frequently Asked Questions (FAQ)
What exactly is a “soil-free” growing medium and why is it used for potatoes?
A soil-free growing medium, in this context, refers to an inert substance that provides support for the potato plants and allows for proper drainage and aeration, but does not contain soil. Common examples include perlite, vermiculite, coco coir, and LECA. The primary reason for using a soil-free medium is to create a controlled environment. Soil can harbor pests, diseases, and inconsistent nutrient levels, all of which can negatively impact potato growth. A soil-free medium eliminates these variables, allowing you to precisely control the nutrients and moisture the plants receive. This leads to healthier plants, higher yields, and cleaner potatoes. Furthermore, it simplifies harvesting, as you don’t have to dig through heavy soil to retrieve your potatoes.
What type of bucket is best for growing soil-free potatoes?
Ideally, you should use a food-grade bucket that is at least 5 gallons in size. A 10-gallon bucket is even better, as it provides more room for the potato plants to develop a larger root system and produce more potatoes. The bucket should be made of durable plastic that can withstand the weight of the growing medium and the plants. It’s also important to ensure that the bucket has drainage holes in the bottom to prevent waterlogging. If you’re using a bucket that doesn’t have drainage holes, you can easily drill some yourself. Just make sure to space them evenly around the bottom of the bucket. Dark-colored buckets can absorb more heat, which can be beneficial in cooler climates, but may overheat in hotter regions. In warmer climates, opt for a lighter-colored bucket to reflect sunlight and keep the roots cool.
What kind of nutrient solution should I use for soil-free bucket potatoes?
A balanced, water-soluble fertilizer specifically formulated for vegetables is the best option. Look for a fertilizer with an NPK ratio (nitrogen, phosphorus, potassium) that is appropriate for potatoes. A ratio of 10-10-10 or 14-14-14 is generally a good starting point. Follow the instructions on the fertilizer package carefully, as over-fertilizing can be just as harmful as under-fertilizing. It’s also important to monitor the pH of the nutrient solution. Potatoes prefer a slightly acidic pH of around 5.5 to 6.5. You can use a pH meter or test strips to check the pH and adjust it accordingly using pH up or pH down solutions. Remember to change the nutrient solution every 2-3 weeks to prevent the buildup of salts and maintain optimal nutrient levels.
How often should I water my soil-free bucket potatoes?
The frequency of watering will depend on several factors, including the type of growing medium, the size of the bucket, the temperature, and the humidity. In general, you should water your potato plants whenever the top inch or two of the growing medium feels dry to the touch. Avoid overwatering, as this can lead to root rot. When you water, make sure to saturate the entire growing medium, allowing the excess water to drain out of the drainage holes. During hot weather, you may need to water your plants more frequently. Conversely, during cooler weather, you may need to water them less often. Regularly check the moisture levels of the growing medium and adjust your watering schedule accordingly.
How do I know when my soil-free bucket potatoes are ready to harvest?
The timing of the harvest will depend on the potato variety you are growing. In general, potatoes are ready to harvest when the foliage starts to turn yellow and die back. This usually occurs about 80-100 days after planting. You can also check the size of the potatoes by gently digging around the edges of the bucket. If the potatoes are the size you desire, you can harvest them. To harvest, simply tip the bucket over and carefully remove the potatoes from the growing medium. Be gentle to avoid bruising or damaging the potatoes. Once harvested, store the potatoes in a cool, dark, and dry place.
Can I reuse the growing medium for future potato crops?
While technically possible, it’s generally not recommended to reuse the growing medium for future potato crops. Over time, the growing medium can accumulate salts, pathogens, and other contaminants that can negatively impact plant growth. It’s best to start with fresh growing medium each time you plant potatoes. However, you can reuse the growing medium for other plants that are less susceptible to soilborne diseases. Just make sure to thoroughly rinse the growing medium before reusing it.
What are some common problems I might encounter when growing soil-free bucket potatoes and how can I fix them?
Some common problems include nutrient deficiencies, pests, and diseases. Nutrient deficiencies can be identified by yellowing leaves, stunted growth, or other abnormal symptoms. To fix nutrient deficiencies, adjust the nutrient solution according to the specific needs of your potato plants. Pests, such as aphids and potato beetles, can be controlled with insecticidal soap or neem oil. Diseases, such as early blight and late blight, can be prevented by providing good air circulation, avoiding overwatering, and using disease-resistant potato varieties. If you encounter any problems, research the specific issue and take appropriate action to address it promptly.
Is growing soil-free bucket potatoes organic?
Whether or not your soil-free bucket potatoes are organic depends on the inputs you use. If you use organic fertilizers and pest control methods, then your potatoes can be considered organic. However, if you use synthetic fertilizers or pesticides, then your potatoes will not be organic. Look for fertilizers and pest control products that are certified organic by a reputable organization, such as the USDA.
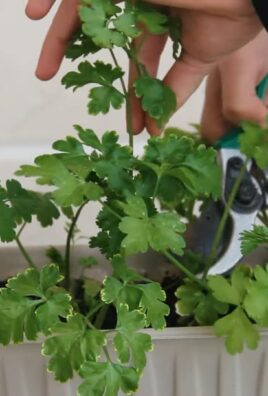
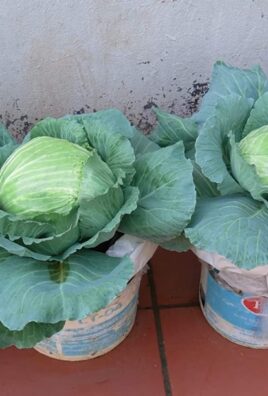
Can I grow other vegetables using this soil-free bucket method?
Yes, many other vegetables can be successfully grown using the soil-free bucket method. Tomatoes, peppers, cucumbers, and lettuce are just a few examples. The key is to choose vegetables that have similar growing requirements and to adjust the nutrient solution and watering schedule accordingly. Research the specific needs of each vegetable before planting to ensure optimal growth.
Leave a Comment