
Rubbing Alcohol Cleaning Uses: Unlock the Sparkling Secrets of Your Home!
Ever feel like you’re battling a never-ending war against grime, stains, and sticky messes? I know I have! But what if I told you the secret weapon you need is probably already sitting in your medicine cabinet? We’re talking about rubbing alcohol, that unassuming bottle of isopropyl alcohol that’s so much more than just a first-aid essential. For generations, this humble liquid has been a go-to solution for disinfecting and cleaning, quietly working its magic in homes and hospitals alike. Its history stretches back to the early 20th century, quickly becoming a staple for its antiseptic properties and versatility.
But here’s the thing: most people only scratch the surface of what rubbing alcohol can *really* do. Beyond cuts and scrapes, it’s a powerhouse cleaner, deodorizer, and even a stain remover! In this article, I’m going to share some amazing rubbing alcohol cleaning uses that will revolutionize your cleaning routine. From sparkling windows to sanitized electronics, and even tackling stubborn laundry stains, these DIY tricks will save you time, money, and a whole lot of elbow grease. So, ditch those harsh chemicals and get ready to discover the incredible cleaning potential of rubbing alcohol!
Unlocking the Cleaning Power of Rubbing Alcohol: More Than Just a First-Aid Staple
Hey there, fellow DIY enthusiasts! I’m here to let you in on a little secret weapon I’ve discovered: rubbing alcohol. You probably have a bottle tucked away in your medicine cabinet, but did you know it’s a cleaning powerhouse? Forget those expensive, chemical-laden cleaners – rubbing alcohol (isopropyl alcohol) can tackle a surprising number of household chores. I’m going to walk you through some of my favorite ways to use it, and trust me, you’ll be amazed!
Understanding Rubbing Alcohol: A Quick Primer
Before we dive in, let’s get a few things straight. Rubbing alcohol comes in different concentrations, usually 70% or 91%. For most cleaning tasks, 70% is perfectly fine and often preferred because it contains more water, which helps it dissolve dirt and grime more effectively. The 91% solution is great for disinfecting and situations where you want faster evaporation. Always check the label and use common sense! And remember, always test in an inconspicuous area first, especially on delicate surfaces.
Cleaning Electronics: Giving Your Gadgets a Fresh Start
Electronics are notorious for attracting dust, fingerprints, and all sorts of gunk. Rubbing alcohol is a safe and effective way to clean them without damaging sensitive components.
What You’ll Need:
* Rubbing alcohol (70% or 91%)
* Microfiber cloths
* Cotton swabs
* Small spray bottle (optional)
Step-by-Step Instructions:
1. Power Down: This is crucial! Always turn off and unplug any electronic device before cleaning it. Safety first!
2. Prepare Your Cloth: Dampen a microfiber cloth with rubbing alcohol. Don’t soak it! You want it damp, not dripping. If you’re using a spray bottle, lightly mist the cloth. Never spray directly onto the electronic device.
3. Wipe Down Surfaces: Gently wipe down the exterior surfaces of your device. For screens, use a light, circular motion. Avoid applying too much pressure.
4. Tackle Tight Spots: Use cotton swabs dipped in rubbing alcohol to clean hard-to-reach areas like ports, buttons, and seams. Be careful not to leave any cotton fibers behind.
5. Air Dry: Allow the device to air dry completely before turning it back on. This usually only takes a few minutes.
Specific Examples:
* Smartphones and Tablets: Pay special attention to the screen and the charging port.
* Keyboards: Turn the keyboard upside down and gently tap it to remove loose debris. Then, use a cotton swab to clean between the keys.
* Remote Controls: These are germ magnets! Give them a thorough wipe-down regularly.
* Computer Mouse: Clean the top and bottom of the mouse, paying attention to the scroll wheel.
Disinfecting Surfaces: Killing Germs the Easy Way
Rubbing alcohol is a fantastic disinfectant, perfect for killing germs on frequently touched surfaces.
What You’ll Need:
* Rubbing alcohol (70% or 91%)
* Spray bottle
* Microfiber cloths or paper towels
Step-by-Step Instructions:
1. Prepare Your Solution: Pour rubbing alcohol into a spray bottle. You can use it straight, no need to dilute it.
2. Spray and Wipe: Spray the surface you want to disinfect with rubbing alcohol. Make sure the surface is visibly wet.
3. Let it Sit: Allow the rubbing alcohol to sit on the surface for at least 30 seconds to kill germs effectively. For some viruses, you might need to let it sit for a minute or two.
4. Wipe Clean: Wipe the surface clean with a microfiber cloth or paper towel.
Where to Use It:
* Doorknobs and Light Switches: These are high-touch areas that need regular disinfection.
* Countertops: Especially in the kitchen and bathroom.
* Bathroom Fixtures: Faucets, toilet handles, and showerheads.
* Phones and Keys: Clean these daily, especially if you’ve been out and about.
* Shopping Carts and Baskets: Give the handles a quick wipe before you start shopping.
Removing Sticky Residue: Goodbye Goo!
Sticky residue from stickers, tape, and labels can be a real pain to remove. Rubbing alcohol to the rescue!
What You’ll Need:
* Rubbing alcohol (70% or 91%)
* Cotton balls or cotton swabs
* Clean cloth
* Plastic scraper (optional)
Step-by-Step Instructions:
1. Soak the Residue: Saturate a cotton ball or cotton swab with rubbing alcohol and apply it to the sticky residue. Let it sit for a few minutes to soften the adhesive.
2. Wipe Away: Gently wipe away the residue with a clean cloth. You may need to repeat this process several times, especially for stubborn residue.
3. Scrape if Needed: If the residue is particularly stubborn, use a plastic scraper to gently lift it away. Be careful not to scratch the surface.
4. Clean the Area: Once the residue is gone, clean the area with a damp cloth to remove any remaining rubbing alcohol.
Works Great On:
* Glass: Removing sticker residue from windows and mirrors.
* Plastic: Removing tape residue from containers and toys.
* Metal: Removing adhesive from appliances and tools.
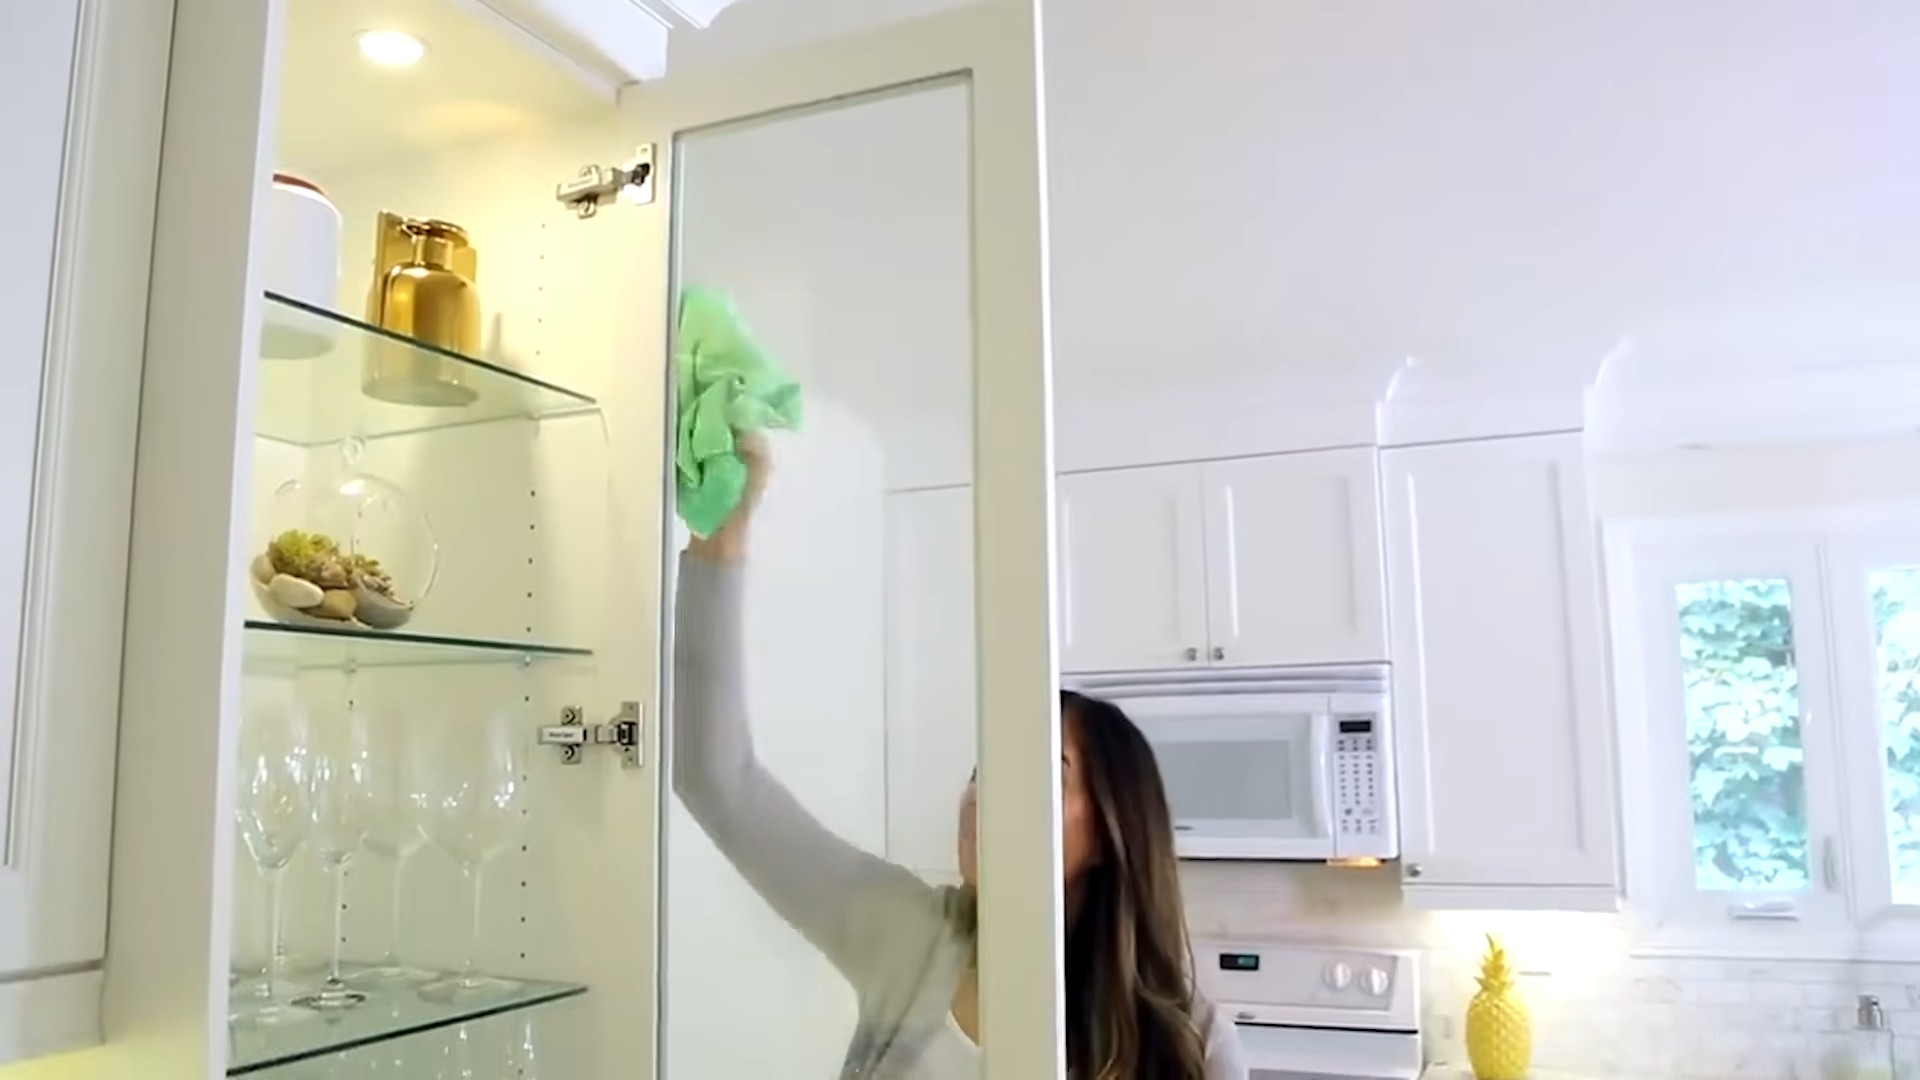
Cleaning Mirrors and Windows: Streak-Free Shine
Forget expensive glass cleaners! Rubbing alcohol can give you streak-free mirrors and windows for a fraction of the cost.
What You’ll Need:
* Rubbing alcohol (70% or 91%)
* Spray bottle
* Microfiber cloths
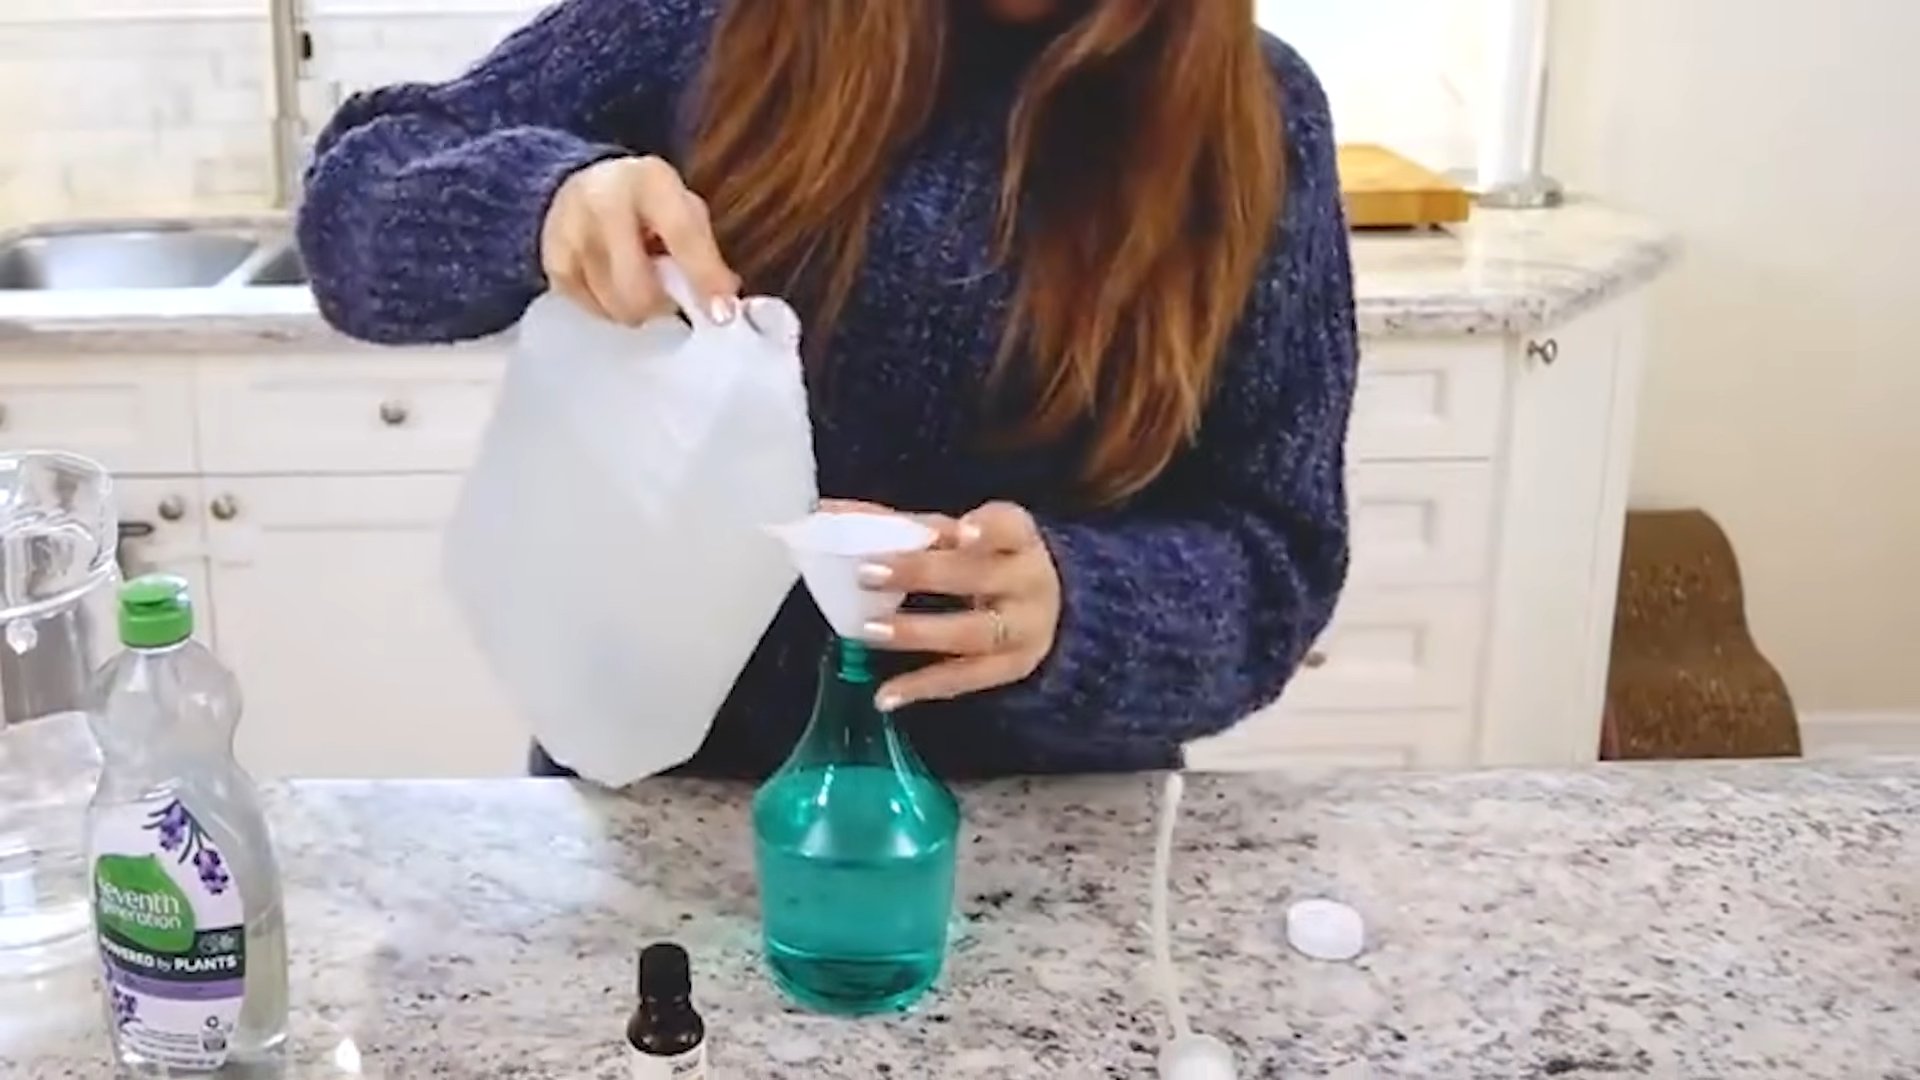
Step-by-Step Instructions:
1. Prepare Your Solution: Mix equal parts rubbing alcohol and water in a spray bottle.
2. Spray the Surface: Lightly spray the mirror or window with the solution.
3. Wipe Clean: Wipe the surface clean with a microfiber cloth. Use a clean, dry cloth to buff the surface for a streak-free shine.
Tips for Success:
* Use a clean microfiber cloth to avoid streaks.
* Work in a well-ventilated area.
* Avoid spraying the solution directly onto window frames, as it may damage the finish.
Removing Ink Stains: A Lifesaver for Clothes and More
Accidentally got ink on your favorite shirt? Don’t panic! Rubbing alcohol can often remove ink stains, especially if you act quickly.
What You’ll Need:
* Rubbing alcohol (70% or 91%)
* Cotton balls or clean cloth
* Clean towel
Step-by-Step Instructions:
1. Test in an Inconspicuous Area: Before applying rubbing alcohol to the stain, test it on a hidden area of the fabric to make sure it doesn’t damage the material.
2. Blot the Stain: Place a clean towel underneath the stained fabric. Dampen a cotton ball or clean cloth with rubbing alcohol and gently blot the stain, working from the outside in. Avoid rubbing, as this can spread the stain.
3. Repeat as Needed: Continue blotting the stain with fresh cotton balls or clean cloths until the ink is no longer transferring to the cloth.
4. Launder as Usual: Once the stain is removed, launder the garment as usual.
Important Notes:
* This method works best on fresh ink stains.
* Some fabrics may be more sensitive to rubbing alcohol than others.
* For stubborn stains, you may need to repeat the process several times or try a different stain remover.
Cleaning Jewelry: Sparkling Clean Without the Harsh Chemicals
Keep your jewelry sparkling with a simple rubbing alcohol soak.
What You’ll Need:
* Rubbing alcohol (70% or 91%)
* Small bowl
* Soft-bristled toothbrush (optional)
* Clean cloth
Step-by-Step Instructions:
1. Soak Your Jewelry: Place your jewelry in a small bowl and cover it with rubbing alcohol. Let it soak for about 10-15 minutes.
2. Scrub Gently (Optional): If your jewelry is particularly dirty, use a soft-bristled toothbrush to gently scrub away any grime.
3. Rinse and Dry: Rinse your jewelry thoroughly with water and dry it with a clean cloth.
Things to Keep in Mind:
* This method is safe for most jewelry, but avoid using it on porous stones like pearls or opals.
* Always test in an inconspicuous area first, especially on delicate pieces.
Freshening Up Shoes: Ban
Conclusion
So, there you have it! Rubbing alcohol, that unassuming bottle lurking in your medicine cabinet, is a veritable powerhouse of cleaning potential. We’ve explored just a fraction of its capabilities, from banishing stubborn stains to sanitizing surfaces with impressive efficiency. But why should you embrace these DIY rubbing alcohol cleaning uses? Because they’re effective, economical, and often more environmentally friendly than harsh chemical alternatives.
Think about it: you’re likely already familiar with rubbing alcohol, making it an accessible and readily available cleaning solution. No need to make a special trip to the store or invest in expensive, specialized products. Plus, a little rubbing alcohol goes a long way, stretching your cleaning budget further. And perhaps most importantly, by opting for rubbing alcohol, you’re reducing your reliance on potentially harmful chemicals that can irritate skin, trigger allergies, and contribute to indoor air pollution.
But the beauty of these DIY tricks lies in their adaptability. Feel free to experiment and tailor them to your specific needs and preferences. For instance, if you’re using rubbing alcohol to clean glass, try adding a few drops of white vinegar for an extra streak-free shine. Or, if you’re looking to disinfect surfaces with a pleasant scent, infuse your rubbing alcohol with a few drops of your favorite essential oil, like lavender or lemon. Just be sure to test any new combinations on an inconspicuous area first to ensure they don’t damage the surface.
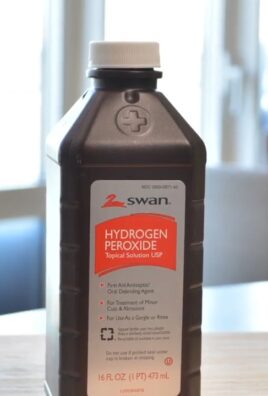
Don’t be afraid to get creative! Rubbing alcohol can be combined with other common household ingredients like baking soda, dish soap, or even hydrogen peroxide to create even more powerful cleaning solutions. The possibilities are truly endless.
We’ve covered a lot of ground, from sanitizing electronics to removing permanent marker stains. But the best way to truly appreciate the versatility of rubbing alcohol is to experience it for yourself. So, we wholeheartedly encourage you to try out some of these DIY cleaning tricks. Start with a small project, like cleaning your phone screen or disinfecting your doorknobs. You’ll be amazed at the results.
And once you’ve discovered the magic of rubbing alcohol cleaning uses, we want to hear about it! Share your experiences, tips, and variations in the comments below. Let’s create a community of resourceful cleaners who are passionate about finding effective, affordable, and eco-friendly solutions. Your insights could inspire others to ditch the harsh chemicals and embrace the power of rubbing alcohol.
So, grab that bottle of rubbing alcohol and get ready to transform your cleaning routine. You won’t be disappointed!
Frequently Asked Questions (FAQs)
Is rubbing alcohol safe to use on all surfaces?
Not necessarily. While rubbing alcohol is generally safe for many surfaces, it’s crucial to exercise caution and test it on an inconspicuous area first, especially on delicate or porous materials. For instance, rubbing alcohol can damage certain types of plastic, painted surfaces, and varnished wood. Always dilute rubbing alcohol with water for sensitive surfaces. Avoid using it on natural stone like marble or granite, as it can etch the surface. When in doubt, consult the manufacturer’s instructions for the specific surface you’re cleaning.
What concentration of rubbing alcohol is best for cleaning and disinfecting?
The Centers for Disease Control and Prevention (CDC) recommends using rubbing alcohol with a concentration of 70% or higher for effective disinfection. This concentration is most effective at denaturing proteins and dissolving the lipid membranes of viruses and bacteria. While higher concentrations, like 90% or 99%, are available, they evaporate more quickly, which can reduce their contact time with the surface and diminish their disinfecting power. For general cleaning purposes, a lower concentration may suffice, but for disinfecting, stick to 70% or higher.
Can I use rubbing alcohol to clean my electronics?
Yes, rubbing alcohol can be used to clean electronics, but with extreme caution. Always power off the device and unplug it before cleaning. Use a cotton swab or microfiber cloth dampened with rubbing alcohol (70% or higher) to gently wipe the screen, keyboard, or other surfaces. Avoid getting any liquid into openings or ports. Never spray rubbing alcohol directly onto the device. Allow the alcohol to evaporate completely before turning the device back on. For sensitive screens, consider using a screen cleaner specifically designed for electronics.
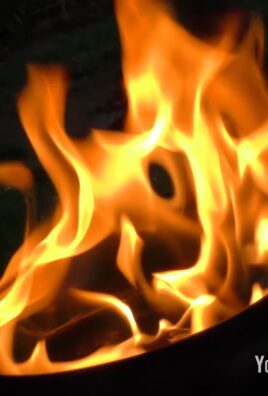
Is rubbing alcohol flammable?
Yes, rubbing alcohol is highly flammable. Keep it away from open flames, sparks, and heat sources. Store it in a cool, well-ventilated area, away from direct sunlight. When using rubbing alcohol for cleaning, ensure adequate ventilation to prevent the buildup of flammable vapors. Never smoke while using rubbing alcohol.
Can I mix rubbing alcohol with other cleaning products?
It’s generally not recommended to mix rubbing alcohol with other cleaning products, especially bleach. Mixing rubbing alcohol with bleach can create toxic fumes that can be harmful to your health. Avoid mixing it with ammonia-based cleaners as well. If you’re unsure about the compatibility of rubbing alcohol with another cleaning product, it’s best to err on the side of caution and avoid mixing them.
How do I store rubbing alcohol properly?
Store rubbing alcohol in a tightly sealed container in a cool, dry, and well-ventilated area. Keep it out of reach of children and pets. Avoid storing it near heat sources, open flames, or direct sunlight. Properly labeled containers are essential to prevent accidental ingestion or misuse.
Can rubbing alcohol remove permanent marker stains?
Yes, rubbing alcohol is often effective at removing permanent marker stains from various surfaces. Dampen a cotton ball or cloth with rubbing alcohol and gently blot the stain. Avoid rubbing vigorously, as this can spread the stain. Repeat the process until the stain is lifted. For stubborn stains, you may need to let the rubbing alcohol sit on the stain for a few minutes before blotting. Always test on an inconspicuous area first to ensure it doesn’t damage the surface.
What are some other uses for rubbing alcohol besides cleaning?
Besides cleaning, rubbing alcohol has a variety of other uses, including:
* Disinfecting minor cuts and scrapes
* Relieving muscle pain and soreness
* Treating insect bites and stings
* Removing sticky residue from labels and stickers
* Cleaning and disinfecting makeup brushes
* Deodorizing shoes
* Removing ink stains from clothing
Is rubbing alcohol safe for my skin?
While rubbing alcohol can be used to disinfect minor cuts and scrapes, it can also be drying and irritating to the skin. Prolonged or frequent use can strip the skin of its natural oils, leading to dryness, cracking, and irritation. If you have sensitive skin, dilute rubbing alcohol with water or use a moisturizer after applying it. Avoid using rubbing alcohol on large areas of skin or on open wounds.
Can I use rubbing alcohol to kill bed bugs?
Rubbing alcohol can kill bed bugs on contact, but it’s not a reliable or effective method for eliminating a bed bug infestation. Bed bugs can hide in cracks and crevices, making it difficult to reach them with rubbing alcohol. Furthermore, rubbing alcohol evaporates quickly, which can reduce its effectiveness. For a bed bug infestation, it’s best to consult with a professional pest control service.

Leave a Comment