
Baking Soda Cleaning Hacks: Unlock the sparkling potential of your home with this humble kitchen staple! I’m so excited to share some amazing DIY cleaning tricks that will transform the way you think about cleaning. Forget expensive, chemical-laden products – baking soda is your new best friend for a naturally fresh and clean home.
For generations, baking soda has been a go-to cleaning agent. Our grandmothers knew the secret, using it for everything from deodorizing refrigerators to scrubbing stubborn stains. It’s a testament to its effectiveness and versatility that it remains a household essential today. But did you know that baking soda can do so much more than just freshen your fridge?
In today’s busy world, we’re all looking for ways to simplify our lives and save money. That’s where these baking soda cleaning hacks come in. They’re easy, affordable, and incredibly effective. Plus, you’ll be reducing your exposure to harsh chemicals, making your home a healthier and happier place. From tackling tough grease to brightening dingy surfaces, I’m going to show you how to harness the power of baking soda to achieve a spotless home with minimal effort. Get ready to be amazed by the cleaning magic you can create with this simple ingredient!
Unleash the Power of Baking Soda: DIY Cleaning Hacks That Will Blow Your Mind!
Okay, friends, let’s talk baking soda. That humble little box sitting in your pantry is a cleaning powerhouse just waiting to be unleashed! Forget expensive, chemical-laden cleaners – baking soda is your eco-friendly, budget-friendly, and surprisingly effective solution for a sparkling clean home. I’m going to walk you through some of my favorite baking soda cleaning hacks that will seriously change your cleaning game. Get ready to be amazed!
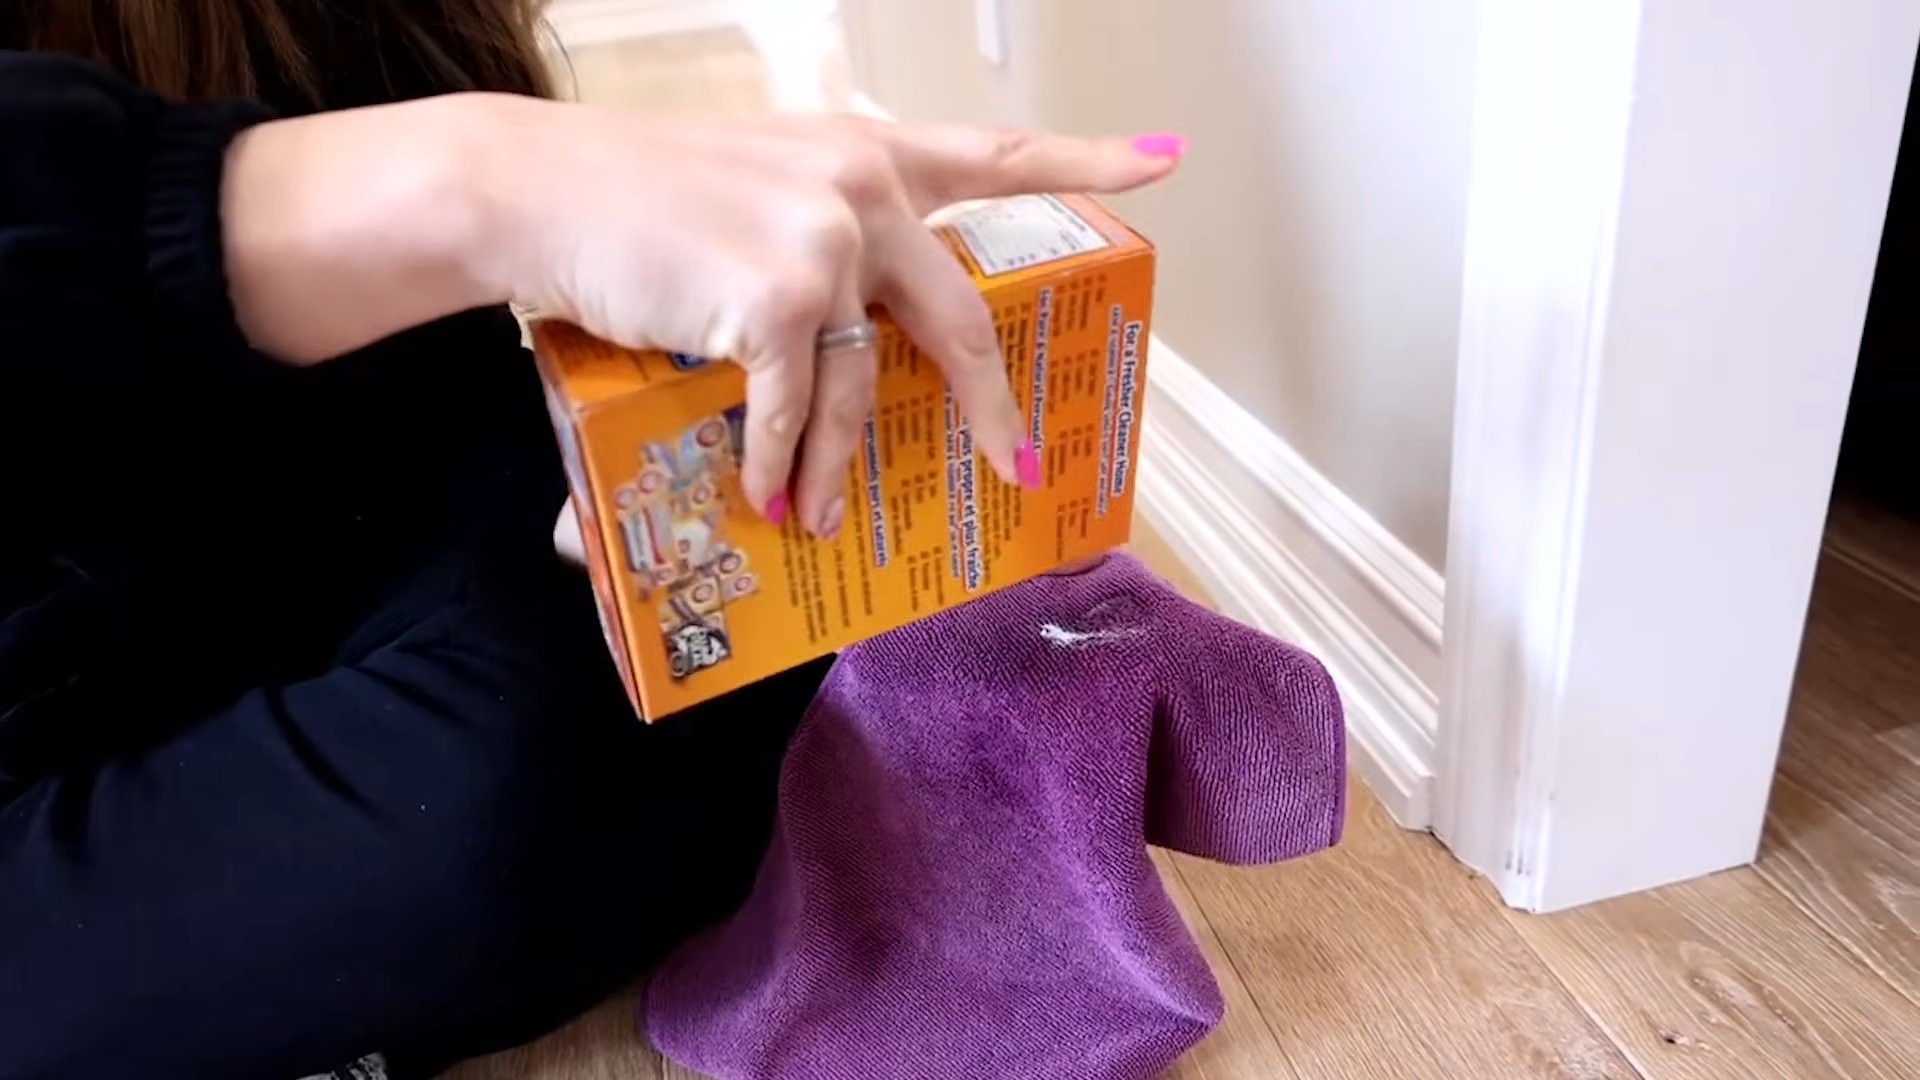
Hack #1: Deodorize Your Fridge Like a Pro
That lingering odor in your fridge? Yeah, we’ve all been there. Baking soda is your secret weapon against those funky smells.
What you’ll need:
* Baking soda
* A small, open container (like a ramekin or small bowl)
Step-by-step instructions:
1. Prep the Fridge: Before you start, quickly check your fridge for any obviously expired or spoiled food. Toss anything that’s past its prime – this will help eliminate the source of the odor.
2. Fill the Container: Pour about ½ cup of baking soda into your open container.
3. Place and Wait: Place the container of baking soda in the back of your fridge. The baking soda will absorb odors over time.
4. Replace Regularly: For optimal freshness, replace the baking soda every month. You can even write the date you replaced it on the container with a marker so you don’t forget!
Bonus Tip: For extra-stubborn odors, you can also sprinkle baking soda directly onto a damp sponge and wipe down the interior surfaces of your fridge. Just be sure to wipe away any excess baking soda with a clean, damp cloth.
Hack #2: Conquer Stubborn Oven Grime
Cleaning the oven is probably the chore everyone dreads the most. But with baking soda, it doesn’t have to be a nightmare! This method requires a little patience, but the results are totally worth it.
What you’ll need:
* Baking soda
* Water
* Spray bottle
* Spatula or scraper
* Paper towels or sponge
* Rubber gloves (optional, but recommended)
Step-by-step instructions:
1. Empty the Oven: Remove oven racks, baking sheets, and any other items from your oven.
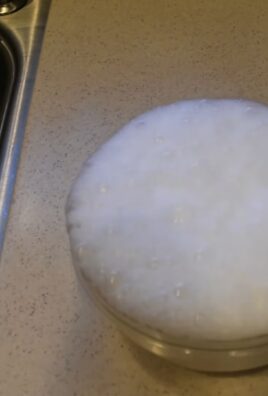
2. Make a Baking Soda Paste: In a bowl, mix ½ cup of baking soda with enough water to form a thick, spreadable paste.
3. Coat the Oven: Using your hands (with gloves on, if you prefer) or a spatula, spread the baking soda paste all over the interior surfaces of your oven, avoiding the heating elements. Be generous with the paste, especially on areas with baked-on grime.
4. Let it Sit Overnight: This is the key! Let the baking soda paste sit in your oven for at least 12 hours, or even overnight. The longer it sits, the more effectively it will loosen the grime.
5. Scrub and Scrape: After the paste has sat overnight, use a spatula or scraper to remove as much of the loosened grime as possible. You might need to apply a little elbow grease, but the baking soda should have made the job much easier.
6. Wipe Clean: Use a damp sponge or paper towels to wipe away any remaining baking soda residue. Rinse your sponge frequently with clean water.
7. Spray and Wipe (Optional): For any stubborn spots, you can spray a little vinegar onto the baking soda residue and let it fizz for a few minutes before wiping clean.
8. Replace Racks and Enjoy: Once your oven is clean and dry, replace the racks and you’re good to go!
Hack #3: Revive Your Grout
Dirty grout can make even the cleanest tiles look dingy. Baking soda to the rescue!
What you’ll need:
* Baking soda
* Water
* Old toothbrush or grout brush
* Spray bottle (optional)
Step-by-step instructions:
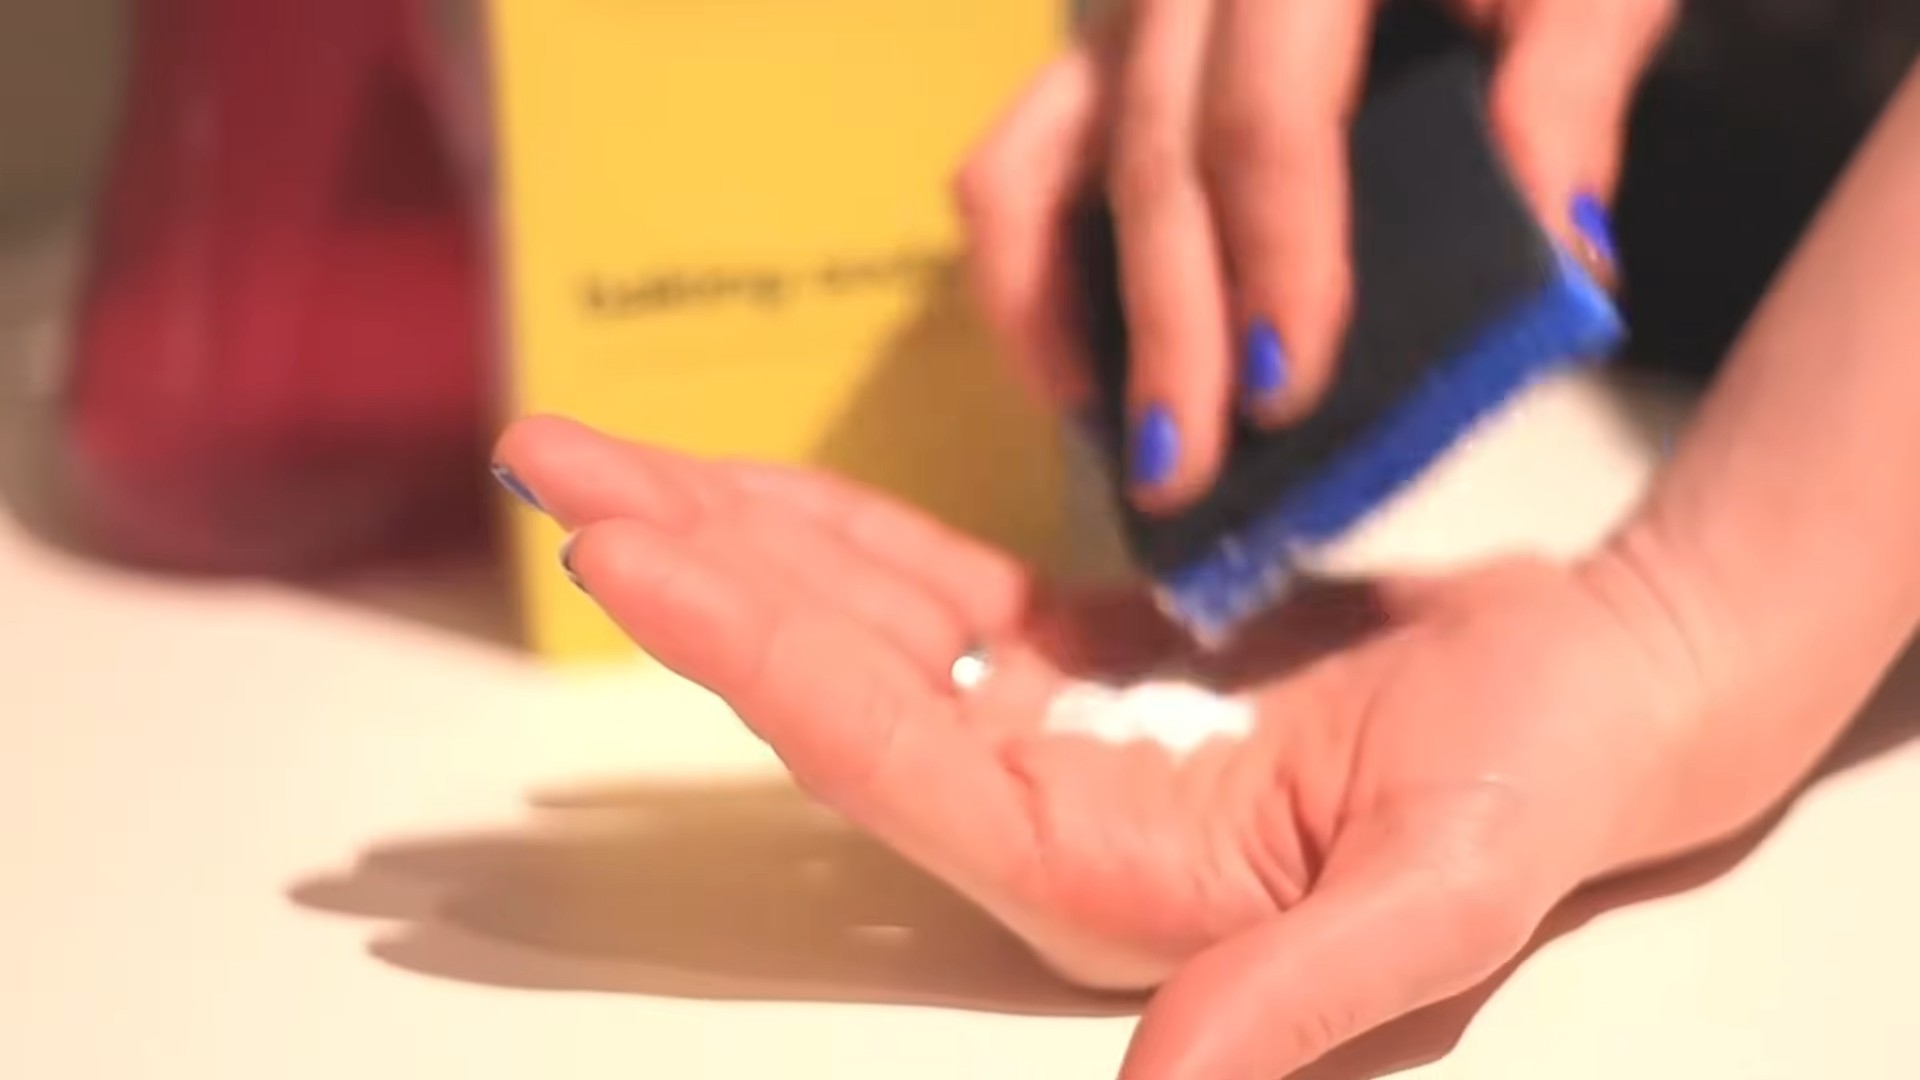
1. Make a Baking Soda Paste: Mix baking soda with a small amount of water to form a thick paste.
2. Apply to Grout: Apply the baking soda paste to the grout lines. You can use your fingers (with gloves on), a small spoon, or even a pastry bag for more precise application.
3. Scrub: Use an old toothbrush or a grout brush to scrub the grout lines. Apply firm pressure and work in small sections.
4. Rinse: Rinse the grout lines with clean water. You can use a spray bottle to make rinsing easier.
5. Repeat if Necessary: For heavily stained grout, you may need to repeat the process.
Bonus Tip: For extra cleaning power, you can mix the baking soda paste with a little hydrogen peroxide instead of water.
Hack #4: Unclog Drains Naturally
Forget harsh chemical drain cleaners! Baking soda and vinegar can often do the trick.
What you’ll need:
* Baking soda
* White vinegar
* Hot water
Step-by-step instructions:
1. Pour Baking Soda: Pour about ½ cup of baking soda down the drain.
2. Add Vinegar: Follow with 1 cup of white vinegar.
3. Let it Fizz: Let the mixture fizz for about 30 minutes. This chemical reaction helps to break down the clog.
4. Flush with Hot Water: After 30 minutes, flush the drain with a pot of boiling water.
5. Repeat if Necessary: If the drain is still clogged, repeat the process.
Important Note: Be careful when pouring boiling water down the drain, especially if you have PVC pipes.
Hack #5: Freshen Up Your Mattress
Mattresses can harbor dust mites and absorb odors over time. Baking soda can help freshen them up.
What you’ll need:
* Baking soda
* Vacuum cleaner with upholstery attachment
* Essential oil (optional)
* Sifter or strainer (optional)
Step-by-step instructions:
1. Strip the Bed: Remove all bedding from your mattress.
2. Sprinkle Baking Soda: Sprinkle a generous layer of baking soda over the entire surface of your mattress. If you want to add a pleasant scent, you can mix a few drops of your favorite essential oil with the baking soda before sprinkling. Use a sifter or strainer for even distribution.
3. Let it Sit: Let the baking soda sit on your mattress for at least 30 minutes, or even longer for heavily soiled mattresses. The longer it sits, the more effectively it will absorb odors and moisture.
4. Vacuum Thoroughly: Use the upholstery attachment on your vacuum cleaner to thoroughly vacuum the entire surface of your mattress, removing all traces of baking soda.
5. Flip and Repeat (Optional): If desired, flip your mattress and repeat the process on the other side.
6. Remake the Bed: Once you’ve vacuumed thoroughly, remake your bed with fresh bedding.
Hack #6: Polish Silverware Without the Fuss
Tarnished silverware looking dull? Baking soda can bring back the shine!
What you’ll need:
* Baking soda
* Aluminum foil
* Boiling water
* Large bowl or container
* Soft cloth
Step-by-step instructions:
1. Line the Container: Line the bottom of your bowl or container with aluminum foil, shiny side up.
2. Add Silverware: Place your tarnished silverware on top of the aluminum foil, making sure each piece is touching the foil.
3. Pour Boiling Water: Pour enough boiling water into the container to completely submerge the silverware.
4. Add Baking Soda: Add 1-2 tablespoons of baking soda to the water. You should see some fizzing.
5. Let it Soak: Let the silverware soak in the solution for 5-10 minutes, or longer for heavily tarnished pieces. You should see the tarnish transferring from the silverware to the aluminum foil.
6. Remove and Polish: Carefully remove the silverware from the container (it will be hot!). Rinse with clean water and dry with a soft cloth. Polish any remaining tarnish with the cloth.
How it works: This method uses a chemical reaction to transfer the tarnish from the silverware to the aluminum foil. The baking soda acts as an electrolyte, facilitating the transfer.
Hack #7: Clean Burnt Food from Pots and Pans
Ugh, burnt food stuck to the bottom of your pot? Don’t despair! Baking soda can help loosen that stubborn mess.
What you’ll need:
* Baking soda
* Water
* Dish soap (optional)
* Sponge or non-abrasive scrubber
Conclusion
So, there you have it! These baking soda cleaning hacks are not just simple; they’re game-changers for keeping your home sparkling without harsh chemicals or breaking the bank. From tackling stubborn stains to deodorizing your refrigerator, the versatility of baking soda is truly remarkable. It’s a powerhouse ingredient that deserves a prominent spot in your cleaning arsenal.
Why is this a must-try? Because it’s effective, eco-friendly, and incredibly affordable. You’re not just cleaning; you’re making a conscious choice for a healthier home and a healthier planet. Plus, the satisfaction of seeing grime disappear with a simple, natural solution is incredibly rewarding.
Ready to take your cleaning routine to the next level?
Consider these variations to personalize your baking soda cleaning experience:
* **For extra scrubbing power:** Combine baking soda with a few drops of your favorite essential oil, like lemon or tea tree, for a fresh scent and added antibacterial properties.
* **For a deeper clean on grout:** Make a paste of baking soda and hydrogen peroxide, apply it to the grout lines, let it sit for a few minutes, and then scrub with an old toothbrush.
* **For a natural drain cleaner:** Pour a cup of baking soda down the drain, followed by a cup of vinegar. Let it fizz for 30 minutes, then flush with hot water.
* **For polishing silver:** Create a paste of baking soda and water, gently rub it onto your silver items, rinse thoroughly, and buff with a soft cloth.
Don’t be afraid to experiment and find what works best for you and your home. The beauty of these baking soda cleaning hacks is their adaptability. They can be tailored to suit your specific needs and preferences.
We’re confident that once you try these baking soda cleaning hacks, you’ll be amazed by the results. They’re a simple, effective, and sustainable way to keep your home clean and fresh.
Now, it’s your turn! We encourage you to try these DIY cleaning solutions and share your experiences with us. What are your favorite baking soda cleaning hacks? Did you discover any new uses for this amazing ingredient? Let us know in the comments below! We can’t wait to hear your success stories and learn from your experiences. Let’s build a community of clean, green, and happy homes, one baking soda hack at a time!
Frequently Asked Questions (FAQs)
Is baking soda safe to use on all surfaces?
While baking soda is generally safe and gentle, it’s always a good idea to test it on an inconspicuous area first, especially on delicate surfaces like polished wood or certain types of stone. Baking soda is mildly abrasive, so excessive scrubbing on these surfaces could potentially cause scratches. Avoid using baking soda on aluminum, as it can cause discoloration. For most other surfaces, including stainless steel, porcelain, and tile, baking soda is a safe and effective cleaning agent. When in doubt, consult the manufacturer’s instructions for your specific surface.
Can I mix baking soda with vinegar for all cleaning purposes?
Mixing baking soda and vinegar creates a fizzing reaction that can be useful for unclogging drains or loosening grime. However, the resulting mixture is mostly water and sodium acetate, which isn’t a particularly strong cleaning agent. While it’s effective for certain tasks, it’s not a universal cleaning solution. For more powerful cleaning, it’s often better to use baking soda and vinegar separately, taking advantage of their individual properties. For example, you can use baking soda as a gentle abrasive cleaner and then follow up with vinegar to disinfect.
How often should I use baking soda to clean my home?
The frequency of using baking soda for cleaning depends on your individual needs and preferences. For high-traffic areas or items that require frequent cleaning, such as kitchen counters or sinks, you can use baking soda daily or several times a week. For less frequently used areas or items, such as oven cleaning or deodorizing carpets, you can use baking soda on a monthly or as-needed basis. The key is to incorporate baking soda into your cleaning routine in a way that works best for you and your lifestyle.
Does baking soda expire?
While baking soda doesn’t technically “expire” in the sense that it becomes unsafe to use, its effectiveness may diminish over time. Baking soda can absorb odors and moisture from the air, which can reduce its cleaning and deodorizing power. To ensure optimal performance, it’s best to store baking soda in an airtight container in a cool, dry place. If you’re unsure whether your baking soda is still effective, you can test it by mixing a small amount with vinegar. If it fizzes vigorously, it’s still good to use. If it doesn’t fizz, it’s likely lost its potency and should be replaced.
Can baking soda remove tough stains like grease or coffee?
Yes, baking soda can be effective at removing tough stains like grease or coffee, especially when used as a paste. For grease stains, apply a thick paste of baking soda and water to the stain, let it sit for several minutes, and then scrub with a sponge or cloth. For coffee stains, you can sprinkle baking soda directly onto the stain, let it sit for a few minutes, and then wipe it away with a damp cloth. For stubborn stains, you may need to repeat the process or use a combination of baking soda and other cleaning agents, such as vinegar or hydrogen peroxide.
Is baking soda safe for pets and children?
Baking soda is generally considered safe for pets and children when used as directed. It’s non-toxic and doesn’t contain harsh chemicals that can be harmful if ingested or inhaled. However, it’s still important to keep baking soda out of reach of pets and children to prevent accidental ingestion. In large quantities, baking soda can cause stomach upset or electrolyte imbalances. If you’re concerned about your pet or child ingesting baking soda, consult with your veterinarian or pediatrician.
How can I use baking soda to deodorize my refrigerator?
Baking soda is an excellent natural deodorizer for refrigerators. Simply place an open box or container of baking soda in the refrigerator to absorb odors. For best results, replace the baking soda every month or two. You can also sprinkle baking soda on a damp sponge and wipe down the interior of the refrigerator to remove spills and odors. For stubborn odors, you can leave a bowl of baking soda in the refrigerator overnight.
What are some other uses for baking soda besides cleaning?
Baking soda has a wide range of uses beyond cleaning, including:
* **Baking:** Baking soda is a key ingredient in many baked goods, helping them to rise and become light and fluffy.
* **Oral hygiene:** Baking soda can be used as a natural toothpaste or mouthwash to freshen breath and remove plaque.
* **Skin care:** Baking soda can be used as a gentle exfoliant or to soothe skin irritations.
* **Laundry:** Baking soda can be added to laundry to boost the cleaning power of detergent and remove odors.
* **Gardening:** Baking soda can be used to control fungal diseases in plants and to sweeten tomatoes.
The possibilities are endless!


Leave a Comment