
Growing celery from scraps might sound like something out of a science fiction movie, but trust me, it’s a super cool and surprisingly easy way to reduce food waste and get a little bit of fresh produce right from your own kitchen! I’ve always been fascinated by the idea of breathing new life into discarded food, and this particular trick has become one of my absolute favorites.
The concept of regrowing vegetables isn’t new, of course. For centuries, resourceful gardeners have been finding ways to propagate plants from cuttings and leftovers. Think about it – our ancestors didn’t have access to the same abundance of seeds and seedlings we do today. They relied on ingenuity and observation to make the most of what they had. This echoes a time when resourcefulness was not just a hobby, but a necessity, and it’s a tradition we can all embrace today.
But why should you bother growing celery from scraps? Well, for starters, it’s incredibly satisfying to watch something you were about to throw away transform into something useful. Plus, with rising grocery prices, every little bit helps! Imagine having fresh celery on hand for soups, salads, or even just a healthy snack, all without having to run to the store. It’s a simple, sustainable way to add a touch of green to your life and reduce your environmental footprint. So, are you ready to give it a try? Let’s dive in!
Growing Celery From Scraps: A Beginner’s Guide
Hey there, fellow gardening enthusiasts! Have you ever tossed away the base of your celery stalk, feeling a twinge of guilt? Well, stop right there! I’m here to tell you that you can easily regrow celery from that very scrap, giving you fresh, crunchy stalks without constantly hitting the grocery store. It’s a fun, eco-friendly project, and I’m excited to walk you through it.
What You’ll Need
Before we dive in, let’s gather our supplies. This is a pretty low-key project, so you probably have most of these items already:
* A celery stalk base (about 2 inches from the bottom, with the roots intact if possible, but don’t worry if they’re not)
* A shallow dish or bowl
* Water (tap water is fine)
* A sunny windowsill or well-lit area
* Potting soil
* A pot or container (at least 6 inches in diameter)
* A spray bottle (optional, but helpful)
Phase 1: Rooting Your Celery Base
This is where the magic begins! We’re going to coax those dormant cells in the celery base to start growing new roots. It’s surprisingly simple.
1. Prepare the Celery Base: First, give your celery base a little trim. Remove any wilted or browning outer stalks. This will encourage new growth from the center. Don’t be afraid to be a little ruthless; we want to focus the plant’s energy on the healthy parts.
2. Place in Water: Now, place the celery base in your shallow dish or bowl. Add enough water so that the bottom inch or two of the base is submerged. Be careful not to completely submerge the entire base, as this can lead to rot. We just want the bottom to be consistently moist.
3. Find a Sunny Spot: Place the dish on a sunny windowsill or in a well-lit area. Celery loves light, so the more, the better. If you don’t have a sunny windowsill, you can use a grow light.
4. Change the Water Regularly: This is crucial! Change the water every 1-2 days to prevent bacteria and algae from growing. Fresh water keeps things clean and encourages healthy root development.
5. Observe and Wait: Now comes the waiting game. Over the next few days, you should start to see small roots emerging from the bottom of the celery base. You might also notice new green shoots sprouting from the center. This is a sign that your celery is happy and thriving! It usually takes about 5-7 days to see significant root growth, but be patient; sometimes it can take a little longer.
Phase 2: Planting Your Celery
Once your celery base has developed a good network of roots (about an inch or two long), it’s time to move it to a pot with soil.
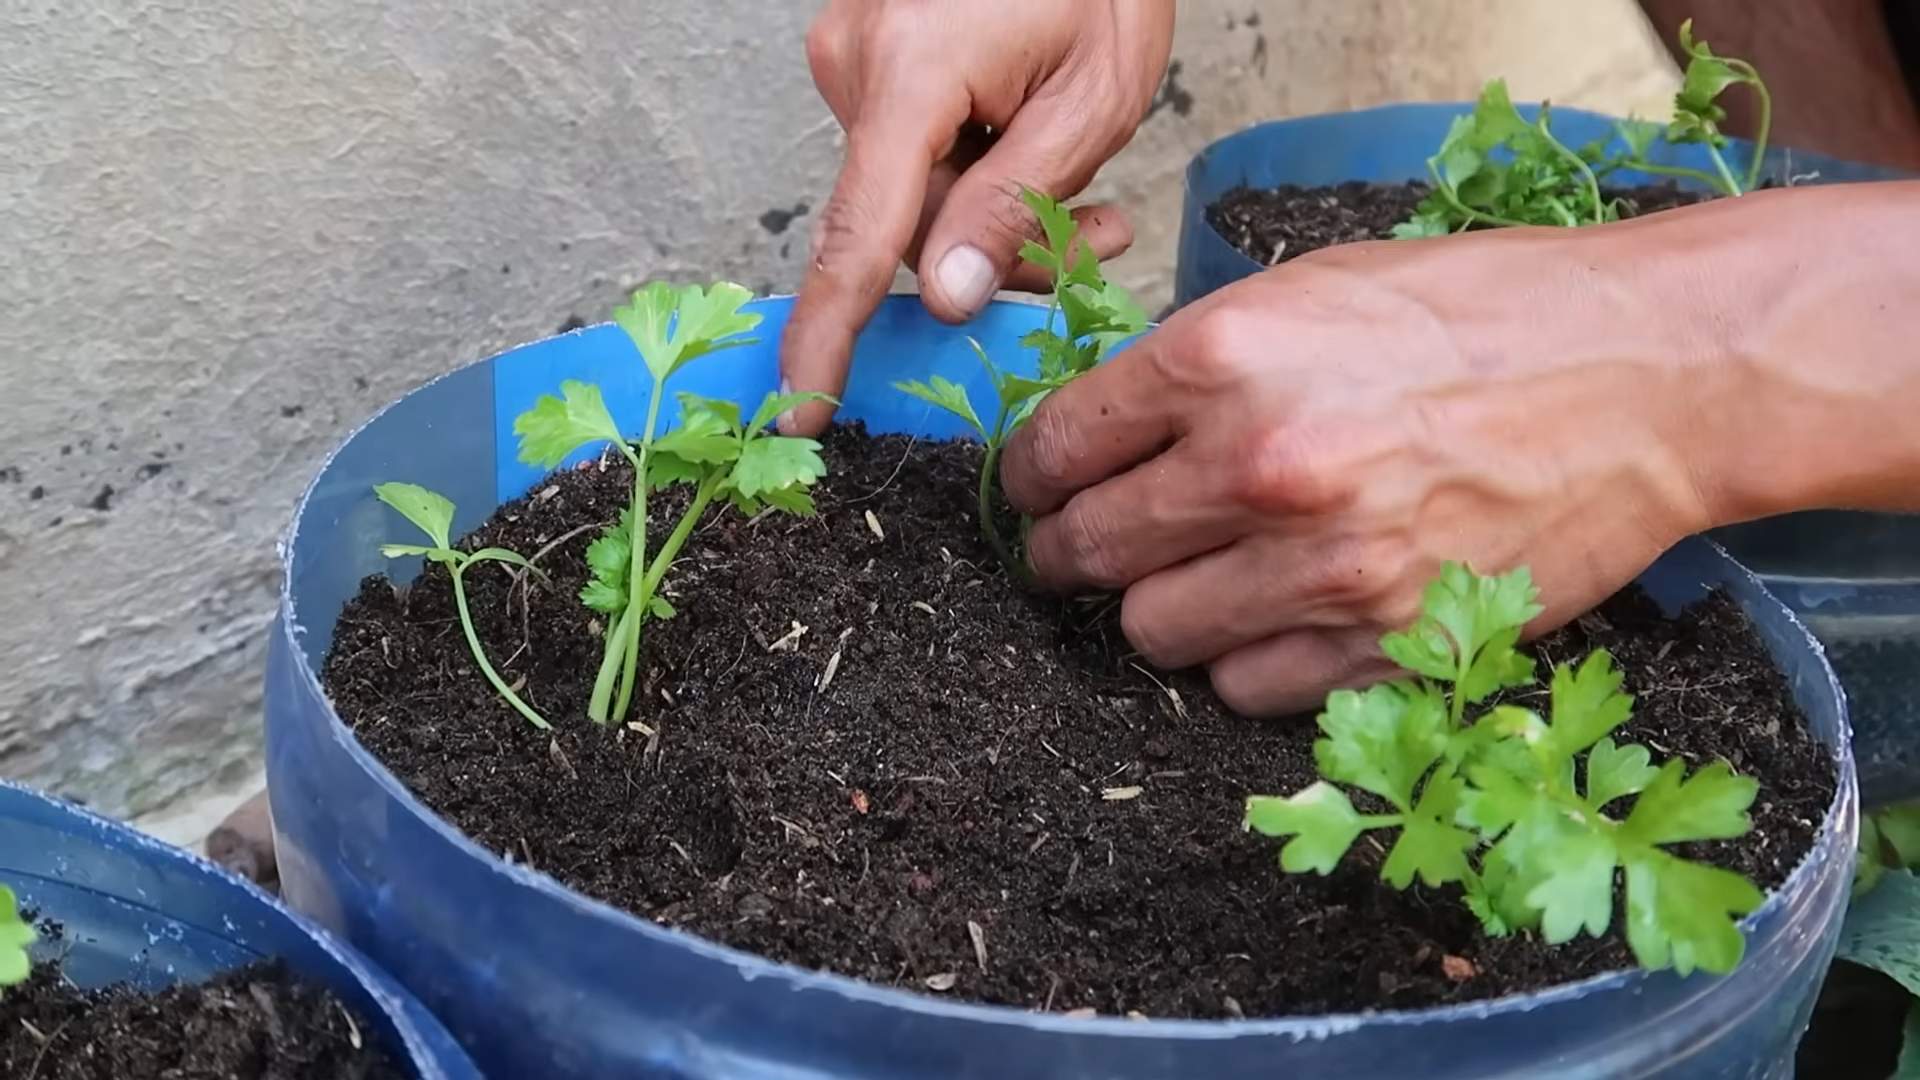
1. Prepare the Pot: Fill your pot or container with potting soil. Make sure the pot has drainage holes to prevent waterlogging. Celery doesn’t like to sit in soggy soil.
2. Create a Hole: Use your finger or a small trowel to create a hole in the center of the soil, large enough to accommodate the celery base and its roots.
3. Carefully Plant: Gently remove the celery base from the water and place it in the hole. Be careful not to damage the roots.
4. Cover with Soil: Fill the hole with soil, gently packing it around the celery base. Leave the top of the base exposed, so the new shoots can continue to grow.
5. Water Thoroughly: Water the soil thoroughly until water drains out of the drainage holes. This will help settle the soil and ensure the roots are well-hydrated.
Phase 3: Caring for Your Growing Celery
Now that your celery is planted, it’s time to provide it with the care it needs to flourish.
1. Sunlight: Continue to keep your celery in a sunny location. It needs at least 6 hours of sunlight per day to grow properly.
2. Watering: Water your celery regularly, keeping the soil consistently moist but not waterlogged. Check the soil moisture by sticking your finger into the soil; if it feels dry an inch or two down, it’s time to water.
3. Fertilizing (Optional): If you want to give your celery a boost, you can fertilize it every few weeks with a balanced liquid fertilizer. Follow the instructions on the fertilizer package. I personally don’t always fertilize, and my celery still does pretty well.
4. Humidity: Celery likes humidity, so if you live in a dry climate, you can mist the leaves with a spray bottle every day or two. This will help keep the plant hydrated and prevent the leaves from drying out.
5. Pest Control: Keep an eye out for pests like aphids or slugs. If you spot any, you can try spraying them off with a strong stream of water or using an organic pest control solution.
6. Be Patient: Celery takes time to grow, so don’t expect to harvest a full stalk overnight. It can take several weeks or even months for your celery to reach a harvestable size.
Harvesting Your Celery
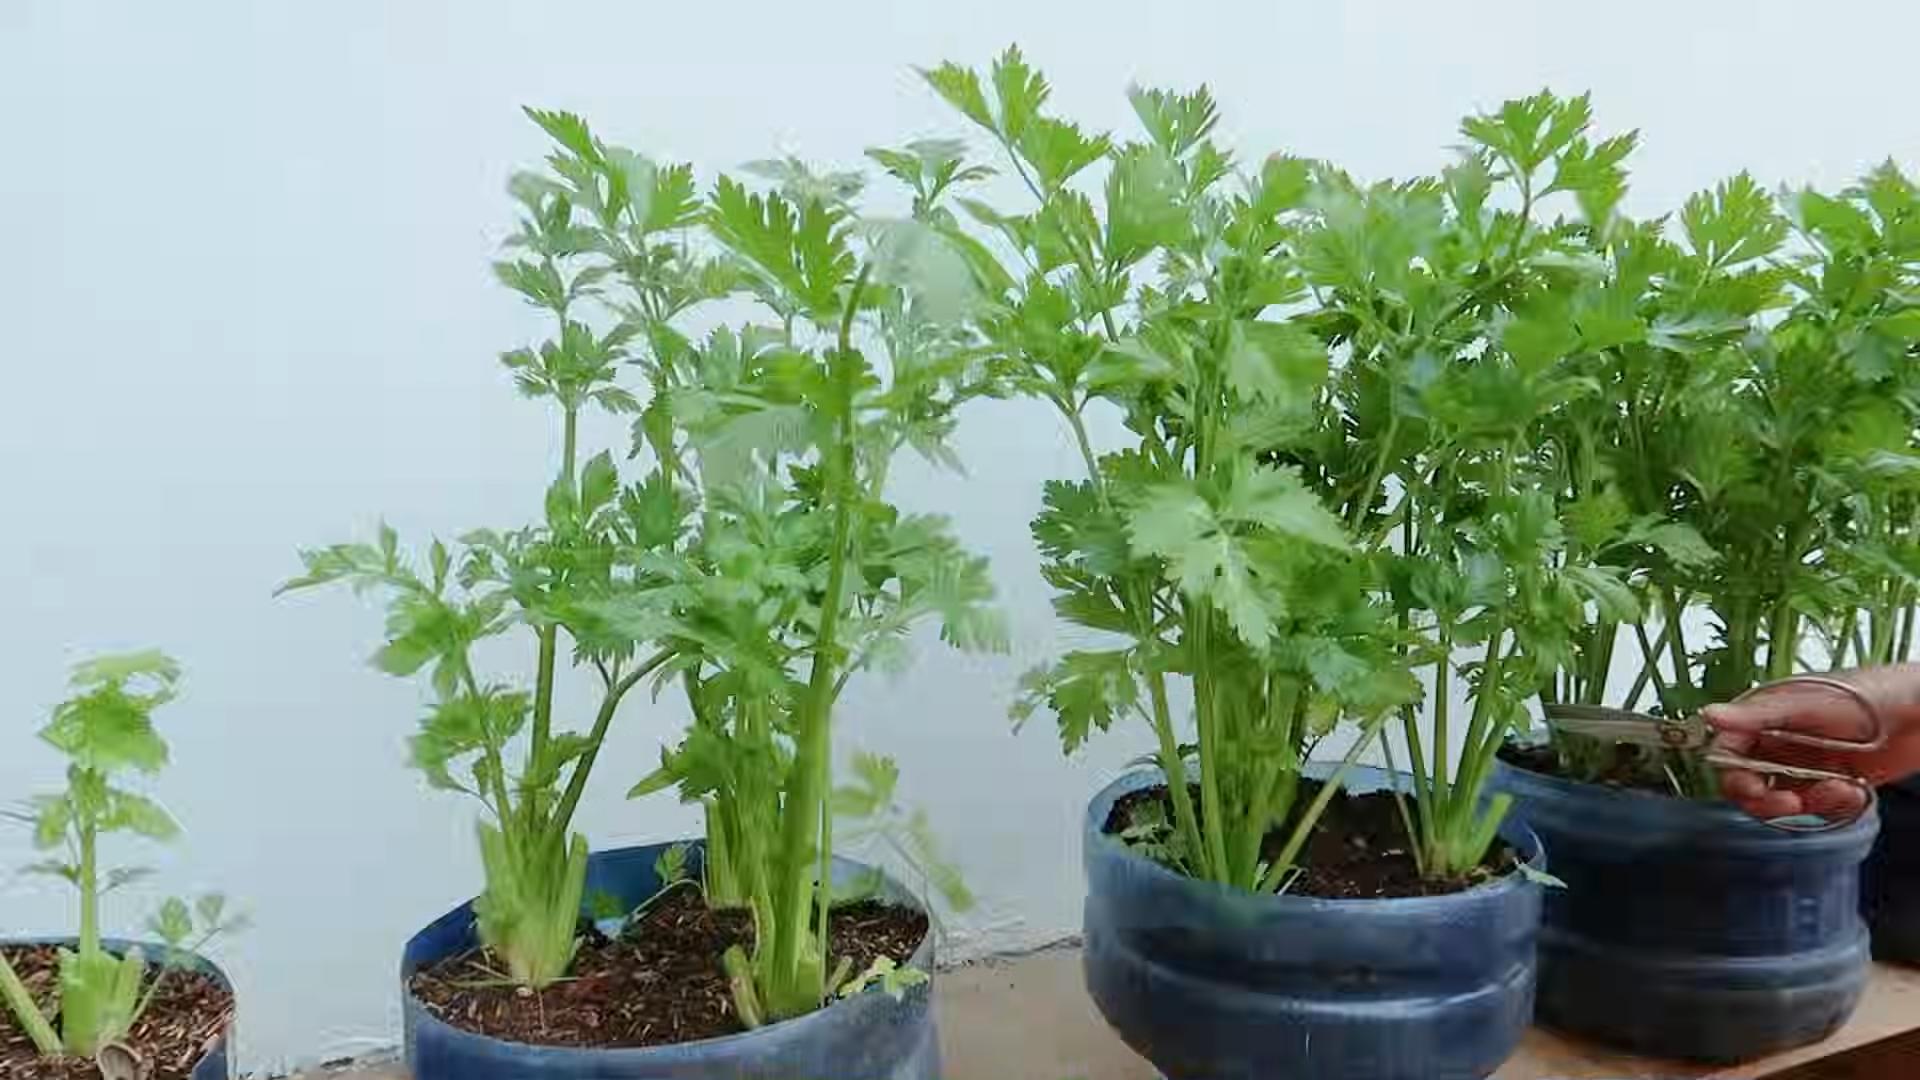
The best part! Once your celery stalks are a decent size (at least 6-8 inches tall), you can start harvesting them.
1. Harvesting Individual Stalks: You can harvest individual stalks as needed by cutting them off at the base with a sharp knife. This allows the plant to continue growing and producing more stalks.
2. Harvesting the Entire Plant: If you want to harvest the entire plant, simply cut it off at the base.
3. Enjoy Your Fresh Celery: Wash your harvested celery thoroughly and enjoy it in salads, soups, smoothies, or as a crunchy snack with your favorite dip.
Troubleshooting
Sometimes, things don’t go exactly as planned. Here are a few common issues you might encounter and how to address them:
* Celery base rotting: This is usually caused by overwatering or not changing the water frequently enough. Make sure the water is fresh and that the base isn’t completely submerged.
* Leaves turning yellow or brown: This could be a sign of underwatering, lack of sunlight, or nutrient deficiency. Adjust your watering schedule, move the plant to a sunnier location, or try fertilizing it.
* Slow growth: Celery can be a slow grower, so be patient. Make sure it’s getting enough sunlight, water, and nutrients.
* Pests: Keep an eye out for pests and address them promptly.
Tips for Success
Here are a few extra tips to help you succeed in growing celery from scraps:
* Start with a healthy celery base: Choose a celery stalk with a firm, healthy base and no signs of rot or decay.
* Use good quality potting soil: This will provide your celery with the nutrients it needs to grow.
* Don’t overwater: Celery likes moist soil, but it doesn’t like to sit in soggy soil.
* Provide plenty of sunlight: Celery needs at least 6 hours of sunlight per day.
* Be patient: Celery takes time to grow, so don’t get discouraged if you don’t see results immediately.
Growing celery from scraps is a rewarding and sustainable way to enjoy fresh produce. With a little patience and care, you can easily regrow celery from the base you would normally throw away. Happy gardening!
Conclusion
So, there you have it! Growing celery from scraps isn’t just a fun little experiment; it’s a genuinely rewarding way to reduce food waste, save money, and connect with the natural world, even if you only have a windowsill. It’s a simple process that yields surprisingly satisfying results. Think about it: you’re taking something destined for the compost bin and giving it a second life, transforming it into fresh, crisp celery stalks ready to enhance your soups, salads, and snacks.
This DIY trick is a must-try for several reasons. First, it’s incredibly easy. You don’t need any special equipment or a green thumb to succeed. If you can place a celery base in water, you’re already halfway there. Second, it’s a fantastic way to teach children about plant life cycles and the importance of sustainability. They’ll be amazed to see their discarded celery scraps sprout and grow. Third, it’s a continuous supply of fresh celery. While you might not get massive, market-sized stalks, you’ll have enough to add a flavorful crunch to your meals.
But the benefits don’t stop there. Consider the variations you can explore. Try planting your regrown celery in different types of soil to see which yields the best results. Experiment with different watering schedules to find the sweet spot for optimal growth. You can even try growing different varieties of celery from scraps, if you can find them at your local grocery store or farmers market. Imagine having a rainbow of celery colors gracing your kitchen!
Another fun variation is to use the celery leaves in different ways. Celery leaves are often discarded, but they’re packed with flavor and nutrients. Use them in salads, soups, or as a garnish for your favorite dishes. You can even dry them and grind them into a celery salt for a unique seasoning.
Don’t be discouraged if your first attempt isn’t perfect. Like any gardening endeavor, growing celery from scraps requires a little patience and experimentation. The key is to observe your celery closely and adjust your care accordingly. If the leaves start to wilt, try moving the plant to a sunnier location or adjusting the watering schedule. If the roots start to rot, make sure you’re changing the water frequently enough.
Ultimately, the goal is to have fun and learn along the way. This DIY project is a great way to connect with nature, reduce waste, and enjoy the fruits (or vegetables!) of your labor.
We wholeheartedly encourage you to try growing celery from scraps. It’s a simple, rewarding, and sustainable way to add fresh flavor to your life. And once you’ve given it a try, we’d love to hear about your experience! Share your tips, tricks, and photos in the comments below. Let’s create a community of celery-growing enthusiasts and inspire others to embrace this eco-friendly practice. What are you waiting for? Grab that celery base and get growing!
Frequently Asked Questions
How long does it take to regrow celery from scraps?
The initial regrowth phase, where you see new leaves sprouting from the center of the celery base, typically takes about 5-7 days. After transferring the sprouted celery to soil, it can take several weeks to a few months to grow larger, usable stalks. The exact timeframe depends on factors like sunlight, soil quality, and watering frequency. Be patient, and you’ll be rewarded with fresh celery!
What kind of water should I use to regrow celery?
Tap water is generally fine for regrowing celery, but letting it sit out for a few hours to allow chlorine to dissipate can be beneficial. Filtered water or rainwater is even better, as they are free of chemicals that could potentially inhibit growth. Avoid using distilled water, as it lacks the minerals that plants need.
How often should I change the water?
It’s crucial to change the water every 1-2 days to prevent bacterial growth and ensure the celery base has access to fresh, oxygenated water. Stagnant water can lead to rot and hinder the regrowth process.
What kind of soil is best for growing celery?
Celery thrives in rich, well-draining soil. A good potting mix amended with compost or other organic matter is ideal. The soil should be able to retain moisture without becoming waterlogged. You can also add a slow-release fertilizer to provide essential nutrients.
How much sunlight does regrown celery need?
Celery needs at least 6 hours of sunlight per day to grow properly. A sunny windowsill or a spot in the garden that receives plenty of light is ideal. If you don’t have access to enough natural light, you can supplement with a grow light.
Can I grow celery indoors year-round?
Yes, you can grow celery indoors year-round, provided you have adequate sunlight or a grow light. Indoor temperatures are generally consistent, which can be beneficial for growth. However, you may need to adjust your watering schedule depending on the humidity levels in your home.
Why is my celery turning yellow or brown?
Yellowing or browning leaves can indicate several issues. Overwatering is a common culprit, as it can lead to root rot. Underwatering can also cause the leaves to dry out and turn brown. Insufficient sunlight or nutrient deficiencies can also contribute to discoloration. Assess your watering schedule, sunlight exposure, and soil quality to identify the cause and make necessary adjustments.
How do I harvest my regrown celery?
You can harvest individual stalks as needed once they reach a usable size. Simply cut them off at the base of the plant. Alternatively, you can harvest the entire plant by cutting it off at the base, leaving the roots intact. This may allow the plant to regrow again, although subsequent harvests may be smaller.
Can I eat the celery leaves?
Absolutely! Celery leaves are packed with flavor and nutrients and are perfectly edible. They can be used in salads, soups, stews, or as a garnish. You can also dry them and grind them into a celery salt. Don’t let those flavorful leaves go to waste!
My celery is bolting (going to seed). What should I do?
Bolting occurs when celery is exposed to stress, such as extreme temperatures or inconsistent watering. Once celery bolts, the stalks become bitter and less palatable. To prevent bolting, try to maintain consistent growing conditions and avoid exposing your celery to extreme temperatures. If your celery does bolt, you can still harvest the seeds for future planting, although the resulting plants may also be prone to bolting.
Is growing celery from scraps truly sustainable?
Yes, growing celery from scraps is a sustainable practice because it reduces food waste and minimizes the need to purchase commercially grown celery, which often involves transportation and packaging. By regrowing celery from scraps, you’re contributing to a more circular and environmentally friendly food system. Plus, it’s a fun and educational way to connect with nature and appreciate the value of food.

Leave a Comment