
Garden Planting Hack: Unlock the Secrets to a Thriving Garden with These Simple DIY Tricks!
Have you ever dreamed of a lush, bountiful garden overflowing with fresh vegetables, vibrant flowers, and fragrant herbs? I know I have! But let’s be honest, sometimes gardening can feel a little overwhelming, especially when you’re faced with common challenges like poor soil, limited space, or pesky pests. That’s where a clever garden planting hack can be a total game-changer.
Throughout history, people have sought innovative ways to cultivate the land and maximize their yields. From ancient irrigation systems to ingenious companion planting techniques, the desire to work smarter, not harder, in the garden is deeply ingrained in our collective past. Today, we’re continuing that tradition with a collection of modern DIY tricks designed to make your gardening experience easier, more efficient, and ultimately, more rewarding.
Why do you need these hacks? Because gardening should be a joy, not a chore! These simple, yet effective, solutions will help you overcome common obstacles, save time and money, and create a thriving garden that you can be truly proud of. I’m excited to share these tips and tricks with you, so let’s dive in and discover how a little ingenuity can transform your garden into a flourishing paradise!
DIY Seed Tape: The Easiest Way to Plant a Garden
Okay, friends, let’s talk about seed tape. If you’re anything like me, you love the idea of a perfectly spaced garden, but the reality of planting tiny seeds is… well, let’s just say it’s less than perfect. I always end up with clumps of seedlings that I then have to painstakingly thin out. Ugh! That’s where seed tape comes in. It’s a game-changer! It’s basically pre-spaced seeds embedded in biodegradable tape, making planting a breeze. And guess what? You can totally make your own! It’s cheaper than buying it, and you get to customize the spacing for your specific needs. Let’s get started!
What You’ll Need
Before we dive in, let’s gather our supplies. This is a pretty simple project, so you probably already have most of this stuff lying around.
* **Seeds:** Obviously! Choose whatever you want to plant. Smaller seeds like lettuce, carrots, and radishes work best for this method.
* **Toilet Paper or Paper Towels:** This will be our biodegradable tape. Toilet paper is thinner and breaks down faster, which is great for quick-growing plants. Paper towels are a bit sturdier.
* **All-Purpose Flour:** This will be our glue! It’s non-toxic and biodegradable, perfect for the garden.
* **Water:** To mix with the flour and make our paste.
* **Small Bowl:** For mixing the flour paste.
* **Toothpick or Small Paintbrush:** For applying the paste and picking up the seeds.
* **Ruler or Measuring Tape:** To ensure even spacing.
* **Scissors:** For cutting the toilet paper or paper towels.
* **Pencil or Pen:** For marking the spacing on the tape.
* **Newspaper or Scrap Paper:** To protect your work surface.
Making the Flour Paste
This is super easy. We’re basically making a simple glue.
1. Mix the Flour and Water: In your small bowl, mix about 1 tablespoon of all-purpose flour with a little bit of water. Start with a teaspoon of water and add more gradually until you get a smooth, slightly thick paste. You want it to be the consistency of pancake batter, not too runny and not too thick.
2. Check the Consistency: Dip your toothpick or paintbrush into the paste. It should cling to it nicely without dripping excessively. If it’s too thick, add a tiny bit more water. If it’s too thin, add a pinch more flour.
Preparing the “Tape”
Now, let’s get our biodegradable tape ready.
1. Cut the Toilet Paper or Paper Towels: Unroll a length of toilet paper or paper towel. I usually work with sections about 12 inches long, but you can adjust this based on your planting area. If you’re using paper towels, you might want to separate the layers to make them thinner and more biodegradable.
2. Fold (Optional): For added strength, you can fold the toilet paper or paper towel in half lengthwise. This is especially helpful if you’re using very thin toilet paper.
3. Mark the Spacing: Use your ruler or measuring tape and a pencil or pen to mark where you want to place your seeds. Check your seed packet for the recommended spacing for your chosen plant. For example, if your seed packet says to space seeds 2 inches apart, make a mark every 2 inches along the length of your tape.
Attaching the Seeds
This is where the magic happens!
1. Apply a Tiny Dab of Paste: Using your toothpick or small paintbrush, apply a tiny dab of flour paste to each of the marks you made on the tape. Remember, a little goes a long way! You don’t want to saturate the paper.
2. Place the Seeds: Carefully pick up a seed with the tip of your toothpick or paintbrush (you can also use your fingers if you prefer). Place the seed onto the dab of flour paste. Gently press it down to make sure it adheres.
3. Repeat: Repeat steps 1 and 2 for each mark on your tape, placing one seed on each dab of paste.
4. Let it Dry: Once you’ve placed all the seeds, let the seed tape dry completely. This usually takes a few hours, depending on the humidity. You can lay it flat on a piece of newspaper or hang it up to dry. Make sure the seeds are securely attached before you try to roll it up.
Storing Your Seed Tape
Once your seed tape is dry, you can store it for later use.
1. Roll it Up: Gently roll up the seed tape, starting from one end. Be careful not to crush the seeds.
2. Label It: Use a marker to label the roll with the type of seed and the date you made it. This will help you keep track of what you have.
3. Store in a Cool, Dry Place: Store your seed tape in a cool, dry place, away from direct sunlight. A sealed container or plastic bag will help protect it from moisture.
Planting Your Seed Tape
Now for the fun part – planting!
1. Prepare the Soil: Prepare your garden bed as you normally would, making sure the soil is loose and free of weeds.
2. Dig a Shallow Trench: Dig a shallow trench in the soil, about the depth recommended on your seed packet.
3. Lay the Seed Tape: Carefully unroll the seed tape in the trench, making sure the seeds are facing up.
4. Cover with Soil: Gently cover the seed tape with soil, following the depth instructions on your seed packet.
5. Water Thoroughly: Water the area thoroughly to moisten the soil and help the seeds germinate.
6. Keep Moist: Keep the soil consistently moist until the seedlings emerge.
Troubleshooting and Tips
* Paste Too Runny? If your flour paste is too runny, add a little more flour, a tiny pinch at a time, until you reach the desired consistency.
* Paste Too Thick? If your flour paste is too thick, add a tiny bit more water, a drop at a time, until it thins out.
* Seeds Not Sticking? Make sure you’re using enough paste and that you’re pressing the seeds firmly onto the paste. Also, make sure the paste isn’t drying out too quickly.
* Tape Tearing? If your toilet paper or paper towel is tearing easily, try folding it in half for added strength. You can also use a slightly thicker paper towel.
* Experiment with Spacing: Don’t be afraid to experiment with the spacing between your seeds. If you’re planting in a small space, you might want to space them closer together.
* Use Different Types of Seeds: This method works well for a variety of seeds, but it’s especially great for small seeds like lettuce, carrots, radishes, and herbs.
* Get the Kids Involved: This is a fun and easy project that kids can help with! They’ll love placing the seeds on the tape.
* Consider Companion Planting: When planning your seed tape, think about companion planting. Grouping plants that benefit each other can help improve growth and deter pests.
* Don’t Overwater: While it’s important to keep the soil moist, avoid overwatering, which can lead to seed rot.
* Be Patient: Germination times vary depending on the type of seed and the weather conditions. Be patient and don’t give up if you don’t see sprouts right away.
Why I Love Seed Tape
I seriously love this DIY seed tape method. Here’s why:
* Perfect Spacing: No more overcrowded seedlings! The seed tape ensures even spacing, which means healthier plants and better yields.
* Saves Time: Planting is so much faster and easier with seed tape. You don’t have to fumble with tiny seeds or worry about spacing them correctly.
* Reduces Thinning: Because the seeds are pre-spaced, you’ll have to do much less thinning later on.
* Cost-Effective: Making your own seed tape is much cheaper than buying it.
* Customizable: You can customize the spacing and the types of seeds you use to fit your specific needs and preferences.
* Eco-Friendly: Using biodegradable materials like toilet paper and flour paste is a great way to reduce your environmental impact.
So there you have it! My super-easy DIY seed tape tutorial. I hope you give it a try and see for yourself how much easier and more efficient planting can be. Happy gardening!
Conclusion
So, there you have it! This simple yet incredibly effective garden planting hack is more than just a trend; it’s a game-changer for anyone looking to maximize their yield, minimize their effort, and cultivate a thriving garden, regardless of space or experience. We’ve explored how this method streamlines the planting process, protects your seedlings, and provides a nutrient-rich environment for optimal growth. It’s a win-win situation for both you and your plants!
Why is this a must-try? Because it addresses some of the most common challenges faced by gardeners, from seed spacing and weed control to soil erosion and pest management. By implementing this technique, you’re not just planting seeds; you’re creating a mini-ecosystem that fosters healthy, robust plants. Imagine a garden bursting with vibrant colors and abundant harvests, all thanks to a little bit of ingenuity and a whole lot of love.
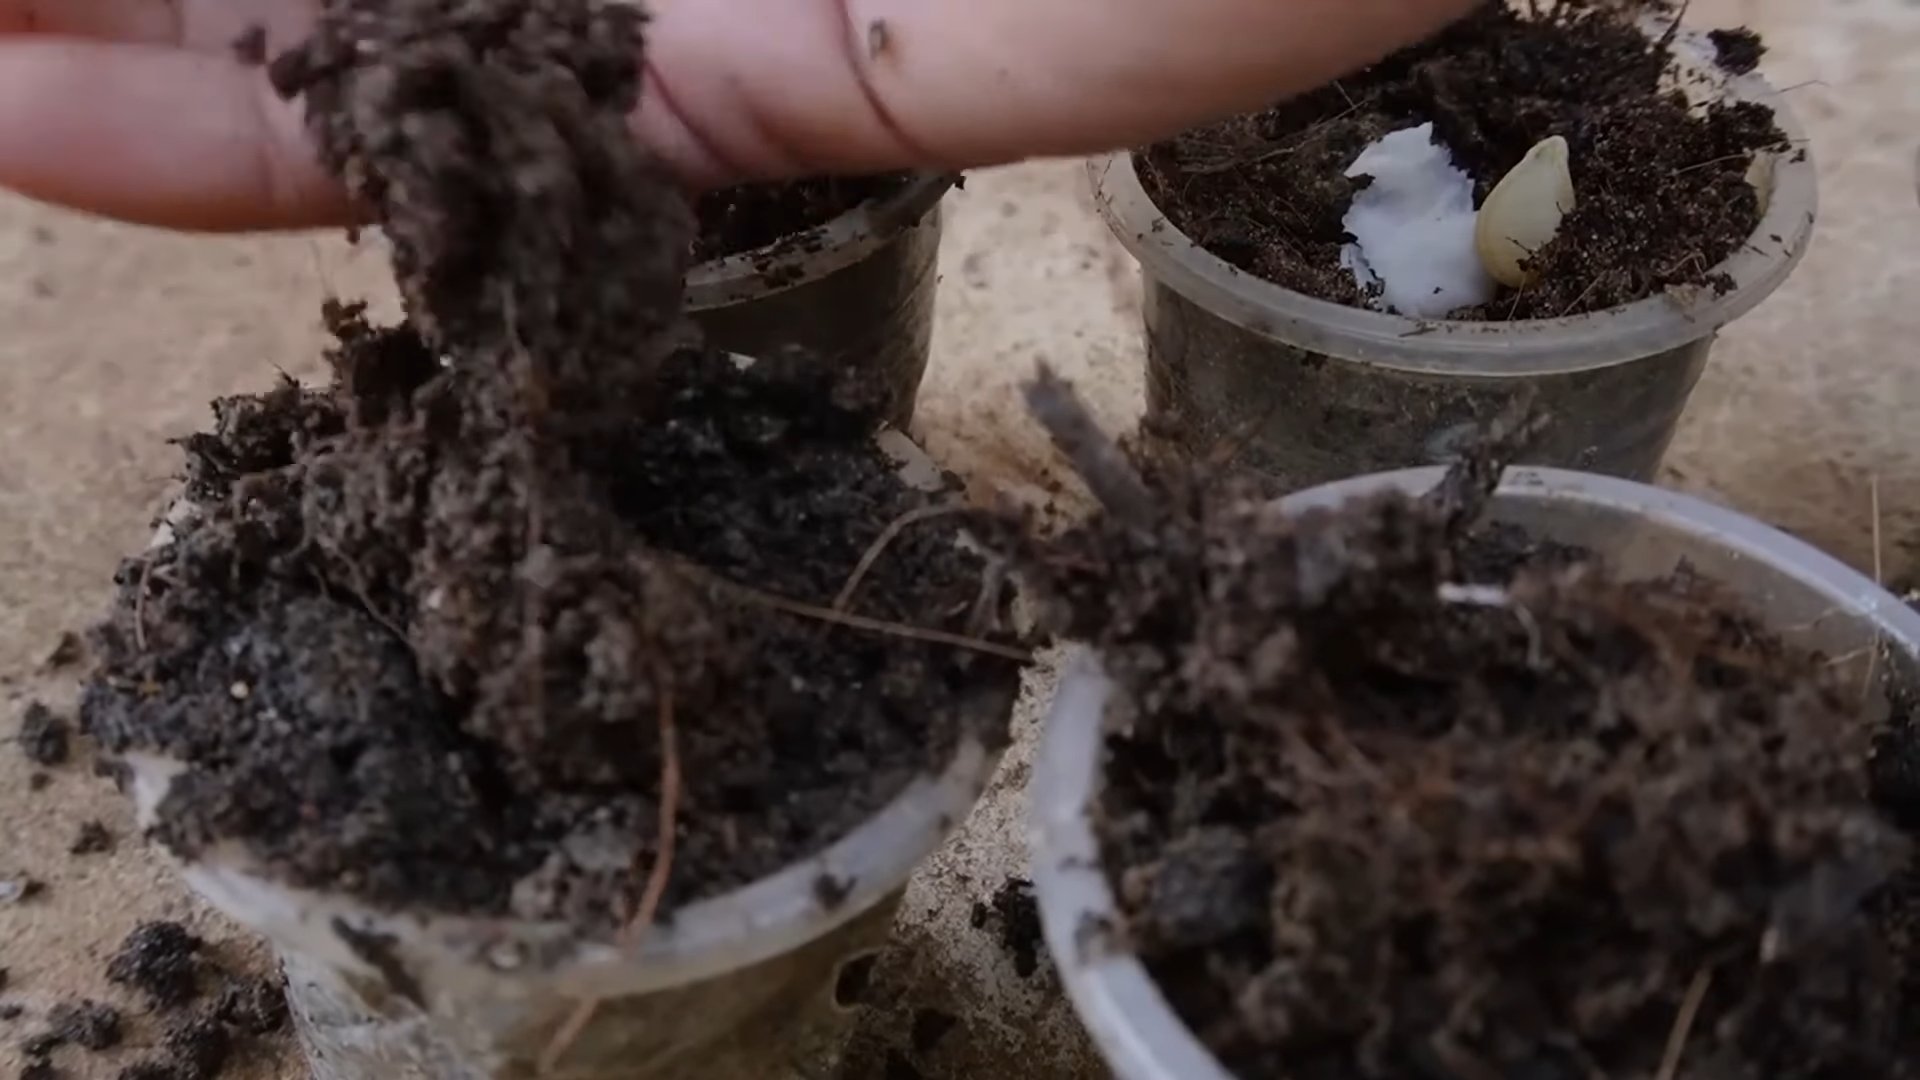
But the beauty of this garden planting hack lies in its adaptability. Feel free to experiment with different materials for your planting containers. Recycled cardboard egg cartons work wonders for starting seeds indoors, while biodegradable pots made from coconut coir offer an eco-friendly alternative for transplanting. You can also tailor the soil mixture to suit the specific needs of your plants. For acid-loving plants like blueberries and azaleas, incorporate peat moss or sulfur into the soil. For vegetables like tomatoes and peppers, add compost or aged manure to boost nutrient levels.
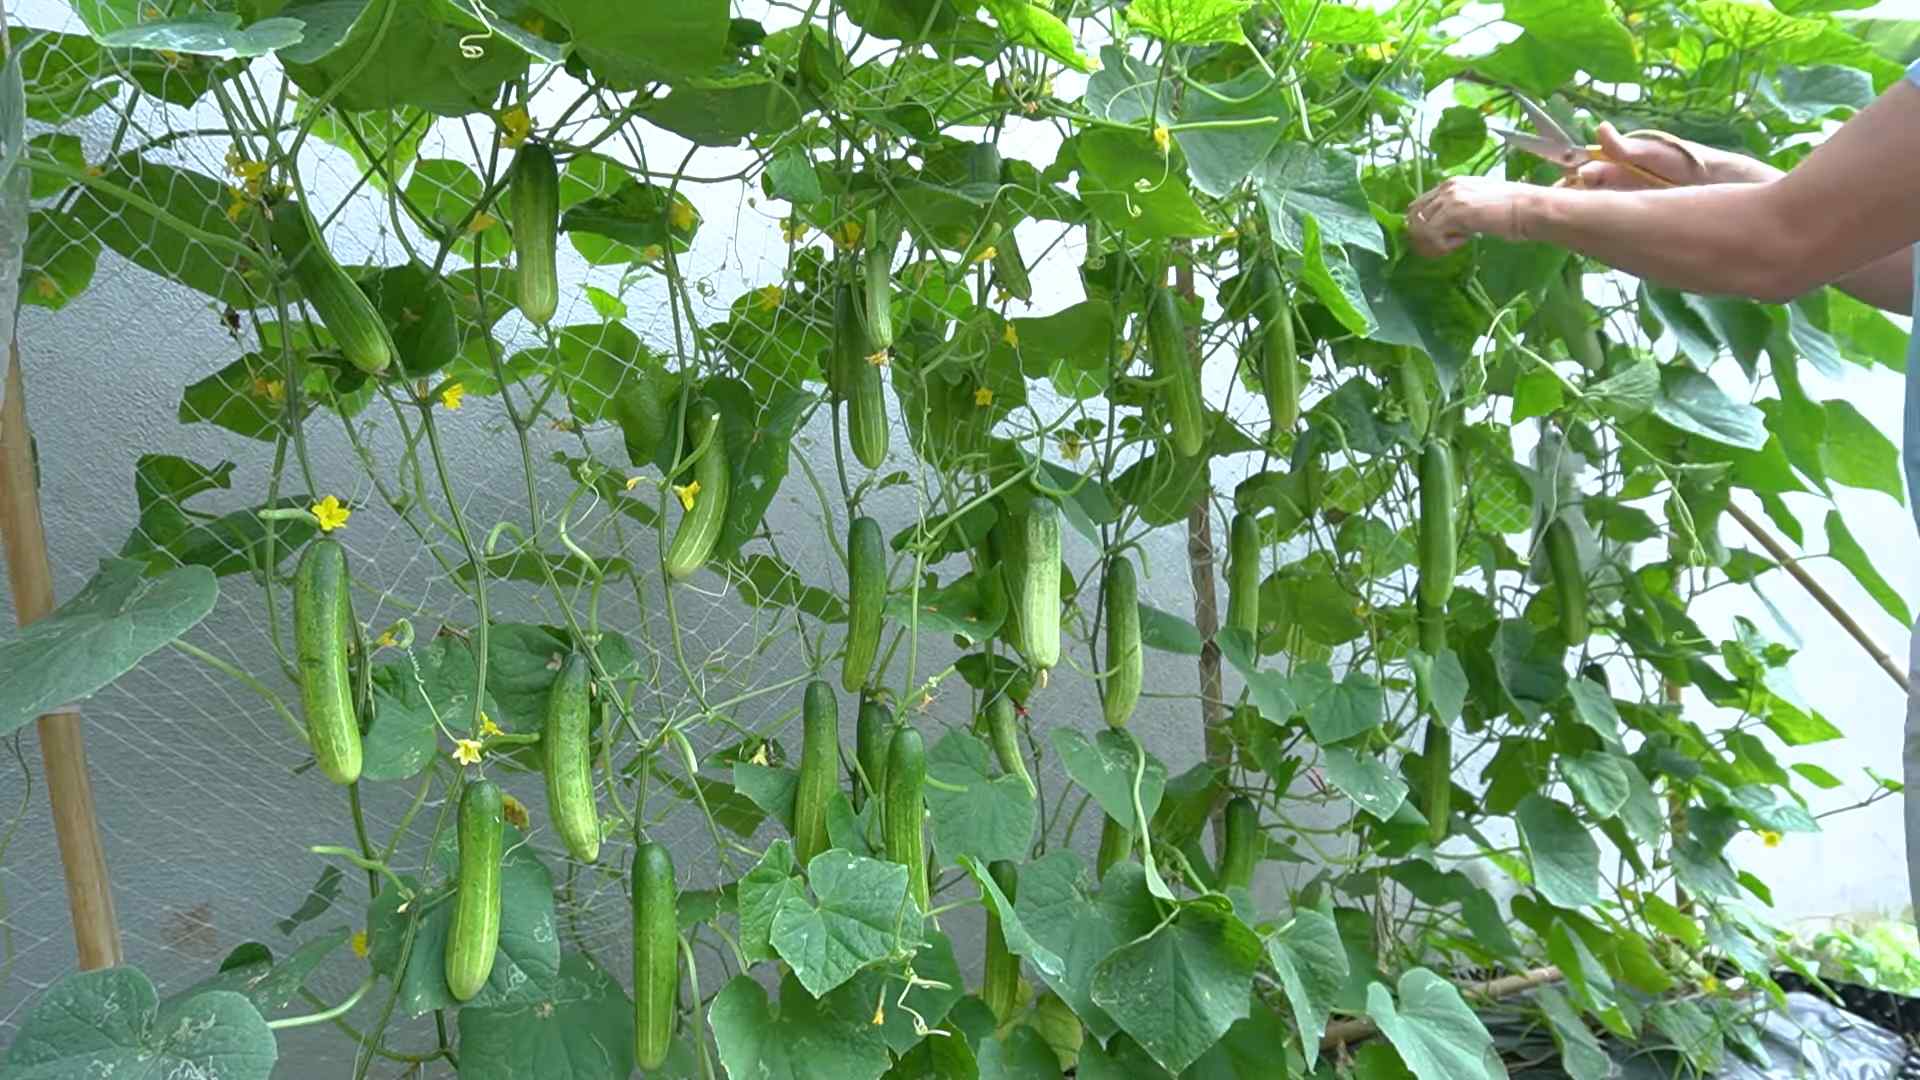
Consider variations on the planting technique itself. For vining plants like cucumbers and squash, create a small trellis or support structure within the container to encourage vertical growth. For herbs like basil and mint, pinch off the flower buds regularly to promote bushier growth and prevent them from going to seed. And don’t be afraid to get creative with your companion planting. Marigolds, for example, are known to repel pests, while basil can improve the flavor of tomatoes.
Ultimately, the goal is to create a garden that reflects your personal style and preferences. This garden planting hack is simply a tool to help you achieve that goal. It’s a starting point, a foundation upon which you can build your own unique gardening experience.
We wholeheartedly encourage you to give this DIY trick a try. Whether you’re a seasoned gardener or a complete beginner, we’re confident that you’ll be amazed by the results. And most importantly, we want to hear about your experience! Share your photos, tips, and stories with us in the comments section below. Let’s create a community of gardeners who are passionate about growing their own food and beautifying their surroundings. Together, we can transform our backyards, balconies, and even our windowsills into thriving oases of green. So, grab your seeds, gather your supplies, and get ready to experience the joy of gardening like never before! Happy planting!
Frequently Asked Questions (FAQ)
What exactly is this “garden planting hack” and why is it so effective?
This garden planting hack refers to a variety of DIY techniques designed to simplify and optimize the planting process. It often involves using readily available materials, such as recycled containers or repurposed items, to create a more efficient and sustainable gardening system. The effectiveness stems from several factors: improved seed spacing, enhanced weed control, better water retention, and a more controlled growing environment. By addressing these key areas, the hack helps to maximize plant growth and minimize common gardening challenges.
What types of plants are best suited for this planting hack?
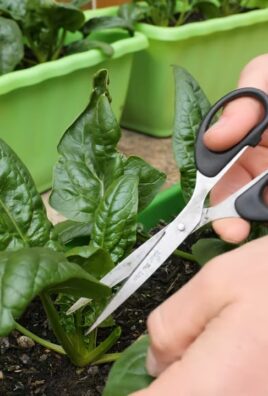
The beauty of this hack is its versatility. It can be used for a wide range of plants, including vegetables, herbs, flowers, and even some fruits. Smaller plants, such as lettuce, spinach, radishes, and herbs like basil and parsley, tend to thrive particularly well. However, with some modifications and adjustments, you can also successfully grow larger plants like tomatoes, peppers, and cucumbers using this method. Consider the mature size of the plant and adjust the container size accordingly.
What kind of soil should I use for this planting hack?
The ideal soil mixture will depend on the specific plants you’re growing. However, a good general-purpose potting mix is a great starting point. Look for a mix that contains a blend of peat moss, perlite, and vermiculite. This combination provides good drainage, aeration, and water retention. You can also amend the soil with compost or other organic matter to boost nutrient levels. For specific plant needs, research the ideal soil pH and nutrient requirements and adjust your mix accordingly.
How often should I water my plants when using this planting hack?
Watering frequency will depend on several factors, including the type of plant, the weather conditions, and the type of container you’re using. As a general rule, water when the top inch of soil feels dry to the touch. Avoid overwatering, as this can lead to root rot. Ensure that your containers have adequate drainage holes to prevent water from pooling at the bottom. During hot, dry weather, you may need to water more frequently.
How do I protect my plants from pests and diseases when using this planting hack?
Prevention is key when it comes to pest and disease control. Start by using healthy, disease-free seeds or seedlings. Choose plants that are resistant to common pests and diseases in your area. Regularly inspect your plants for signs of infestation or disease. Remove any affected leaves or plants immediately. You can also use organic pest control methods, such as insecticidal soap or neem oil, to control pests. Companion planting, such as planting marigolds near tomatoes, can also help to repel pests.
Can I use this planting hack indoors?
Absolutely! This hack is perfect for indoor gardening, especially for those with limited space. Just make sure to provide your plants with adequate light. If you don’t have access to natural sunlight, you can use grow lights to supplement. Choose plants that are well-suited for indoor growing, such as herbs, lettuce, and spinach.
What are some creative variations of this planting hack?
The possibilities are endless! You can use recycled materials like plastic bottles, tin cans, or old tires to create unique and eye-catching planters. You can also experiment with different planting arrangements, such as vertical gardens or hanging baskets. Consider incorporating companion planting techniques to maximize space and improve plant health. Get creative and have fun with it!
How do I know if my plants are getting enough nutrients when using this planting hack?
Signs of nutrient deficiency can include yellowing leaves, stunted growth, and poor flowering or fruiting. If you suspect a nutrient deficiency, you can amend the soil with fertilizer. Choose a fertilizer that is specifically formulated for the type of plants you’re growing. Follow the instructions on the fertilizer label carefully. You can also perform a soil test to determine the nutrient levels in your soil and adjust your fertilization accordingly.
What if I don’t have a lot of space for gardening? Is this hack still useful?
Yes! This garden planting hack is especially beneficial for those with limited space. It allows you to maximize your growing area by using vertical space and compact containers. You can create a thriving garden even on a small balcony, patio, or windowsill.
How can I share my experience with this planting hack and connect with other gardeners?
We encourage you to share your photos, tips, and stories in the comments section below. You can also connect with other gardeners on social media platforms using relevant hashtags, such as #gardenplantinghack, #diygardening, and #growyourownfood. Let’s create a community of passionate gardeners who are dedicated to sharing their knowledge and inspiring others to grow their own food!

Leave a Comment