
Hydrogen Peroxide Grout Cleaner: Is your grout looking a little worse for wear? Are you tired of those dingy, discolored lines between your tiles that seem impossible to clean? I know the feeling! For years, I struggled with stubborn grout stains, trying every commercial cleaner under the sun, only to be disappointed. But what if I told you the solution was likely already sitting in your medicine cabinet?
Grout cleaning has been a household chore for generations, evolving from harsh scrubbing with abrasive cleaners to the modern search for effective, eco-friendly solutions. While the Romans were masters of tilework, their cleaning methods were far less sophisticated than what we have available today. Thankfully, we’ve come a long way!
That’s where hydrogen peroxide grout cleaner comes in! This simple, yet powerful DIY trick can save you time, money, and a whole lot of elbow grease. Forget expensive, chemical-laden cleaners that can damage your tiles and irritate your skin. This method is gentle, effective, and uses a readily available household staple. I’m going to show you exactly how to create your own powerful grout cleaner using hydrogen peroxide, and trust me, you’ll be amazed at the results. Get ready to say goodbye to grimy grout and hello to sparkling clean tiles!
DIY Hydrogen Peroxide Grout Cleaner: Sparkling Grout Made Easy!
Okay, let’s face it, grout is the bane of every homeowner’s existence. It gets dirty, stained, and just plain gross. But don’t despair! You don’t need to spend a fortune on fancy cleaners. I’m going to show you how to make a super effective grout cleaner using something you probably already have in your bathroom: hydrogen peroxide! This method is budget-friendly, relatively eco-friendly, and, most importantly, it works!
Here’s what we’re going to cover:
* Why Hydrogen Peroxide? Understanding its cleaning power.
* Gathering Your Supplies: What you’ll need for this project.
* Making the Paste: The perfect consistency for maximum cleaning.
* Applying the Paste: Getting it into those grout lines.
* Scrubbing Power: Techniques for effective cleaning.
* Rinsing and Drying: The final steps to sparkling grout.
* Dealing with Stubborn Stains: When extra measures are needed.
* Safety First: Important precautions to keep in mind.
Why Hydrogen Peroxide?
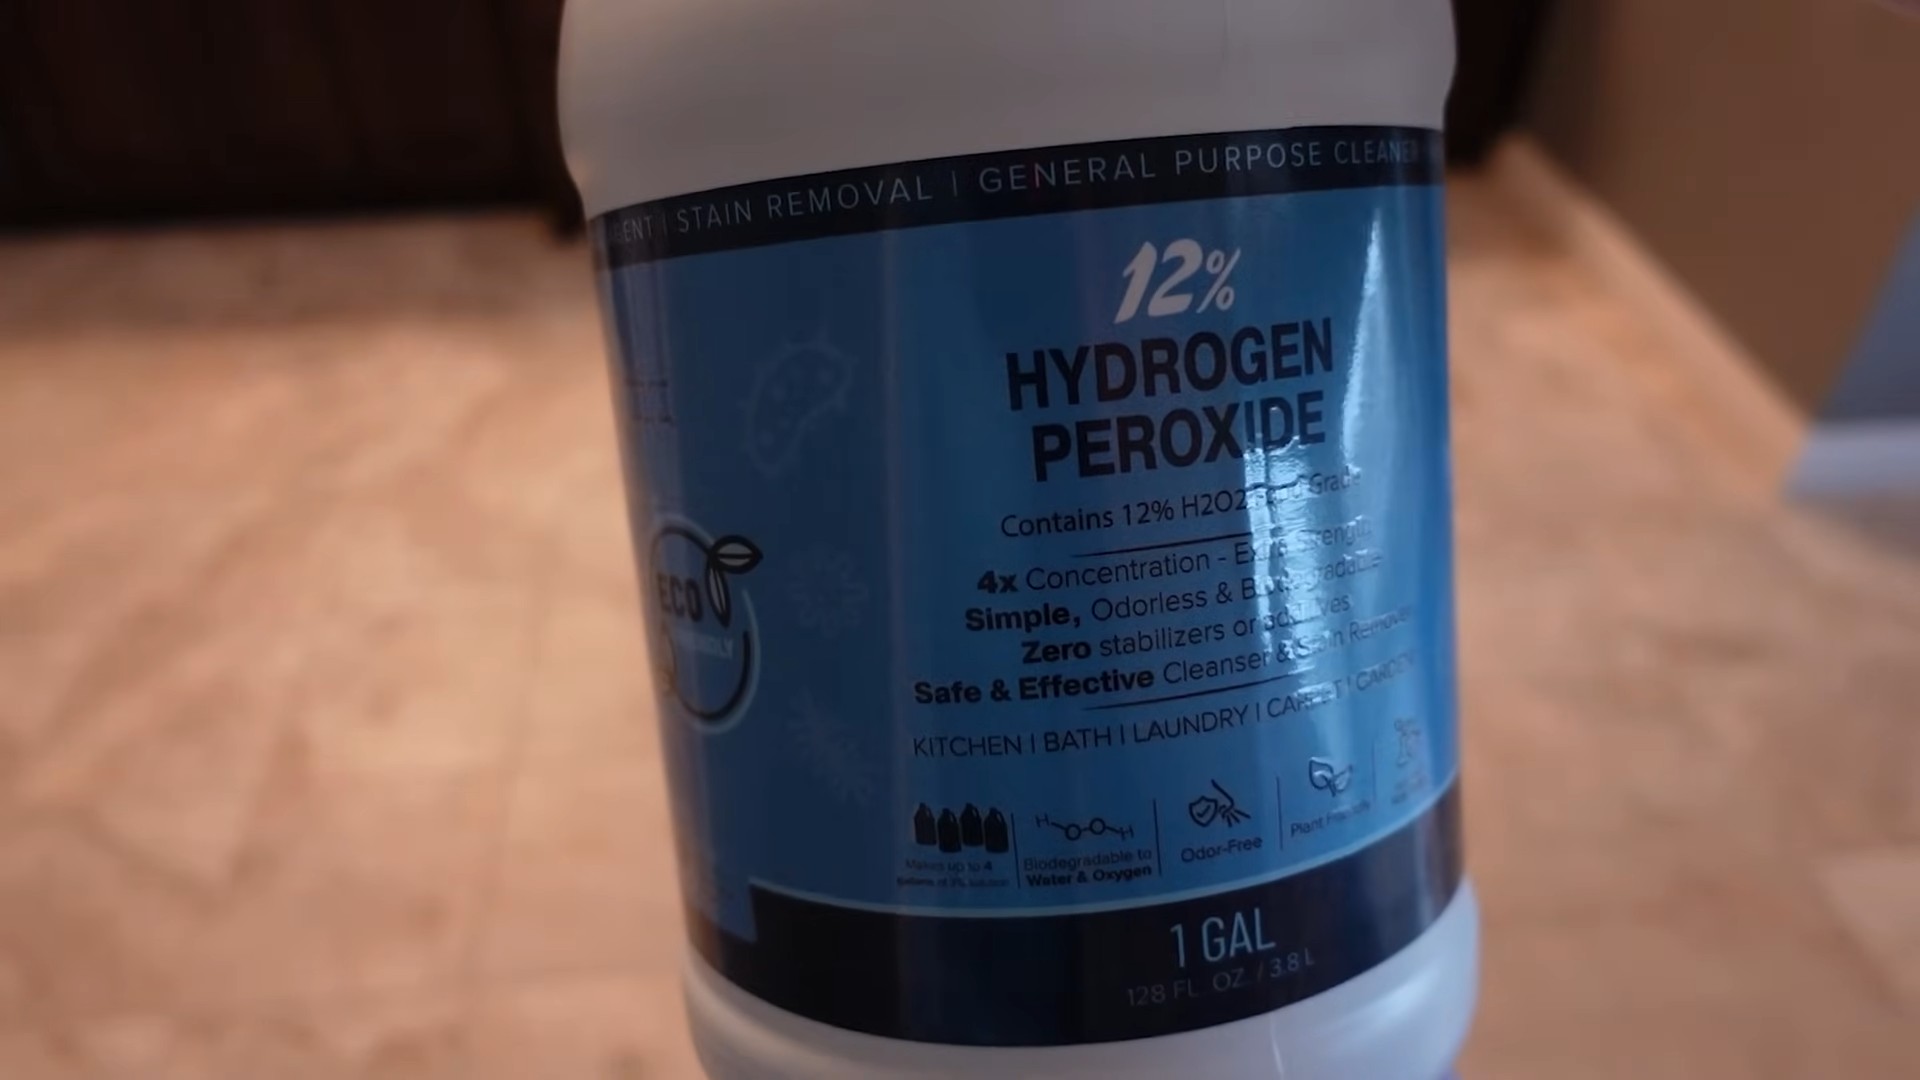
Hydrogen peroxide (H2O2) is a fantastic cleaning agent because it’s a mild bleaching agent and disinfectant. It breaks down stains and kills mold and mildew, which are often the culprits behind dingy grout. Plus, it’s much gentler than harsh chemicals like bleach, making it a safer option for your home and the environment. I personally love using it because it doesn’t have that overpowering chemical smell that some cleaners do.
Gathering Your Supplies
Before we dive in, let’s make sure you have everything you need. This will make the whole process smoother and more efficient. Here’s your checklist:
* Hydrogen Peroxide (3%): This is the standard concentration you’ll find at any drugstore. Don’t use anything stronger without diluting it properly and taking extra safety precautions.
* Baking Soda: This acts as a mild abrasive and helps to lift stains.
* Small Bowl: For mixing the paste.
* Spoon or Spatula: For stirring and applying the paste.
* Old Toothbrush or Grout Brush: This is essential for scrubbing the grout lines. An old toothbrush works great for smaller areas, while a grout brush is better for larger surfaces.
* Spray Bottle (Optional): For applying hydrogen peroxide directly to stubborn stains.
* Clean Cloth or Sponge: For wiping away the paste and rinsing.
* Water: For rinsing.
* Gloves: To protect your hands from the hydrogen peroxide and baking soda.
* Eye Protection (Optional): While 3% hydrogen peroxide is generally safe, it’s always a good idea to protect your eyes, especially if you’re sensitive.
* Ventilation: Open a window or turn on a fan to ensure good ventilation.
Making the Paste
Now for the fun part! We’re going to create our powerful grout-cleaning paste. The key is to get the right consistency – not too runny, not too thick.
1. Combine Baking Soda and Hydrogen Peroxide: In your small bowl, start by adding about 1/2 cup of baking soda. Then, slowly pour in the hydrogen peroxide, a little at a time, while stirring constantly.
2. Achieve the Right Consistency: You want to create a paste that’s thick enough to stick to the grout lines but not so thick that it’s difficult to spread. It should be similar to the consistency of toothpaste. If it’s too runny, add more baking soda. If it’s too thick, add a little more hydrogen peroxide.
3. Mix Thoroughly: Make sure the baking soda and hydrogen peroxide are completely combined. There shouldn’t be any clumps of baking soda remaining.
Applying the Paste
Time to get that paste where it needs to be – on the grout!
1. Apply Generously: Using your spoon or spatula, apply the paste liberally to the grout lines. Make sure you cover all the grout completely. Don’t be shy!
2. Let it Sit: This is crucial! Allow the paste to sit on the grout for at least 5-10 minutes. This gives the hydrogen peroxide time to work its magic, breaking down the stains and killing any mold or mildew. For really stubborn stains, you can let it sit for up to 30 minutes. I usually set a timer so I don’t forget.
Scrubbing Power
Now comes the elbow grease! This is where you’ll really see the difference.
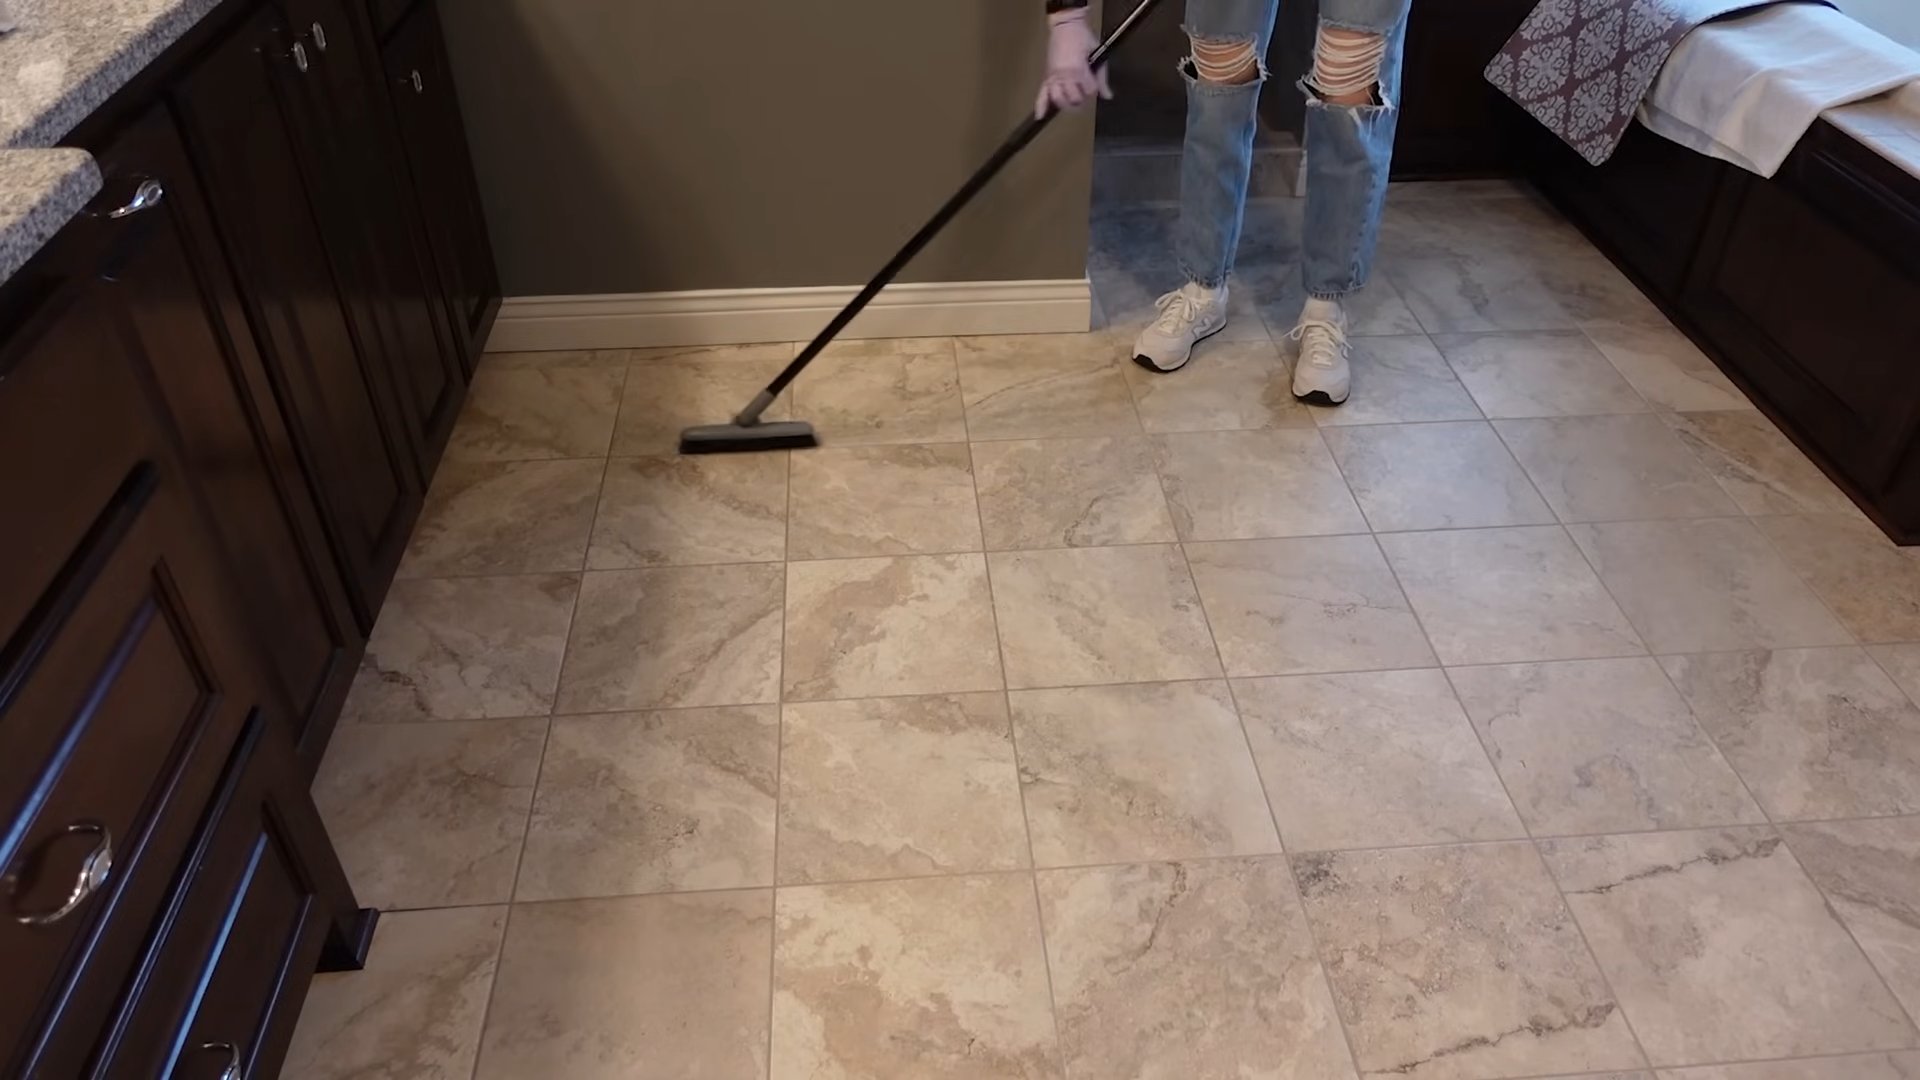
1. Grab Your Brush: Take your old toothbrush or grout brush and start scrubbing the grout lines. Use a firm, back-and-forth motion.
2. Focus on Stained Areas: Pay extra attention to areas that are heavily stained or discolored. You may need to scrub these areas a little longer and with more pressure.
3. Don’t Be Afraid to Reapply: If the paste starts to dry out while you’re scrubbing, don’t hesitate to reapply it. You want to keep the grout lines moist with the cleaning solution.
4. Consider a Power Scrubber (Optional): If you have a large area to clean, you might consider using a power scrubber with a grout brush attachment. This can save you a lot of time and effort. Just be careful not to damage the surrounding tiles.
Rinsing and Drying
Almost there! Now we need to rinse away the paste and reveal our sparkling grout.
1. Rinse Thoroughly: Use a clean cloth or sponge and plenty of water to rinse away the baking soda and hydrogen peroxide paste. Make sure you remove all traces of the paste.
2. Wipe Clean: After rinsing, wipe the area clean with a dry cloth or towel.
3. Allow to Dry: Let the grout dry completely. This may take a few hours, depending on the humidity.
Dealing with Stubborn Stains
Sometimes, even with all our efforts, some stains just won’t budge. Don’t worry, I have a few tricks up my sleeve!
1. Direct Hydrogen Peroxide Application: For particularly stubborn stains, try spraying hydrogen peroxide directly onto the grout lines and letting it sit for a longer period of time (up to an hour). Then, scrub and rinse as before.
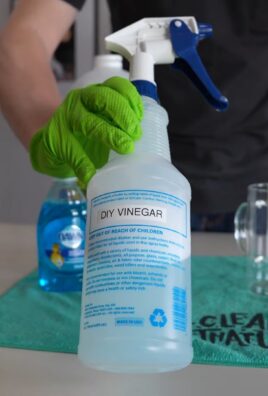
2. Baking Soda and Vinegar Paste: If hydrogen peroxide alone isn’t doing the trick, try making a paste of baking soda and vinegar. This combination creates a fizzing action that can help to lift stubborn stains. Be careful when mixing baking soda and vinegar, as it can create a lot of foam. Apply the paste to the grout lines, let it sit for a few minutes, then scrub and rinse.
3. Commercial Grout Cleaners: As a last resort, you can try using a commercial grout cleaner. However, be sure to read the instructions carefully and wear appropriate safety gear, as these cleaners can be harsh. I always try the natural methods first before resorting to chemicals.
4. Steam Cleaning: A steam cleaner can be very effective at removing stubborn stains and dirt from grout. The high-pressure steam loosens the grime, making it easier to wipe away.
Safety First
Before you start cleaning, it’s important to keep safety in mind.
1. Wear Gloves: Hydrogen peroxide can irritate the skin, so it’s always a good idea to wear gloves.
2. Protect Your Eyes: While 3% hydrogen peroxide is generally safe, it’s still a good idea to protect your eyes, especially if you’re sensitive.
3. Ensure Good Ventilation: Open a window or turn on a fan to ensure good ventilation.
4. Test in an Inconspicuous Area: Before cleaning your entire grout surface, test the cleaning solution in a small, inconspicuous area to make sure it doesn’t damage the tile or grout.
5. Keep Out of Reach of Children and Pets: Store hydrogen peroxide and baking soda out of reach of children and pets.
And there you have it! Sparkling clean grout using the power of hydrogen peroxide and baking soda. This is a simple, effective, and affordable way to keep your grout looking its best. Happy cleaning!
Conclusion
So, there you have it! A simple, effective, and budget-friendly way to tackle grimy grout using the power of hydrogen peroxide. We’ve walked you through the steps, highlighting the ease and accessibility of this DIY grout cleaning method. But why is this a must-try? Because it works! Store-bought grout cleaners can be harsh, expensive, and often filled with chemicals you’d rather not introduce into your home. This method offers a gentler, more natural alternative that’s just as effective, if not more so, on many types of grout stains.
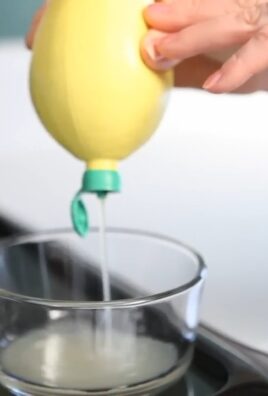
The beauty of this DIY approach lies in its adaptability. While we’ve focused on a simple hydrogen peroxide solution, feel free to experiment with variations to suit your specific needs. For particularly stubborn stains, consider creating a paste by mixing hydrogen peroxide with baking soda. This creates a slightly abrasive cleaner that can help lift embedded dirt and grime. Apply the paste, let it sit for a bit longer, and then scrub as usual. Another option is to add a few drops of your favorite essential oil, like tea tree or lemon, for a fresh, clean scent. Just be sure to test the essential oil in an inconspicuous area first to ensure it doesn’t discolor your grout.
Remember, patience is key. Depending on the severity of the staining, you may need to repeat the process a few times to achieve optimal results. Don’t be discouraged if you don’t see a dramatic difference immediately. Consistent application and a little elbow grease will eventually pay off.
We are confident that this hydrogen peroxide grout cleaner method will become your go-to solution for sparkling clean grout. It’s a game-changer for anyone looking to brighten their bathrooms and kitchens without breaking the bank or resorting to harsh chemicals.
Now, it’s your turn! We encourage you to give this DIY trick a try and see the amazing results for yourself. Don’t forget to take before-and-after photos – we’d love to see your transformations! Share your experiences, tips, and variations in the comments below. Let’s build a community of grout-cleaning experts and help each other achieve sparkling clean homes, one grout line at a time. We’re eager to hear how this method works for you and any creative tweaks you might discover along the way. Happy cleaning!
Frequently Asked Questions (FAQ)
1. What concentration of hydrogen peroxide should I use for cleaning grout?
We recommend using a 3% hydrogen peroxide solution, which is the standard concentration readily available at most drugstores and supermarkets. This concentration is effective for cleaning grout without being overly harsh or damaging. Higher concentrations may be more potent, but they also pose a greater risk of skin irritation and grout discoloration. Always wear gloves when handling hydrogen peroxide, regardless of the concentration.
2. Can I use hydrogen peroxide on all types of grout?
Hydrogen peroxide is generally safe for most types of grout, including cementitious grout, which is the most common type. However, it’s always a good idea to test it in an inconspicuous area first, especially if you have colored grout. Apply a small amount of hydrogen peroxide to a hidden section of grout and let it sit for a few minutes. Then, wipe it away and check for any discoloration or damage. If you notice any adverse effects, discontinue use. For epoxy grout, which is more resistant to staining, hydrogen peroxide is usually safe, but again, testing is recommended.
3. How long should I let the hydrogen peroxide sit on the grout before scrubbing?
The ideal dwell time for hydrogen peroxide on grout depends on the severity of the staining. For light stains, 5-10 minutes may be sufficient. For more stubborn stains, you can let it sit for up to 30 minutes. However, avoid letting it dry completely, as this can make it more difficult to remove. If the hydrogen peroxide starts to dry, lightly mist it with water to keep it moist.
4. What type of brush should I use to scrub the grout?
A stiff-bristled brush is essential for effectively scrubbing grout. A grout brush, specifically designed for cleaning grout lines, is ideal. These brushes typically have a narrow head and angled bristles that can easily reach into the grout lines. Alternatively, you can use an old toothbrush or a small scrub brush with firm bristles. Avoid using abrasive scrub pads or steel wool, as these can scratch the grout surface.
5. How often should I clean my grout with hydrogen peroxide?
The frequency of grout cleaning depends on the amount of foot traffic and moisture exposure in the area. In high-traffic areas like bathrooms and kitchens, you may need to clean your grout every few weeks. In less frequently used areas, you can clean it every few months. Regular cleaning will help prevent stains from setting in and make the cleaning process easier in the long run.
6. Can I mix hydrogen peroxide with other cleaning agents, such as bleach?
No, you should never mix hydrogen peroxide with bleach or other cleaning agents. Mixing hydrogen peroxide with bleach can create toxic chlorine gas, which is extremely dangerous and can cause respiratory problems and other health issues. Always use hydrogen peroxide on its own and avoid combining it with any other chemicals.
7. What safety precautions should I take when using hydrogen peroxide?
When using hydrogen peroxide, it’s important to take certain safety precautions to protect yourself. Always wear gloves to prevent skin irritation. Hydrogen peroxide can cause temporary whitening of the skin, but it is generally harmless. However, prolonged exposure can cause dryness and irritation. Eye protection is also recommended, especially if you’re using a spray bottle. If hydrogen peroxide gets in your eyes, rinse them immediately with plenty of water. Work in a well-ventilated area to avoid inhaling any fumes.
8. How do I prevent grout from getting stained in the future?
Preventing grout from getting stained is easier than removing stains after they’ve set in. Regularly wipe up spills and messes as soon as they occur. Use a squeegee after showering to remove excess water and prevent mildew growth. Consider sealing your grout with a grout sealer to protect it from stains and moisture. Reapply the sealer every year or two, or as recommended by the manufacturer. Good ventilation in bathrooms and kitchens can also help prevent moisture buildup and mildew growth.
9. What if the hydrogen peroxide grout cleaner doesn’t work on my stains?
If hydrogen peroxide alone isn’t effective, you can try a few alternative methods. As mentioned earlier, creating a paste of hydrogen peroxide and baking soda can provide extra cleaning power. You can also try using a commercial grout cleaner specifically designed for stubborn stains. In some cases, professional grout cleaning may be necessary to restore heavily stained or damaged grout.
10. Is there a natural alternative to hydrogen peroxide for cleaning grout?
While hydrogen peroxide is a relatively gentle cleaning agent, some people prefer to use even more natural alternatives. Vinegar is a popular option, but it’s important to dilute it with water to avoid damaging the grout. A mixture of baking soda and water can also be used as a mild abrasive cleaner. Lemon juice is another natural option that can help brighten grout. However, these alternatives may not be as effective as hydrogen peroxide on tough stains.
Leave a Comment