
Imagine biting into a juicy, home-grown watermelon on a hot day. A dream, right? But many people think that growing watermelons is only for professionals with huge fields. Think again! With a few clever tricks and DIY ideas, you too can fulfill this dream in your own garden.
Watermelons have been cultivated for thousands of years. Originally, they came from Africa and were found as grave goods in ancient Egypt – a sign of their appreciation. Today, they are popular worldwide and a symbol of summer freshness. But why should you bother growing watermelons yourself instead of just buying them at the supermarket?
Quite simply: Home-grown watermelons taste incomparably better! They are fresher, juicier and you know exactly what’s in them. Besides, it’s an incredibly satisfying feeling to see something you own grow and harvest. And that’s exactly why I’m going to show you the best DIY tricks and hacks in this article, so you can successfully grow watermelon in your garden. We will look at how to choose the right varieties, how to optimally prepare and care for the plants, and how to avoid common mistakes. So, let’s get started and turn your garden into a small watermelon oasis!
Growing Watermelons in Your Own Garden: Here’s How to Do It!
Hey gardening friends! Have you ever imagined harvesting a juicy, homegrown watermelon directly from your garden? Sounds dreamy, doesn’t it? I’ll show you how to make this dream a reality. Don’t worry, it’s easier than you think!
What you need for growing watermelons:
-
Watermelon seeds: Choose a variety that is suitable for your climate. There are many different varieties, from small, round melons to huge, elongated specimens. It is best to get information from a specialist retailer.
-
Seedling pots or trays: For pre-cultivation in the house.
-
Seedling soil: Special soil for seedlings, which is low in nutrients and loose.
-
Garden soil: Good, nutrient-rich garden soil for the bed.
-
Compost or organic fertilizer: To enrich the soil.
-
Mulch material: Straw, wood chips or dark foil to keep the soil warm and suppress weeds.
-
Watering can or garden hose: For irrigation.
-
Trellis or climbing aid (optional): For smaller varieties, to save space.
-
Patience and love: The most important thing ever!
Preparation: The Foundation for a Rich Harvest
Before we start, good preparation is the key. Watermelons are little divas and need a little care to feel comfortable.
-
Choosing the Right Variety:
Not every watermelon is the same. Find out which varieties thrive in your region. Shorter summers mean that you should use early ripening varieties. Ask at the garden center, they can certainly help you.
-
The Perfect Location:
Watermelons love the sun! Choose a sunny spot in the garden that gets at least 6-8 hours of sunshine a day. The soil should be loose, well-drained and nutrient-rich.
-
Preparing the Soil:
Watermelons are heavy feeders, which means they need a lot of nutrients. Dig the soil generously and mix in plenty of compost or organic fertilizer. This ensures a good start.
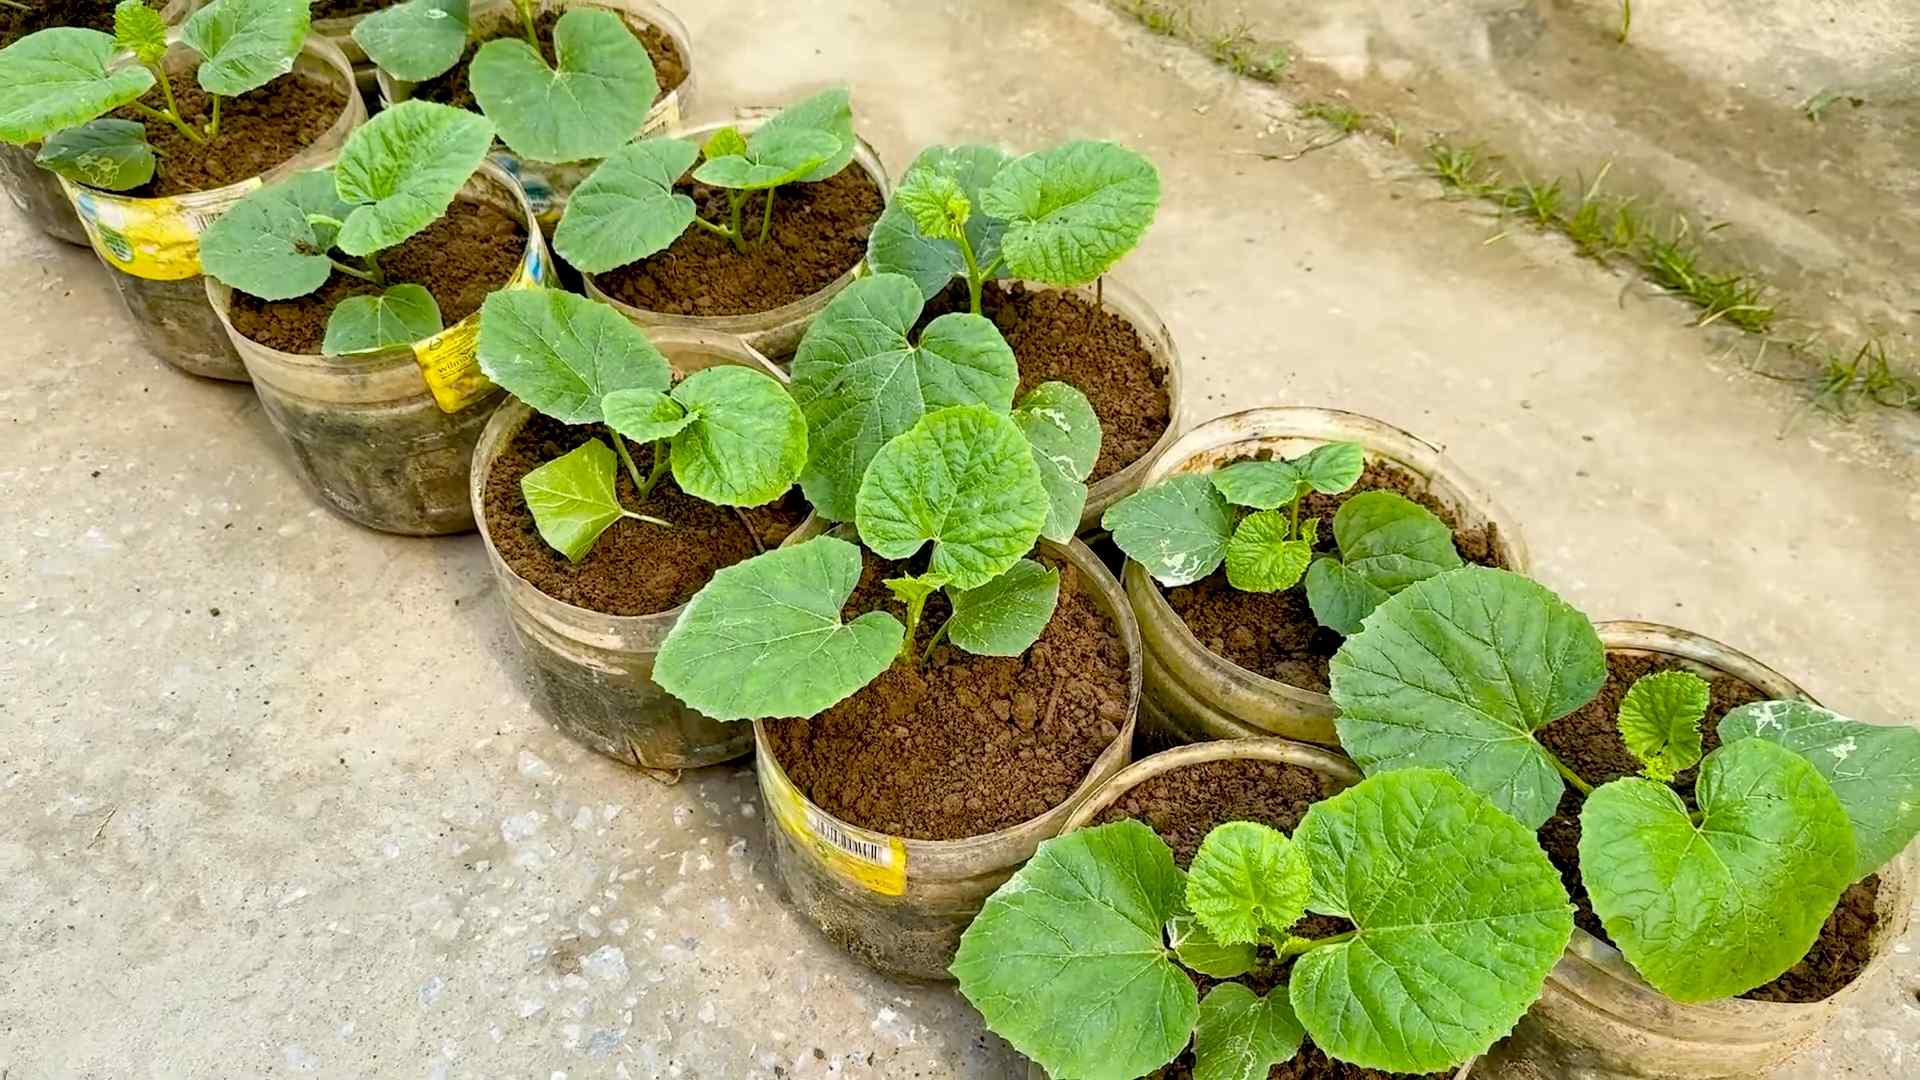
Pre-cultivation: Growing Small Plants
Pre-cultivation in the house is particularly recommended in cooler regions to give the watermelons a head start.
-
Sowing Seeds:
Fill your seedling pots with seedling soil and press the soil down lightly. Place 1-2 seeds per pot about 2-3 cm deep in the soil. Cover the seeds with soil and water them carefully.
-
Place Warm and Bright:
Place the seedling pots in a warm and bright place. A windowsill above the radiator is ideal. The optimum germination temperature is 25-30°C (77-86°F).
-
Keep Moist:
Make sure that the soil is always slightly moist, but not wet. It is best to spray the soil regularly with a spray bottle.
-
Pricking Out (optional):
When the seedlings have developed their first real leaves (after the cotyledons), you can prick them out into larger pots. This gives them more space to grow.
Transplanting: Off to the Bed!
As soon as the temperatures rise and there is no longer any risk of frost (usually mid-May after the Ice Saints), the small watermelons can move to the bed.
-
Hardening Off:
Before you put the plants into the bed, you should harden them off for a few days. Put them outside for a few hours during the day and bring them back in the evening. This way they slowly get used to the sun and the wind.
-
Observe Planting Distance:
Watermelons need space! Allow about 1-1.5 meters (3-5 feet) between plants and 2-3 meters (6-10 feet) between rows.
-
Plant Properly:
Dig a sufficiently large hole for each plant. Carefully place the plant in it and fill the hole with soil. Press the soil down lightly and water the plant well.
-
Mulching:
Mulch the soil around the plants with straw, wood chips or dark foil. This keeps the soil warm, suppresses weeds and stores moisture. Dark foil also warms up the soil, which is particularly advantageous in cooler regions.
Care: So That the Melons Thrive Splendidly
After planting, the right care is crucial for a rich harvest.
-
Water Regularly:
Watermelons need a lot of water, especially during fruit formation. Water regularly and sufficiently, but avoid waterlogging. It is best to water in the morning so that the leaves can dry over the day.
-
Fertilize:
Fertilize the plants regularly with an organic fertilizer or compost. They need a lot of nutrients, especially during fruit formation.
-
Pinching Out (optional):
In some varieties, it may be useful to pinch out the side shoots to concentrate the plant’s energy on the main shoots and fruit formation. Find out if this is recommended for your variety.
-
Remove Weeds:
Keep the bed weed-free so that the watermelons do not have to compete for nutrients and water.
-
Protection Against Pests:
Pay attention to pests such as snails or aphids and control them with natural means if necessary.
-
Support Fruit Set:
Sometimes it can happen that the flowers are not pollinated. In this case, you can lend a hand yourself with a brush and transfer the pollen from a male flower to a female flower. Female flowers can be recognized by the small fruit set below the flower.
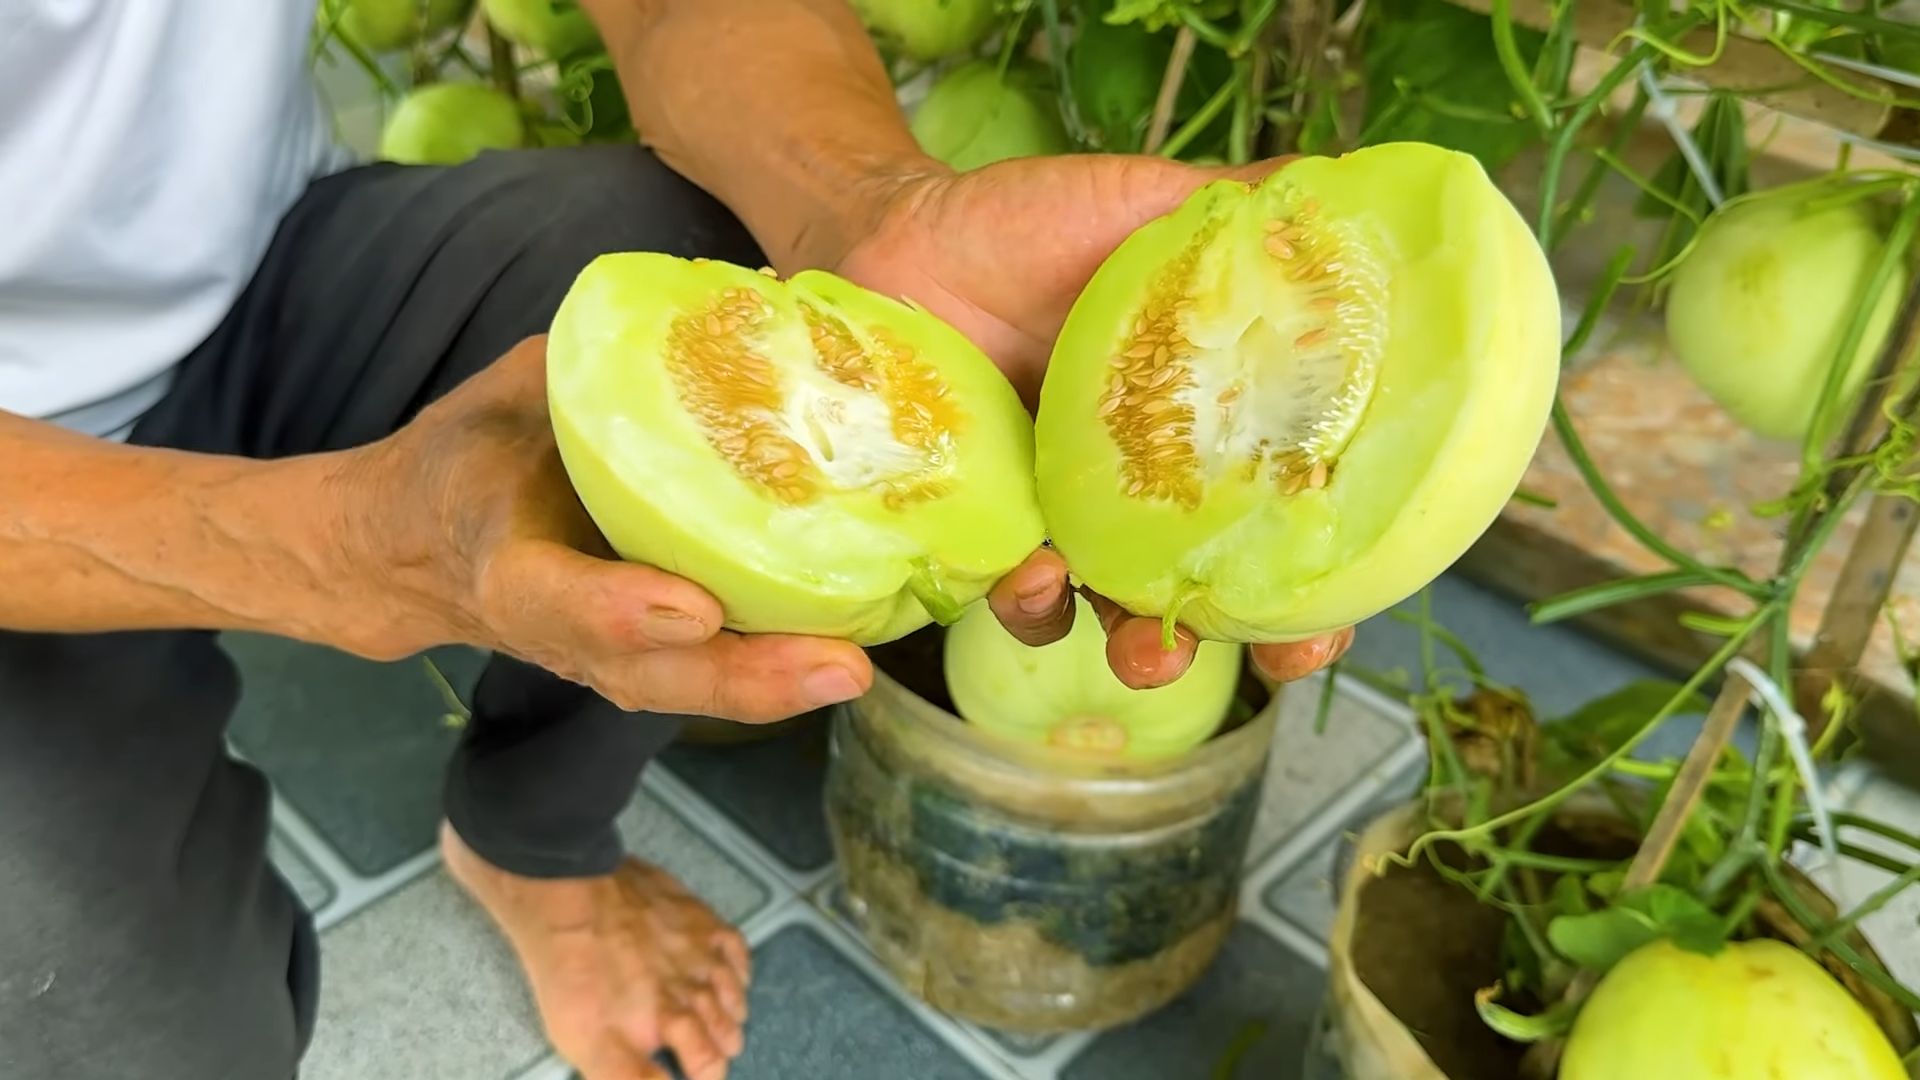
The Harvest: The Reward of Effort
After about 80-100 days (depending on the variety), the time has finally come: The watermelons are ripe!
-
Recognize Maturity:
There are several signs by which you can tell if a watermelon is ripe:
* **The sound:** Knock on the melon. If it sounds hollow, it is probably ripe. * **The color:** The underside of the melon that lies on the ground should be yellowish in color. * **The stem:** The stem that connects the melon to the plant should be dry and brown.
-
Harvesting:
Cut the melon off the stem with a sharp knife or garden shears. Leave a small piece of stem on the melon.
-
Enjoy:
And now comes the best part: Enjoy your home-grown watermelon! It is guaranteed to taste better than any purchased melon.
Additional Tips for Successful Watermelon Growing:
-
Start Early: Start pre-cultivation in the house as early as possible to give the watermelons a head start.
-
Be Patient: Watermelons take time to grow and ripen. Be patient and don’t be discouraged if it doesn’t work right away.
-
Observe: Observe your plants regularly and look for signs of disease or pests.
-
Experiment: Try different varieties and find out which ones thrive best in your garden.
-
Have Fun: Growing watermelons should be fun! Enjoy the process and look forward to the harvest.
Conclusion
Growing watermelons in your own garden may seem like a challenge at first, but the reward – a juicy, sun-ripened watermelon that you have grown yourself – is priceless. This DIY trick, based on careful planning, proper soil preparation and attention to the specific needs of the watermelon, is an absolute must for every garden lover. It allows you to maintain control over the entire process, from the selection of the variety to the harvest, ensuring that you get a product of the highest quality.
Why should you try this DIY trick? Because it not only provides you with a delicious watermelon, but also a deep sense of satisfaction and a connection to nature. You learn about the needs of the plant, observe its growth and finally reap the fruits of your labor. It is an educational and rewarding experience for the whole family.
In addition, growing watermelons in your own garden offers the opportunity to experiment with different varieties. Try a yellow-fleshed watermelon, a seedless variety or a mini-watermelon. Each variety has its own unique taste and characteristics. You can also try different cultivation methods, such as growing on hills or using mulch to retain heat and promote growth.
Another advantage of DIY cultivation is the ability to avoid pesticides and herbicides. You can grow your watermelons naturally and ensure that they are free of harmful chemicals. This is especially important if you have children or value a healthy diet.
We strongly encourage you to try this DIY trick and grow your own watermelons in the garden. It’s easier than you might think, and the results are worth it. Share your experiences with us! Let us know which varieties you have grown, which cultivation methods you have used and which challenges you have overcome. Your experiences can help other gardeners successfully grow their own watermelons.
Remember that growing watermelons requires patience and care. But with the right information and a little effort, you can achieve a rich harvest and enjoy the taste of a home-grown watermelon. So what are you waiting for? Get started and turn your garden into a watermelon paradise! Growing watermelons in your own garden is not just a hobby, but an investment in your health and well-being.
Variations and Tips:
-
Vertical Cultivation: If you have limited space, try growing your watermelons vertically. Use a trellis or a sturdy framework to support the vines.
-
Container Growing: Mini-watermelons are well suited for growing in containers. Make sure that the container is large enough and has good drainage.
-
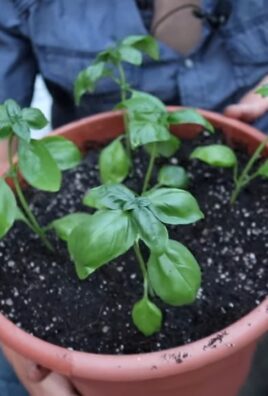
Companion Planting: Plant basil, marigolds or garlic near your watermelons to repel pests.
-
Irrigation: Water your watermelons regularly, especially during fruit formation. However, avoid wetting the leaves to prevent fungal diseases.
-
Fertilization: Fertilize your watermelons regularly with a balanced fertilizer.
-
Protection against Pests: Monitor your plants regularly for pests and take action if necessary.
Additional Suggestions:
-
Take a photo of your first home-grown watermelon and share it on social media with the hashtag #DIYWatermelon.
-
Host a watermelon party and invite your friends and family to enjoy your harvest.
-
Use your watermelons to make delicious smoothies, salads or desserts.
-
Donate excess watermelons to a local food bank or homeless shelter.
FAQ – Frequently Asked Questions About Watermelon Growing
Here are some frequently asked questions about growing watermelons in your own garden to help you get started:
Q: When is the best time to plant watermelons?
A: The best time to plant watermelons is after the danger of frost has passed and the soil has warmed to at least 18°C (65°F). In most regions, this is in late spring or early summer. You can also start the seeds indoors about 4-6 weeks before the last expected frost to extend the growing season.
Q: What type of soil is best for watermelons?
A: Watermelons prefer well-drained, sandy loam soil with a pH between 6.0 and 6.8. The soil should be rich in organic matter. Improve the soil with compost or well-rotted manure before planting.
Q: How much sun do watermelons need?
A: Watermelons need at least 6-8 hours of direct sunlight per day to grow and fruit optimally. Choose a sunny location in your garden.
Q: How often do I need to water watermelons?
A: Watermelons need regular watering, especially during fruit formation. Water deeply and regularly to keep the soil moist, but not soggy. Avoid wetting the leaves to prevent fungal diseases. Drip irrigation is ideal.
Q: How do I thin watermelon plants?
A: If you have planted multiple seeds in a hill, thin the seedlings out once they are a few inches tall. Leave only the strongest plant per hill.
Q: How do I fertilize watermelons?
A: Fertilize your watermelons regularly with a balanced fertilizer. Start fertilizing when the plants are about 30 cm (12 inches) tall, and repeat every 2-3 weeks. Use a fertilizer with a higher phosphorus and potassium content to promote fruit formation.
Q: How do I protect watermelons from pests and diseases?
A: Monitor your plants regularly for pests such as aphids, cucumber beetles and spider mites. Use natural pest control methods such as neem oil or insecticidal soap if necessary. To prevent diseases, ensure good air circulation and avoid wetting the leaves.
Q: When are watermelons ripe?
A: There are several signs that indicate that a watermelon is ripe. The underside of the watermelon that lies on the ground (the so-called “belly spot”) should turn from white to yellowish. When you knock on the watermelon, it should produce a hollow sound. The tendril closest to the watermelon should be dry and brown.
Q: How do I store harvested watermelons?
A: Harvested watermelons can be stored at room temperature for about 1-2 weeks. For longer storage, you can keep them in the refrigerator. Cut watermelons should be stored in the refrigerator and consumed within a few days.
Q: Which watermelon varieties are best suited for growing in the garden?
A: There are many different watermelon varieties that are suitable for growing in the garden. Some popular varieties include Sugar Baby (small and early ripening), Crimson Sweet (large and sweet), and Yellow Doll (yellow-fleshed). Choose a variety that is suitable for your climate and your space.

Leave a Comment