
Effective cleaning hacks are the secret weapon every homeowner needs in their arsenal! Let’s face it, cleaning isn’t exactly anyone’s favorite pastime. But what if I told you there were simple, clever tricks that could transform your cleaning routine from a dreaded chore into a surprisingly satisfying experience?
For centuries, resourceful individuals have been devising ingenious ways to keep their homes sparkling. Think about it 鈥?before the age of fancy cleaning products, our ancestors relied on natural ingredients and clever techniques passed down through generations. These time-tested methods, often born out of necessity, are just as relevant (and often more effective!) today.
In today’s busy world, time is precious. Who wants to spend hours scrubbing and scouring when you could be enjoying your free time? That’s where effective cleaning hacks come in. This article is packed with DIY solutions and clever shortcuts that will save you time, money, and effort. From tackling stubborn stains to banishing unpleasant odors, these tips will help you achieve a spotless home with minimal fuss. Get ready to discover the cleaning secrets that will make your life easier and your home shine!
DIY Cleaning Hacks That Will Save You Time and Money!
Hey there, fellow cleaning enthusiasts! I’m always on the lookout for ways to make cleaning less of a chore and more of a breeze. Over the years, I’ve stumbled upon some amazing DIY cleaning hacks that have seriously changed my cleaning game. And guess what? I’m sharing them with you! Get ready to ditch those expensive store-bought cleaners and embrace these simple, effective, and budget-friendly solutions.
Hack 1: Sparkling Clean Microwave with Lemon Power
Is your microwave looking a little鈥?less than appetizing? Don’t worry, mine gets that way too! This hack uses the power of steam and lemon to loosen grime and make wiping it clean a cinch.
What you’ll need:
* 1 lemon
* 1 cup of water
* Microwave-safe bowl
Step-by-step instructions:
1. Prepare the lemon solution: Cut the lemon in half. Squeeze the juice from both halves into the microwave-safe bowl. Then, drop the lemon halves into the bowl as well.
2. Add water: Pour one cup of water into the bowl with the lemon juice and lemon halves.
3. Microwave the mixture: Place the bowl in the microwave and heat on high for 3-5 minutes. You want the water to boil and create steam inside the microwave.
4. Let it sit: Once the timer goes off, don’t open the microwave door immediately! Let the steam work its magic for another 5-10 minutes. This will help loosen all the stuck-on food particles.
5. Wipe it clean: Carefully remove the bowl (it will be hot!). Use a clean cloth or sponge to wipe down the inside of the microwave. The grime should come off easily. For stubborn spots, you can use the lemon halves to scrub gently.
6. Enjoy your sparkling microwave! Seriously, it’s like a brand new appliance.
Hack 2: Unclog Your Drain with Baking Soda and Vinegar
Clogged drains are the bane of my existence! But before you call a plumber, try this simple and effective DIY solution. It’s a natural alternative to harsh chemical drain cleaners.
What you’ll need:
* 1 cup baking soda
* 2 cups white vinegar
* Hot water
Step-by-step instructions:
1. Pour in the baking soda: Carefully pour one cup of baking soda down the clogged drain. Try to get as much of it down the drain as possible.
2. Add the vinegar: Next, slowly pour two cups of white vinegar down the drain, right after the baking soda.
3. Let it fizz: You’ll notice a fizzing reaction. This is the baking soda and vinegar working together to break down the clog. Let the mixture sit for at least 30 minutes, or even better, overnight.
4. Flush with hot water: After the waiting period, flush the drain with a generous amount of hot water. Let the water run for several minutes to ensure the clog is completely cleared.
5. Repeat if necessary: If the drain is still clogged, repeat the process. For really stubborn clogs, you might need to do this a couple of times.
Hack 3: Homemade All-Purpose Cleaner with Citrus Peels
This is one of my favorite hacks because it’s eco-friendly, smells amazing, and works wonders on a variety of surfaces. Plus, it uses citrus peels that would otherwise go to waste!
What you’ll need:
* Citrus peels (orange, lemon, grapefruit, lime 鈥?any combination works!)
* White vinegar
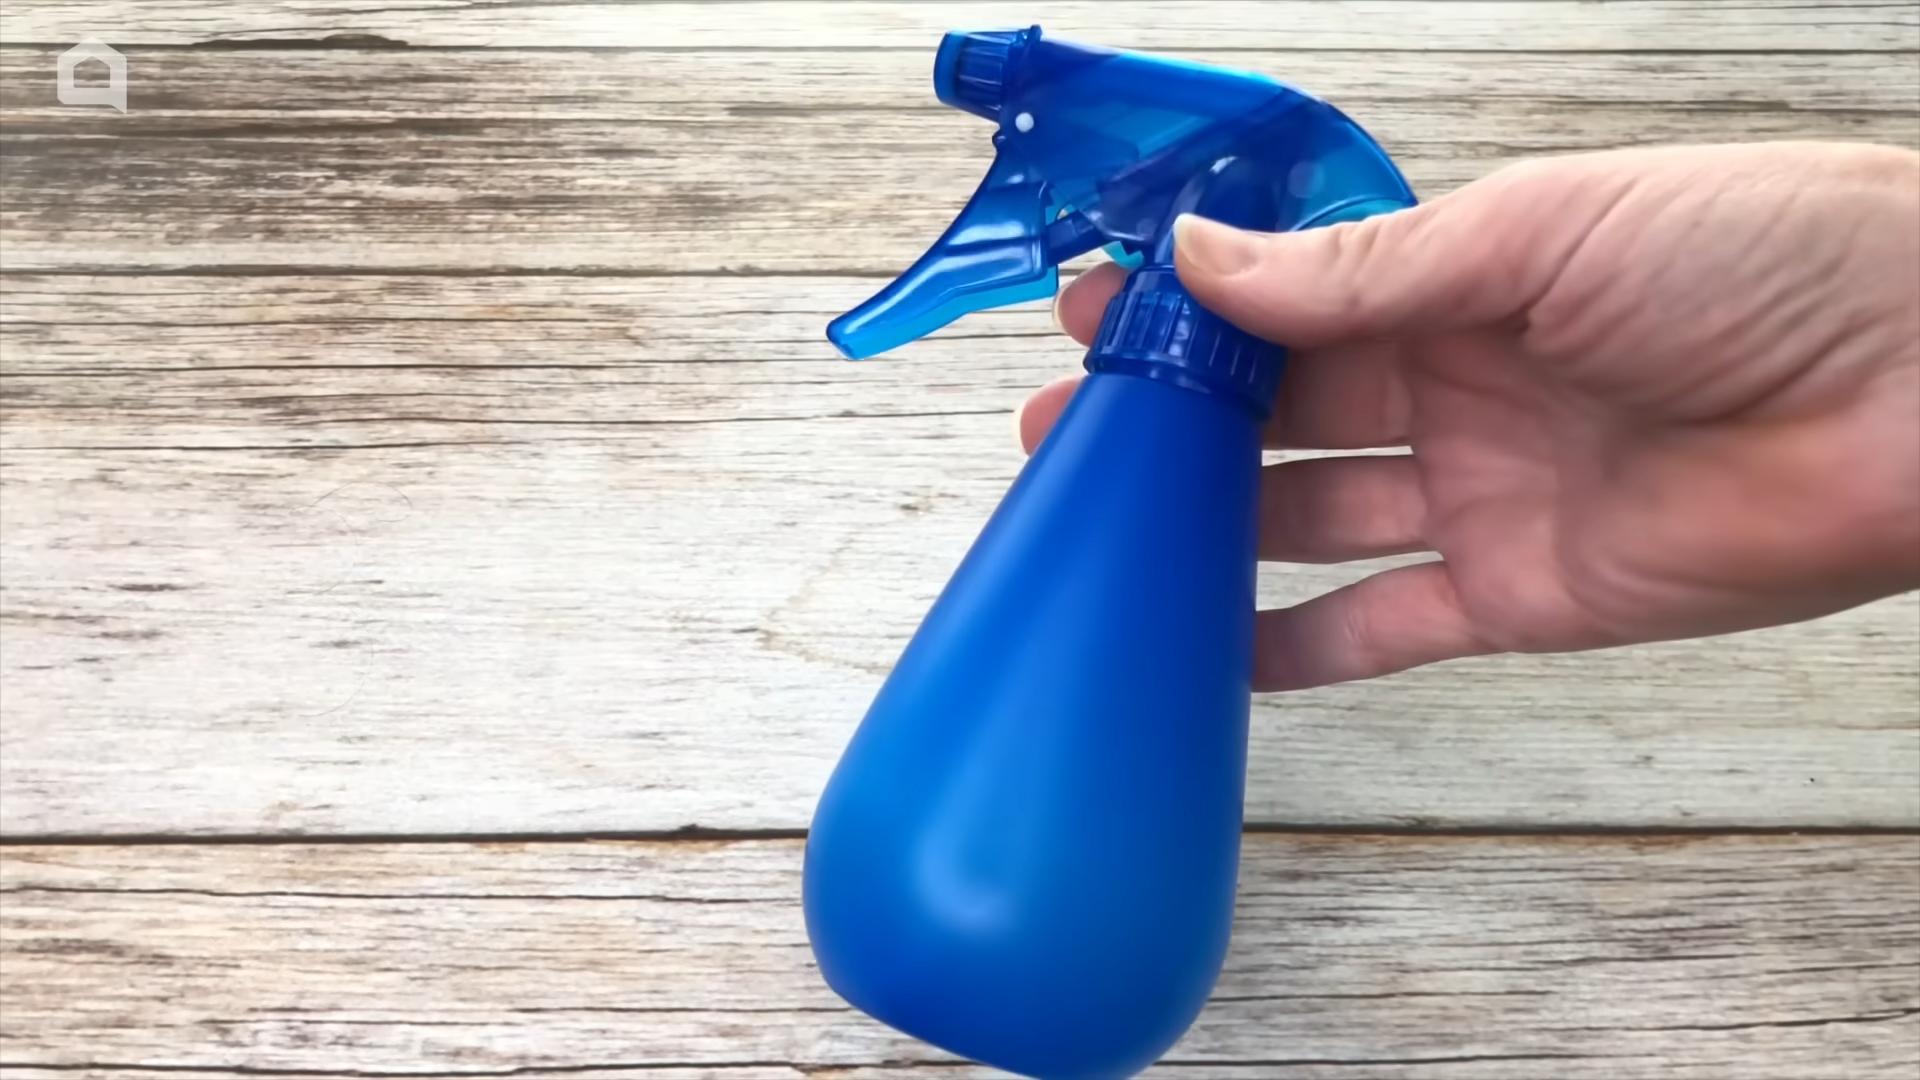
* Spray bottle
Step-by-step instructions:
1. Collect citrus peels: Save your citrus peels after you eat oranges, lemons, grapefruits, or limes. Make sure to remove as much of the fruit pulp as possible.
2. Fill a jar with peels: Place the citrus peels in a clean glass jar. Pack them in tightly.
3. Cover with vinegar: Pour white vinegar over the citrus peels until they are completely submerged.
4. Let it steep: Seal the jar tightly and let it steep in a cool, dark place for at least 2 weeks. The longer it steeps, the stronger the citrus scent will be. I usually let mine steep for a month.
5. Strain the mixture: After the steeping period, strain the vinegar into a clean container, discarding the citrus peels.
6. Dilute (optional): If the vinegar scent is too strong for you, you can dilute it with water. I usually use a 1:1 ratio of vinegar to water.
7. Pour into a spray bottle: Pour the diluted (or undiluted) citrus-infused vinegar into a spray bottle.
8. Clean away! Use this all-purpose cleaner on countertops, sinks, appliances, and other surfaces. Avoid using it on natural stone surfaces like marble or granite, as the acidity of the vinegar can damage them.
Hack 4: Clean Your Grout with Baking Soda Paste
Dirty grout can make your entire bathroom or kitchen look dingy. This baking soda paste is a simple and effective way to brighten up your grout lines.
What you’ll need:
* Baking soda
* Water
* Old toothbrush or grout brush
Step-by-step instructions:
1. Make a paste: In a small bowl, mix baking soda with just enough water to form a thick paste.
2. Apply the paste: Apply the baking soda paste to the grout lines. You can use your fingers or a small spatula to spread it evenly.
3. Scrub the grout: Use an old toothbrush or a grout brush to scrub the grout lines. Apply some pressure and scrub in a back-and-forth motion.
4. Let it sit: After scrubbing, let the baking soda paste sit on the grout for about 10-15 minutes. This will give it time to further loosen the dirt and grime.
5. Rinse with water: Rinse the grout lines thoroughly with water. You can use a damp sponge or cloth to wipe away the remaining baking soda paste.
6. Dry the grout: Use a clean towel to dry the grout lines. You should see a noticeable difference in the brightness of your grout!
Hack 5: Shine Your Stainless Steel with Olive Oil
Stainless steel appliances are beautiful, but they can be a pain to keep clean. Fingerprints, smudges, and water spots seem to appear out of nowhere! This olive oil hack will leave your stainless steel looking shiny and new.
What you’ll need:
* Olive oil
* Soft cloth (microfiber cloth works best)
Step-by-step instructions:
1. Clean the surface: First, clean the stainless steel surface with a damp cloth to remove any loose dirt or debris.
2. Apply olive oil: Pour a small amount of olive oil onto a soft cloth. You don’t need much 鈥?a little goes a long way!
3. Wipe with the grain: Wipe the stainless steel surface with the olive oil-soaked cloth, following the grain of the metal. This will help prevent streaks.
4. Buff the surface: Use a clean, dry soft cloth to buff the surface. This will remove any excess olive oil and leave a beautiful shine.
5. Admire your sparkling stainless steel! This hack not only cleans but also helps protect the stainless steel from future smudges and fingerprints.
Hack 6: Freshen Your Garbage Disposal with Citrus and Ice
Garbage disposals can get pretty stinky over time. This simple hack uses citrus and ice to clean and freshen your disposal.
What you’ll need:
* Citrus peels (lemon, orange, lime)
* Ice cubes
Step-by-step instructions:
1. Gather citrus peels: Collect citrus peels from lemons, oranges, or limes.
2. Add ice cubes: Fill the garbage disposal with ice cubes.
3. Add citrus peels: Add the citrus peels to the garbage disposal on top of the ice cubes.
4. Run the disposal: Turn on the cold water and run the garbage disposal for about 30 seconds to a minute. The ice cubes will help scrub the disposal blades, while the citrus peels will freshen the scent.
5. Enjoy a fresh-smelling disposal! Repeat this process every few weeks to keep your garbage disposal clean and odor-free.
Hack 7: Remove Hard Water Stains with Vinegar
Hard water stains can be a real nuisance, especially in bathrooms and kitchens. Vinegar is a natural acid that can dissolve these mineral deposits.
What you’ll need:
* White vinegar
* Spray bottle
* Cloth or sponge
Step-by-step instructions:
1. Fill a spray bottle with
Conclusion
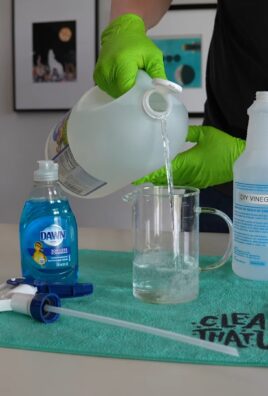
So, there you have it! This simple yet remarkably effective cleaning hack is more than just a quick fix; it’s a game-changer for maintaining a sparkling clean home without breaking the bank or relying on harsh chemicals. We’ve explored how readily available ingredients can be combined to create a powerful cleaning solution that tackles grime, eliminates odors, and leaves your surfaces gleaming.
Why is this DIY trick a must-try? Because it’s economical, eco-friendly, and incredibly versatile. Think about it: you’re likely already stocking the necessary ingredients in your pantry. This means no more last-minute trips to the store for expensive cleaning products. Plus, you’re reducing your environmental footprint by avoiding the plastic packaging and potentially harmful chemicals found in commercial cleaners. And most importantly, you’re gaining control over what you’re using in your home, ensuring a safer environment for your family and pets.
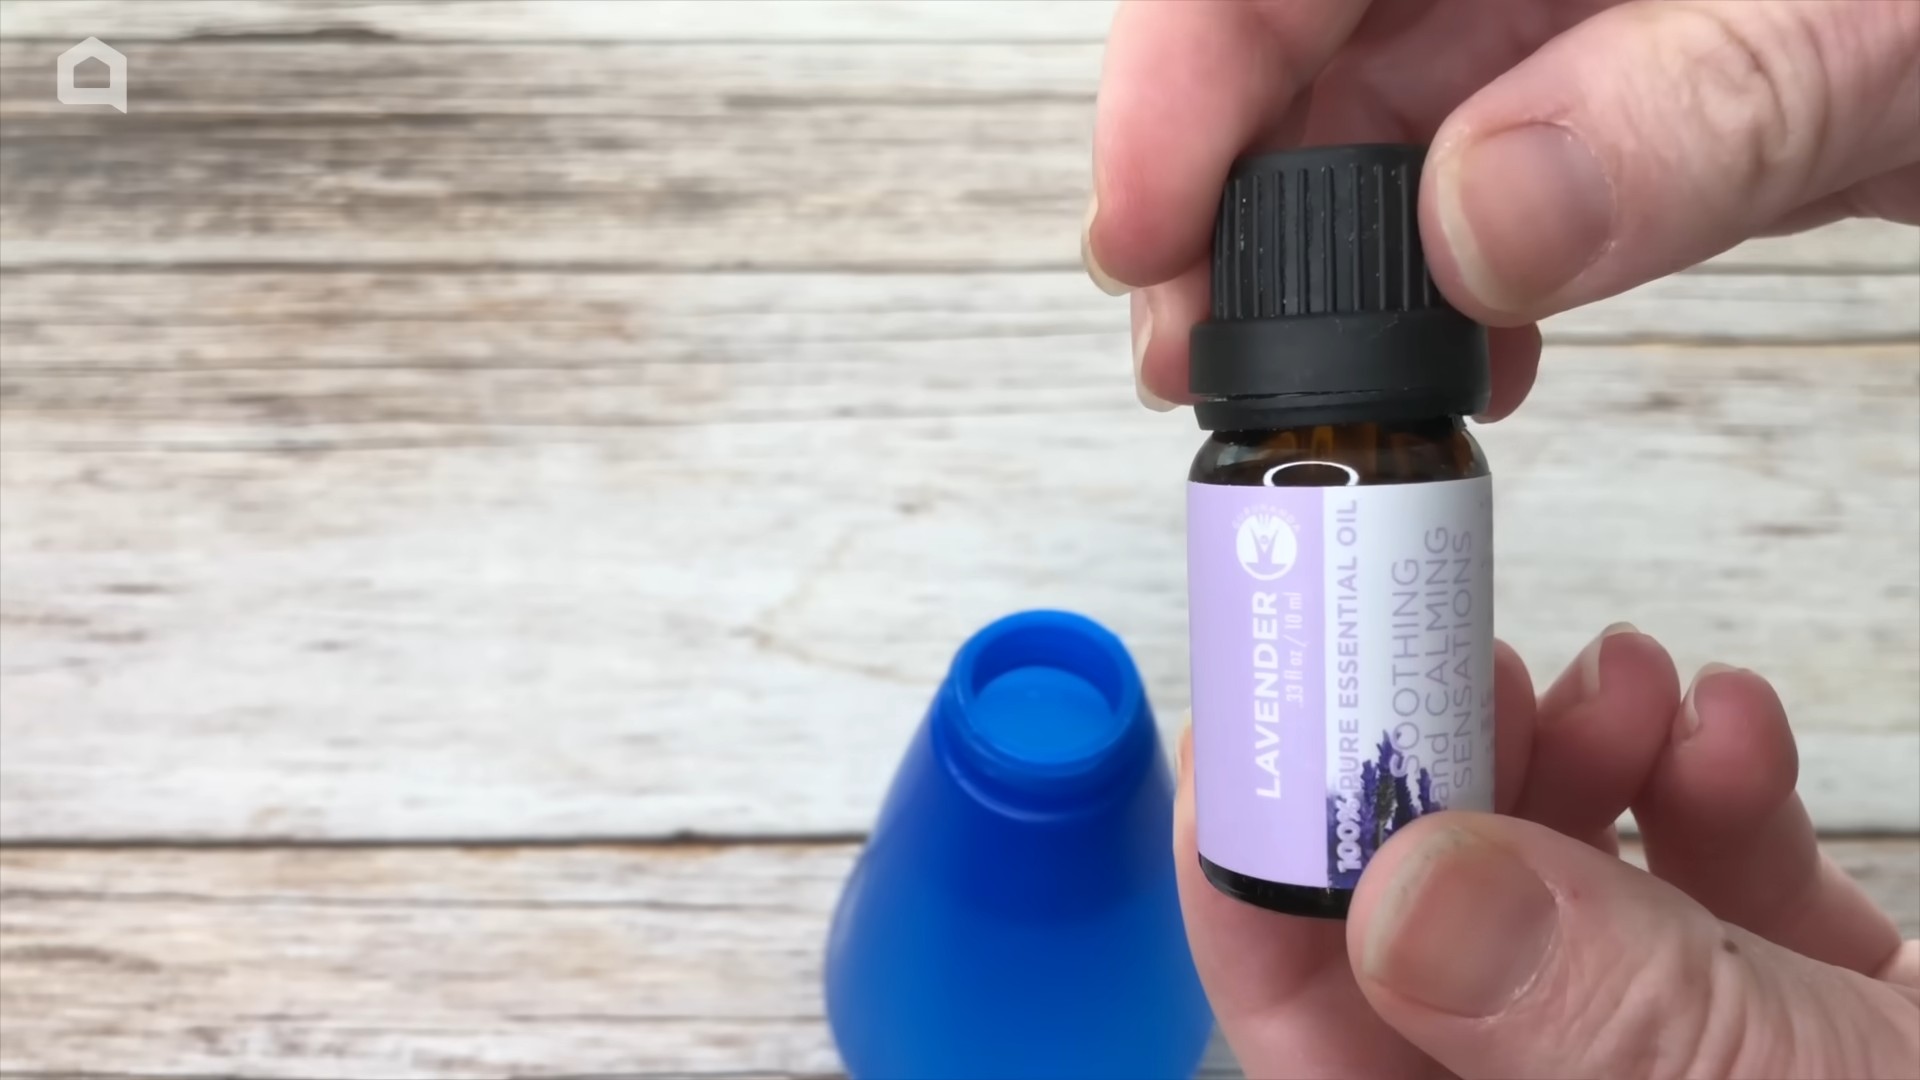
But the beauty of this cleaning hack lies in its adaptability. Feel free to experiment with variations to suit your specific needs and preferences. For instance, if you’re dealing with particularly stubborn stains, consider adding a tablespoon of borax to the mixture for extra cleaning power. Or, if you prefer a more fragrant cleaning experience, infuse your solution with a few drops of your favorite essential oil, such as lavender for a calming scent or lemon for a refreshing boost. You can even adjust the ratios of ingredients to create a stronger or milder solution, depending on the surface you’re cleaning. Remember to always test a small, inconspicuous area first to ensure compatibility.
This effective cleaning hack isn’t just about saving money and being eco-conscious; it’s about empowering you to take control of your cleaning routine and create a healthier, happier home. It’s about simplifying your life and finding joy in the process of creating a clean and inviting space.
We wholeheartedly encourage you to give this DIY cleaning trick a try. We’re confident that you’ll be amazed by the results. And once you’ve experienced the magic for yourself, we’d love to hear about it! Share your experiences, variations, and tips in the comments below. Let’s create a community of cleaning enthusiasts who are passionate about finding simple, sustainable, and effective ways to keep our homes sparkling. Your insights could inspire others to embrace this fantastic cleaning hack and transform their own cleaning routines. So, go ahead, give it a whirl, and let us know what you think! Happy cleaning!
Frequently Asked Questions (FAQ)
What exactly makes this cleaning hack so effective?
The effectiveness of this cleaning hack stems from the synergistic action of its ingredients. For example, vinegar is a natural disinfectant and degreaser, while baking soda acts as a mild abrasive and deodorizer. When combined, they create a powerful cleaning solution that can tackle a wide range of household messes. The specific ingredients and their ratios will determine the solution’s strength and suitability for different surfaces. The beauty of this DIY approach is that you can tailor the solution to your specific needs.
Is this cleaning solution safe to use on all surfaces?
While this cleaning hack is generally safe for most surfaces, it’s always best to test it in an inconspicuous area first, especially on delicate materials like marble, granite, or wood. The acidity of vinegar, for example, can potentially damage certain surfaces over time. Avoid using it on waxed furniture or aluminum, as it can cause discoloration. For surfaces that are sensitive to acidic cleaners, consider using a milder solution or substituting the vinegar with a different cleaning agent, such as castile soap. Always read the manufacturer’s instructions for your surfaces before using any cleaning product, DIY or commercial.
Can I store the leftover cleaning solution? If so, how long will it last?
Yes, you can store the leftover cleaning solution in a sealed container, such as a spray bottle or a jar. It’s best to store it in a cool, dark place to prevent the ingredients from degrading. The shelf life of the solution will depend on the specific ingredients used, but generally, it should last for several weeks to a few months. If you notice any changes in color, odor, or consistency, it’s best to discard the solution and make a fresh batch. To maximize its shelf life, avoid contaminating the solution with dirty cloths or sponges.
What are some other variations I can try with this cleaning hack?
The possibilities are endless! Here are a few ideas to get you started:
* **For a stronger disinfectant:** Add a few drops of tea tree oil or eucalyptus oil to the solution. These essential oils have natural antibacterial and antiviral properties.
* **For a more pleasant scent:** Infuse the solution with citrus peels (lemon, orange, or grapefruit) for a refreshing and natural fragrance.
* **For cleaning grout:** Create a paste of baking soda and water, apply it to the grout, and then spray with the cleaning solution. Let it sit for a few minutes before scrubbing with a brush.
* **For cleaning windows:** Use a diluted solution of vinegar and water for streak-free shine.
* **For cleaning drains:** Pour baking soda down the drain, followed by vinegar. Let it fizz for 30 minutes, then flush with hot water.
Remember to always test any new variation in an inconspicuous area first.
What if I don’t have all the ingredients listed in the recipe? Can I substitute them?
While the specific ingredients listed in the recipe are recommended for optimal results, you can often substitute them with similar alternatives. For example, if you don’t have white vinegar, you can use apple cider vinegar instead. If you don’t have baking soda, you can use washing soda (sodium carbonate), but be sure to wear gloves when handling it, as it can be irritating to the skin. If you’re missing an essential oil, you can simply omit it or substitute it with another essential oil that has similar properties. The key is to understand the purpose of each ingredient and find a suitable replacement that serves the same function.
How does this cleaning hack compare to commercial cleaning products in terms of effectiveness?
This DIY cleaning hack can be just as effective as many commercial cleaning products, especially for everyday cleaning tasks. However, it may not be as effective for tackling extremely tough stains or heavily soiled areas. Commercial cleaning products often contain stronger chemicals that can provide more aggressive cleaning power. However, these chemicals can also be harmful to your health and the environment. This DIY cleaning hack offers a safer and more sustainable alternative for maintaining a clean and healthy home. For particularly challenging cleaning tasks, you may still need to use a commercial cleaning product, but for most everyday cleaning needs, this DIY hack should suffice.
Is this cleaning hack safe for pets and children?
Yes, this cleaning hack is generally safe for pets and children, as it uses natural and non-toxic ingredients. However, it’s still important to keep the solution out of reach of children and pets, as ingestion can cause irritation or discomfort. If you’re using essential oils in the solution, be sure to choose pet-safe oils and use them in moderation, as some essential oils can be toxic to animals. Always supervise children when they are helping with cleaning and teach them about the importance of handling cleaning products safely.
Leave a Comment